.png?width=200&height=89&name=CC%20%20fiserv.%20(3).png)
Step-by-Step:
Step 1: Open the heading widget in the sidebar:
In the left Elementor sidebar, click in the search bar at the top and type “Heading” to find the Heading widget.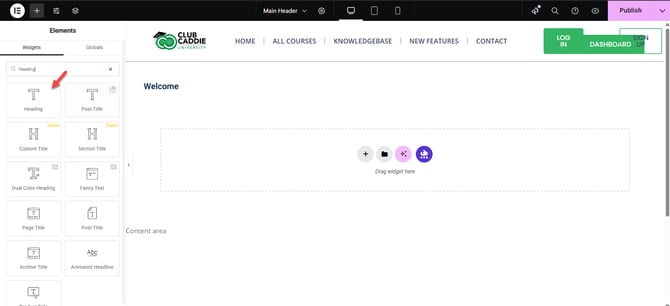
Step 2: Drag the heading widget onto the page:
Click and hold the Heading widget, then drag it to the section or column where you want the new heading to appear. Release the mouse button to drop the widget in place.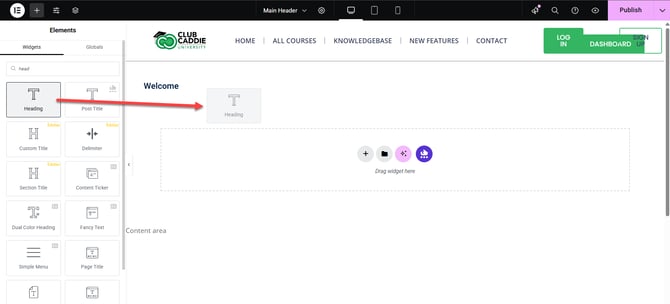
Step 3: Enter your heading text:
After placing the widget, the Content tab for the heading will open in the left sidebar. Click in the Title or text box and type the heading text you want to display.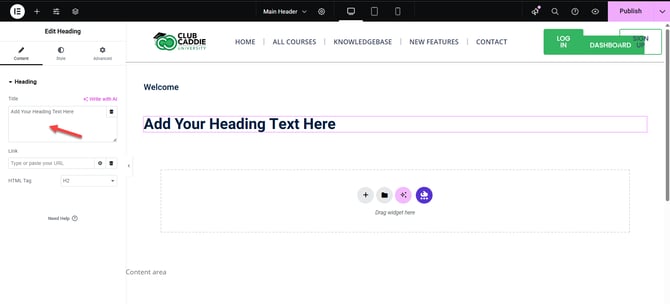
Step 4: Choose the heading tag:
In the same Content tab, use the HTML Tag dropdown to select the heading level (H1, H2, H3, etc.) based on how important the heading is and how your page is structured.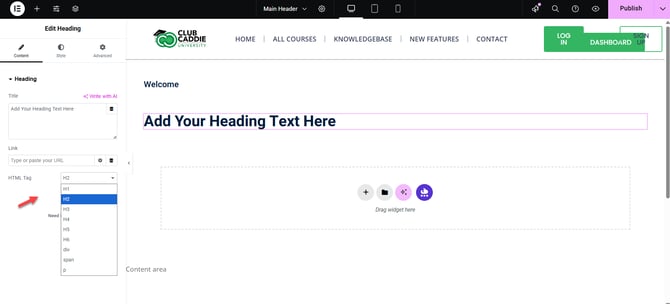
Step 5: Save and preview your new heading:
When you are satisfied with the new heading, click the green Update button at the bottom left to save your changes. Click the eye (Preview) icon next to Update to review how the heading looks on the live page.