.png?width=200&height=89&name=CC%20%20fiserv.%20(3).png)
Step-by-Step:
Step 1: Locate the heading you want to edit:
In the Elementor editor, scroll to the section of the page that contains the heading text you want to change.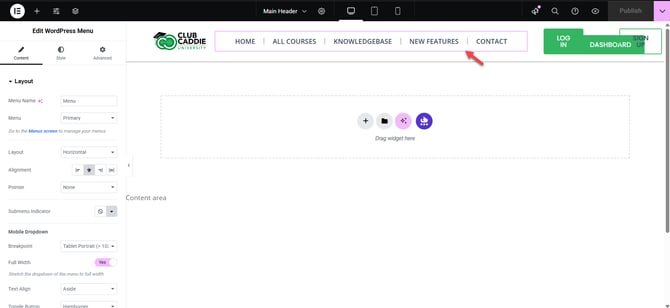
Step 2: Select the heading widget:
Hover your mouse over the heading text until a blue box appears around it, then click directly on the heading. The left Elementor sidebar will update to show the Heading widget settings.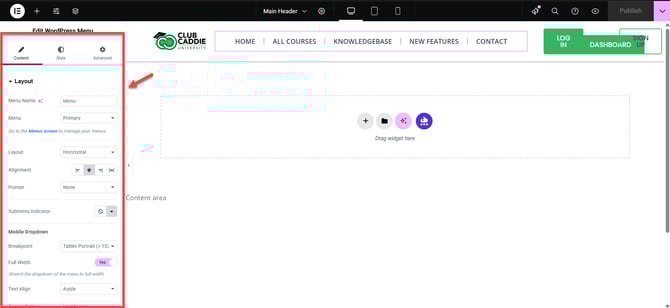
Step 3: Edit the heading text:
In the Content tab on the left sidebar, click inside the Title or text box that shows the current heading text. Type your new heading text or edit the existing text. You will see the changes apply on the page immediately.
Step 4: Adjust the heading level (size):
Still in the Content tab, find the HTML Tag dropdown. Choose the correct heading level (H1, H2, H3, etc.) based on your page structure. H1 is usually the main page title, and H2/H3 are subheadings.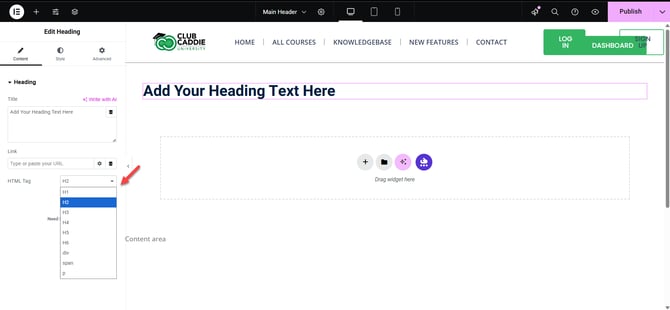
Step 5: Save and preview your changes:
When you are happy with the heading, click the green Update button at the bottom left to save your changes. Click the eye (Preview) icon next to Update to see how the page looks live.