.png?width=200&height=89&name=CC%20%20fiserv.%20(3).png)
Step-by-Step:
Step 1: Open the page in Elementor:
From the WordPress dashboard, click Pages, then click All Pages. Hover over the page you want to change and click Edit with Elementor. If you are already viewing the live page while logged in, you can click the Edit with Elementor button in the top admin toolbar.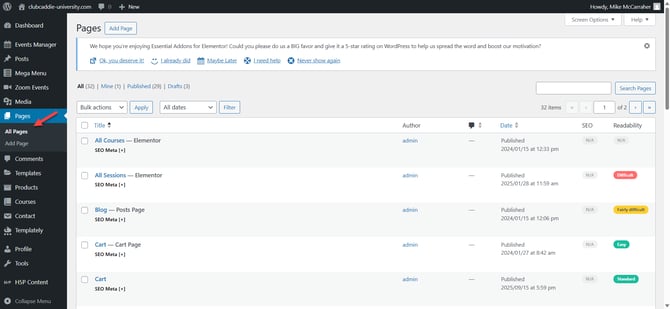
Choose where to place the image:
In the Elementor editor, scroll to the area of the page where you want to add the image. Decide if the image should go in an existing section/column, or if you need a new section.
Step 3: Create a new section if needed:
If you want a new section, click the + icon where it says Drag widget here. Choose a layout (for example, one column or two columns) so you have a spot ready for the image.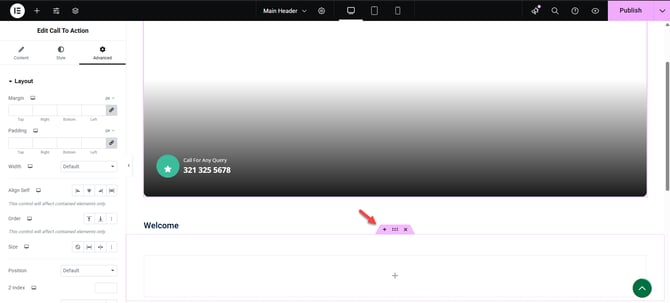
Step 4: Add the Image widget:
In the left Elementor panel, use the search bar and type image. Find the Image widget, then click and drag it into your chosen section or column. Release the mouse to drop the widget into place.
Step 5: Upload or select an image:
In the left panel, click the image placeholder box to open the Media Library. To use an existing image, click on it and then click Insert Media. To use a new image, click Upload Files, then drag your file into the window or click Select Files to browse from your computer.
Step 6: Add alt text for accessibility and SEO:
In the Media Library, before inserting the image, use the Alt Text field on the right to briefly describe the image (for example, “Golf course at sunset”). This helps with screen readers and Google image search.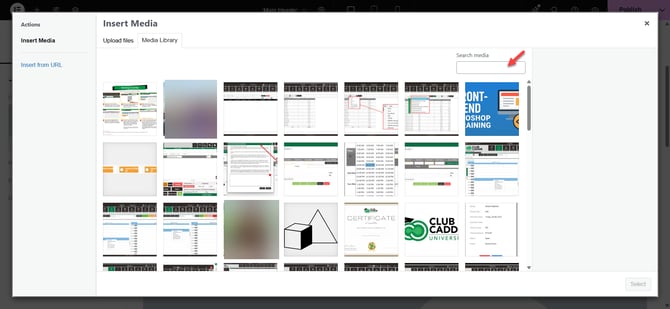
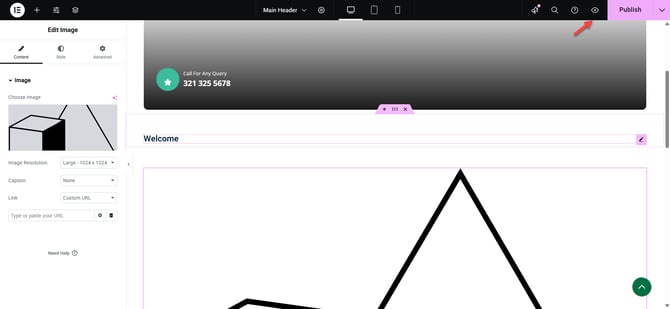
Step 7: Add a clickable link (optional):
After inserting the image, go to the Content tab for the Image widget. Under Link, select Custom URL and enter your desired page address (for example, /book-now or a full https:// link), or choose Media File to let users open a larger version of the image.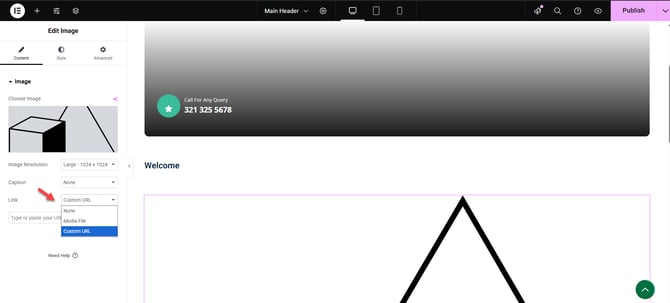
Step 8: Save and preview your image:
Click the eye (Preview) icon next to Update to see how the image appears on the live page before finalizing.