.png?width=200&height=89&name=CC%20%20fiserv.%20(3).png)
Step-by-Step:
Step 1: Add a new Text Editor widget:
In the left Elementor sidebar, click in the search bar and type “Text Editor.” Click and drag the Text Editor widget into the section or column where you want your text, then release the mouse to drop it in place.
Step 2: Enter and format your new text:
After dropping the widget, the left panel will show a WYSIWYG editor (similar to Microsoft Word). Type your message directly or copy and paste from another document. Use the toolbar to bold, italicize, or underline text, align text left/center/right, add bullet or numbered lists, and insert links using the chain-link icon. Changes update live on the page. To add more text blocks, drag additional Text Editor widgets where needed.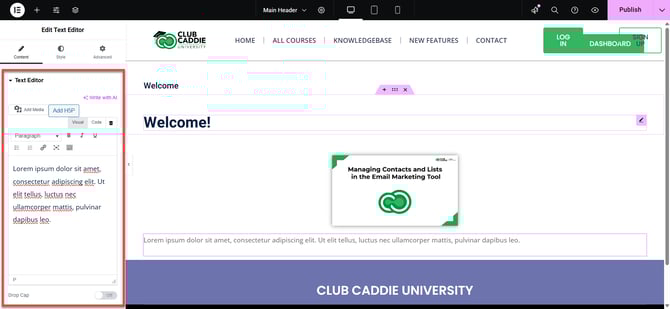
Step 3: Locate existing text to edit :
On the page, scroll to the section with the text you want to update. Hover over the text block until you see a blue border around it, then click the text to activate the widget. The Text Editor settings will open in the left panel.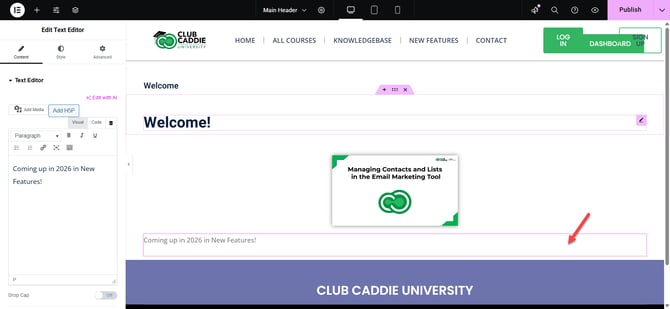
Step 4: Edit existing text content:
In the Text Editor box on the left, type, delete, or paste text as needed. You can add new paragraphs, adjust alignment, and apply formatting (bold, italic, underline) using the toolbar above the text box.
Step 5: Add a clickable link to text:
In the Text Editor, highlight the text you want to make clickable. Click the Link (chain) icon in the toolbar, then enter the URL or page path (for example, /contact). If you want the link to open in a new tab, toggle “Open in new window,” then press Enter or click Apply.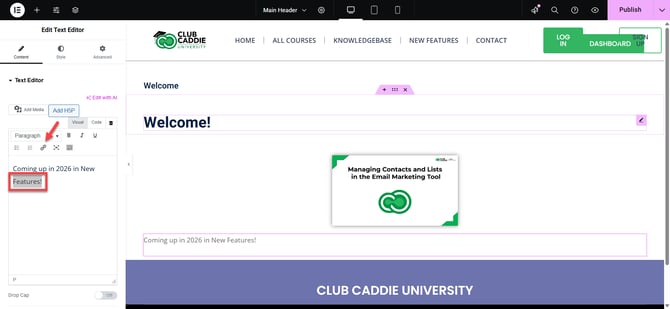
Step 6: Create bullet points or numbered lists:
Highlight the lines of text you want in a list. Click the bullet list or numbered list icon in the toolbar to turn them into a list. Press Enter after each item to add a new list line.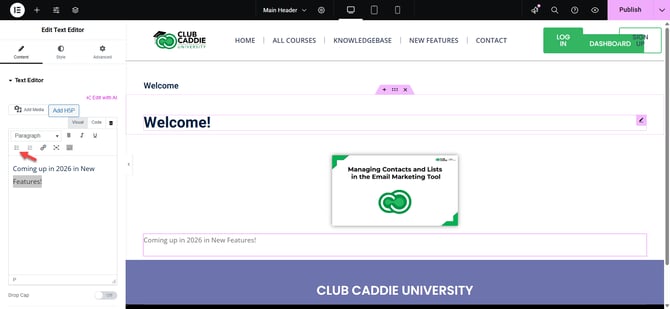
Step 7: Save and preview your changes:
When you are finished editing, click the green Update button at the bottom left of the Elementor panel to publish your changes. Click the eye (Preview) icon next to Update to review how the page looks before finalizing.