.png?width=200&height=89&name=CC%20%20fiserv.%20(3).png)
Step-by-Step:
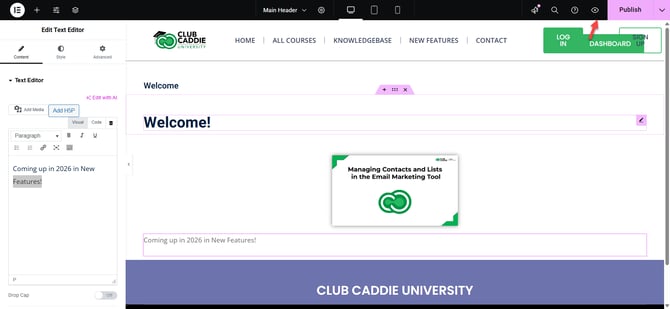
Step 1: Select the form to configure:
In the Elementor editor, scroll to the form on your page and click inside it. The form’s settings will appear in the left sidebar. Make sure you are on the Content tab so you can see the form panels.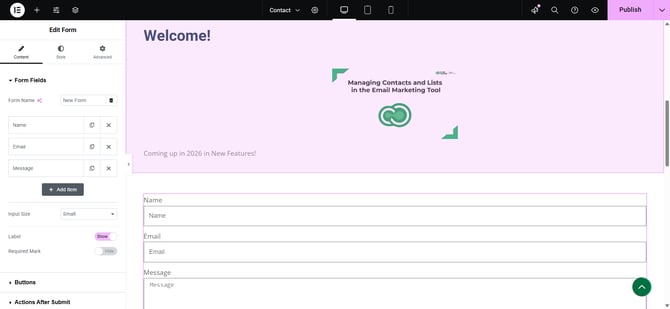
Step 2: Open the Actions After Submit settings:
In the Content tab, find the Actions After Submit panel. Add or adjust actions such as Email, Redirect, Webhook, or Popup. These actions control what happens when a user successfully submits the form.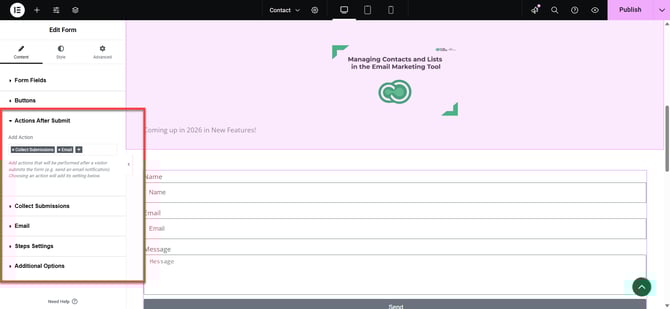
Step 3: Configure email notifications:
Click the Email action panel to set where submissions are sent. Enter the To email address (where you want to receive submissions), From Name, and Reply-To address (often the user’s email field). In the Message area, choose All Fields or customize the email using dynamic tags like {field_id="name"} so you can see all the submitted information clearly.
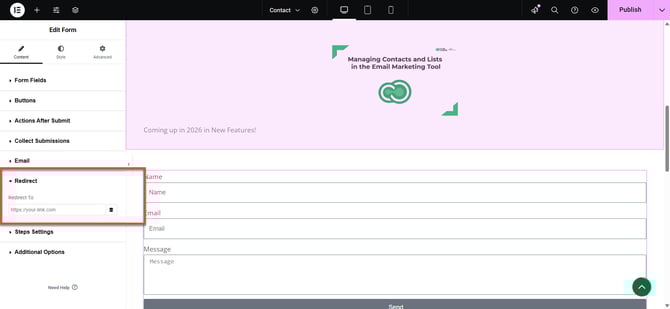
Step 4: Set redirects or other actions (if needed):
If you added a Redirect action, click the Redirect panel and paste the URL of your thank-you page or external link. For Webhook or Popup actions, open each panel and enter the required details for your integration or confirmation popup behavior.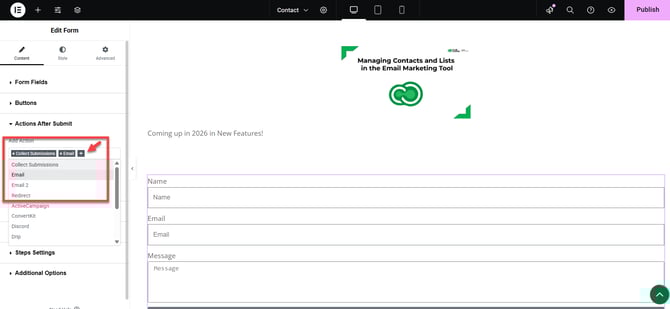
Step 5: Style the form appearance:
Click the Style tab to control how the form looks. Adjust Labels (font, size, color), Input fields (background, border, padding, typography), and the Submit Button (text color, background color, padding, size, hover effects, and border radius for rounded corners). Use these settings to match your website’s branding.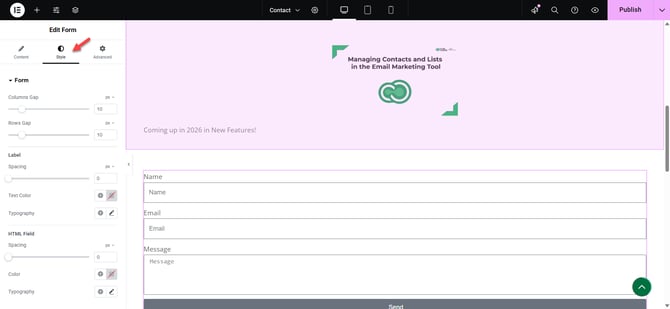
Step 6: Adjust layout and advanced options:
Go to the Advanced tab for the form or individual fields to fine-tune spacing. Use Margin and Padding to control space around the form and fields. You can also add Motion Effects (such as fade-in animations) and set responsive visibility rules (for example, hide certain elements on mobile if needed).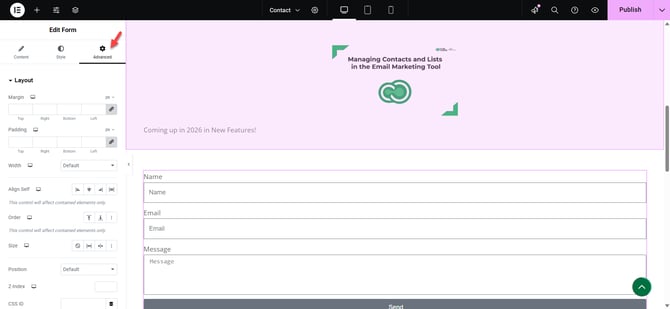
Step 7: Test the form before going live:
Click the eye (Preview) icon near the Update button to open a preview of the page. Fill out the form with test data and click Submit. Confirm that the form submits successfully, sends email notifications to the correct address (check your inbox and spam folder), and that any redirects or confirmation messages work as expected. When everything looks good, return to Elementor and click the green Update button to publish your changes.