.png?width=200&height=89&name=CC%20%20fiserv.%20(3).png)
Step-by-Step:
Step 1: Open the page in Elementor:
From the WordPress dashboard, click Pages, then All Pages. Find the page you want to change and click Edit with Elementor. If you are viewing the live page while logged in, you can also click the Edit with Elementor button in the top admin toolbar.
Step 2: Find and select the image:
Inside the Elementor editor, scroll through the page until you see the image you want to update. Hover over the image until a blue border appears around it, then click directly on the image. The left sidebar will change to show the Image widget settings.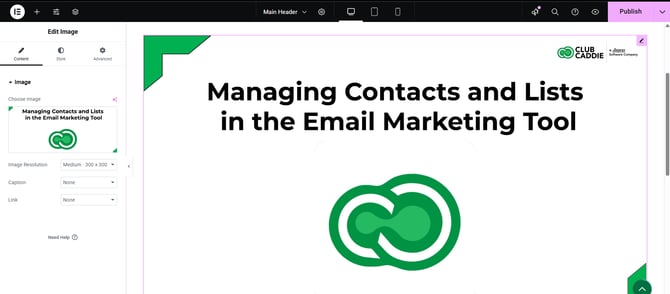
Step 3: Replace the current image:
In the left panel under the Content tab, click the image preview. This opens the Media Library. Select a different existing image or click Upload Files to add a new one. Once you choose the image, click Insert Media. Aim to use a high-quality image that is optimized for web (generally under 500 KB) so the page loads quickly.
Step 4: Update the image link (optional):
With the Image widget still selected, look under the Content tab for the Link setting. Choose Custom URL to point the image to a specific page or external website, or choose Media File to let visitors click and see the full-size image in a lightbox popup. Enter or update the URL as needed.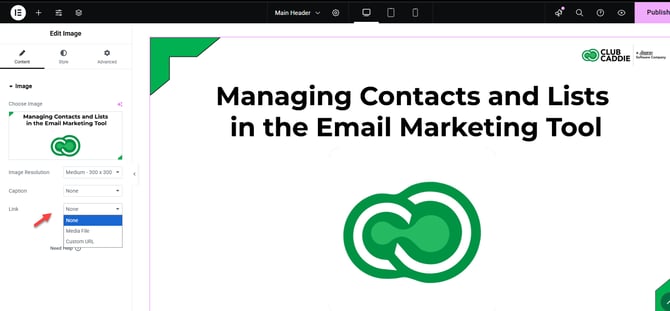
Step 5: Check or update alt text:
If you uploaded or selected a new image, click the image again to open the Media Library. In the right sidebar, confirm that the Alt Text field briefly describes the image (for example, “Golfer teeing off on hole 1”). Adjust it if necessary, then click Insert Media to return to Elementor.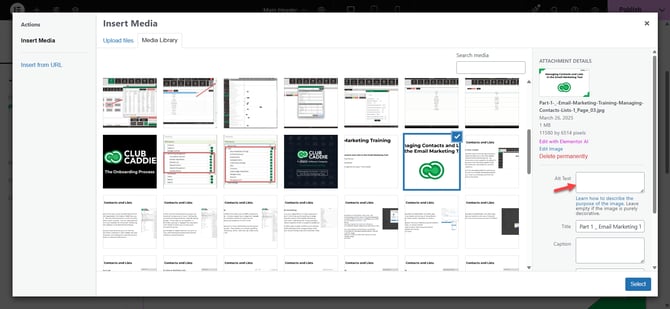
Step 6: Adjust basic display options:
Still in the Image widget settings, use the Image Size dropdown to choose a size (Thumbnail, Medium, Large, Full, or Custom), and use the Alignment options (Left, Center, Right) to position the image correctly within the column.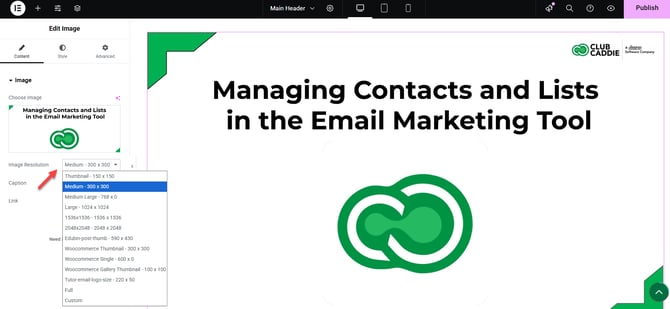
Step 7: Review the image on different devices:
At the bottom left of the Elementor panel, click the Responsive Mode icon. Switch between Desktop, Tablet, and Mobile to make sure the image looks correct and doesn’t appear too large or too small on any device.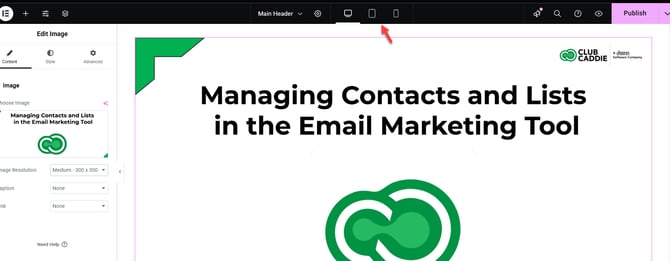
Step 8: Save and preview your changes:
When you are satisfied with the updated image, click the green Update button at the bottom left to save and publish your changes. Use the eye (Preview) icon to view the page and confirm the image displays and behaves as expected.