Adding A New Customer
Article Contents: -
This article summarizes how to add a new customer from Tee Sheet, Register, and Customer Tab.
Step- By- Step:-
A: -Adding a new customer through Tee-Sheet.
Step 1:-
Click on the "Tee Sheet' Tab from the header of the window.
Step 2:-
On Tee Sheet, there are time slots under the “Front” & “Back” where Tee times can be booked.
There are 3 ways to reserve tee times:
|. Click on “Add” Button next to the time slot.
||.
Right click on particular time slot and click on “Add Booking” in drop down list.
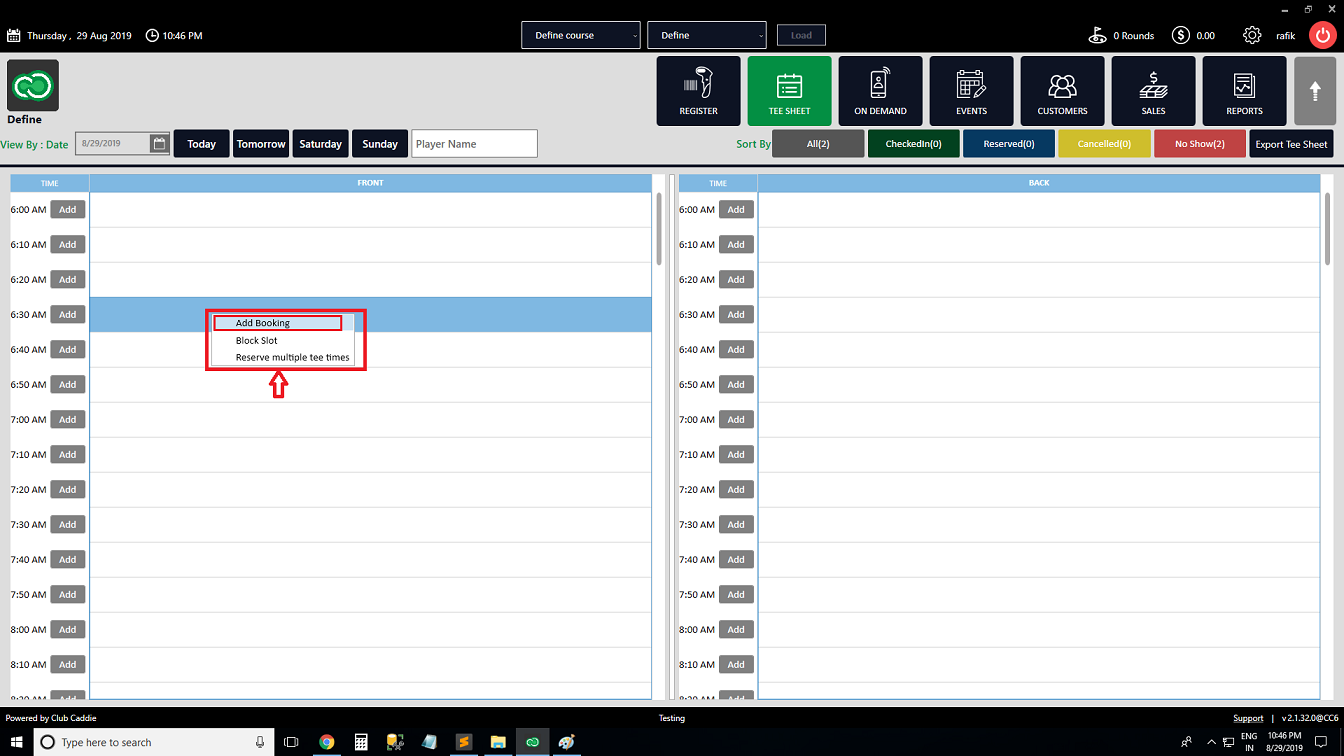
||. Double click on time Slot.

||. Double click on time Slot.
Step 3: System will open new "Tee-Time" window. To add new customer click on " + " symbol.
Step 4: The system will generate a new "Add Customer" window. Select "General Info" under the "General" tab. Fill all the necessary info then click on "Save" button. The customer will be added and will reflect in Tee - Time.
B:- Adding a new customer through the register.
Step 1:-
Click on Register from the header tab. There is two way to add customer through the register.
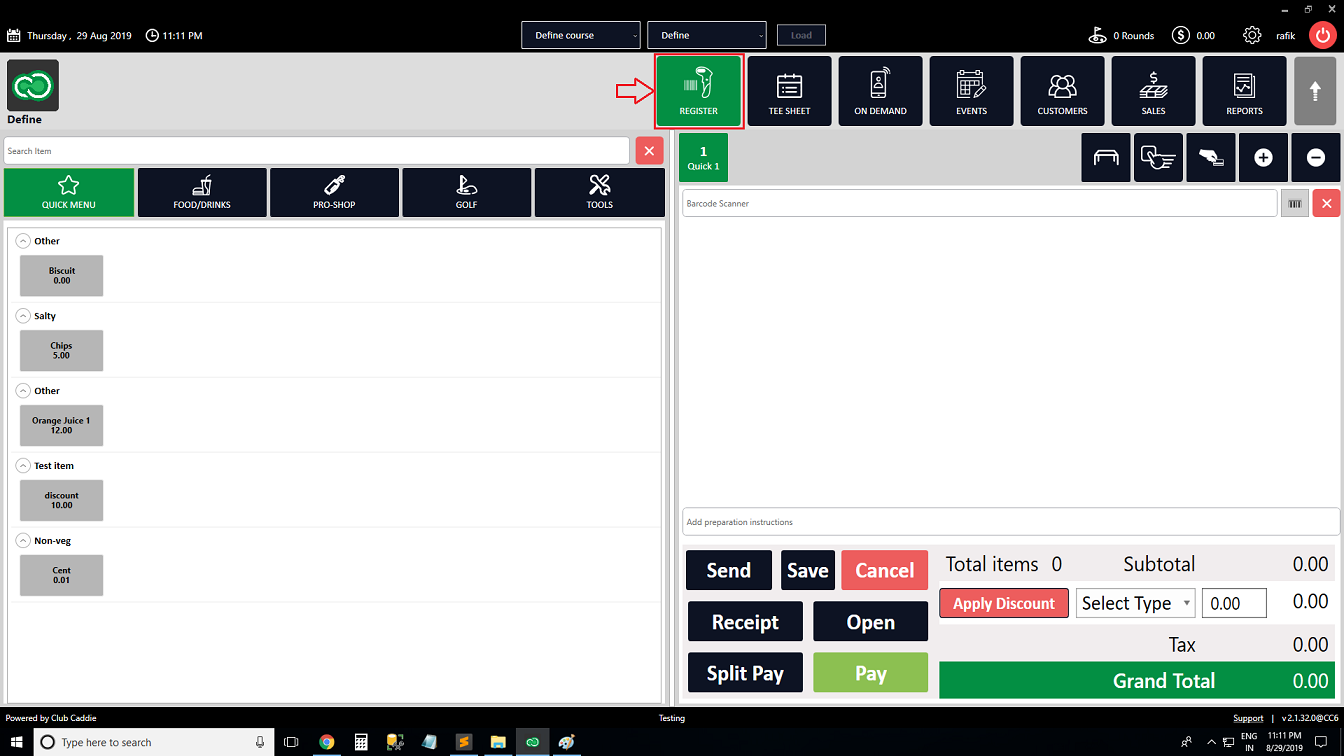
Step 2:-
Click on the " + " tab. The system will generate new "Search Customer" window where you can add a new customer by clicking on the "Add customer" button.
Step 3:- The system
will generate a new "Customer Profile" window. Select "General Info" under the "General" tab. Fill all the necessary info then click on the "Save" button.
Step 4:-
You can add also add customers by right-clicking on Tabs. Select "Customer" from the drop-down list, then follow the above steps 2 and 3 of section B.
C: Adding a new customer through the "Customer" Tab.
Step 1:-
Click on the "Customers" tab from the header of the window.

Step 2:-
Click on the "Add Customer" button from the top navigation bar. The system will generate a new "Add Customer" window.
Step 3: The system will generate a new "Add Customer" window. Fill all the necessary info then click on the "save" button.

New customers will be visible in the customer module of the point-of-sale. The initially generated list is sorted based on the newest profile creation date
Related Articles
Customer - Understanding CRM
Article Contents: This video provides a concise overview of the Client Relation Management (CRM) module, focusing on its key features. Step-By-Step: Step 1: CRM Groups: Explains two types of groups - system-generated (based on course classifications) ...Customers - Manage Groups - Add Customer to a Group
Article Contents: This portion summarizes how to Manage Groups and Add Customers to a Group. Step-By-Step: Step 1: Click on the CUSTOMERS Tab (1) from the header of the window. Click on CRM (2) from the left row of the window, then select Manage ...Customers - Search/Add/View Customer Profiles
Article Contents: This article contains steps on how to search for, add, and view customer profiles. Step-By-Step: The customer information tab contains information on existing customers and can be used to add, edit or delete a customer. Step 1: ...Customers - Create Group-Manage Groups
Article Contents: This article gives step-by-step instructions on how to create and manage Groups. Step-By-Step: Step 1: Select the CUSTOMERS module from the module navigation menu. Step 2: Click CRM from the left row of the window. Step 3: To ...Customers - Creating A New Flag
Article Contents: This article contains step-by-step instructions on how to set a new flag for customers. Step-By-Step: Step 1: Select the CUSTOMERS module from the module navigation menu. Next, select Customer from the left side of the window. The ...