Assigning Staff members to Sales using unique Identification Pins.
Article Contents:
This article contains instructions on how to assign staff members to sales using Unique Identification Pins.
Step-By-Step Instructions
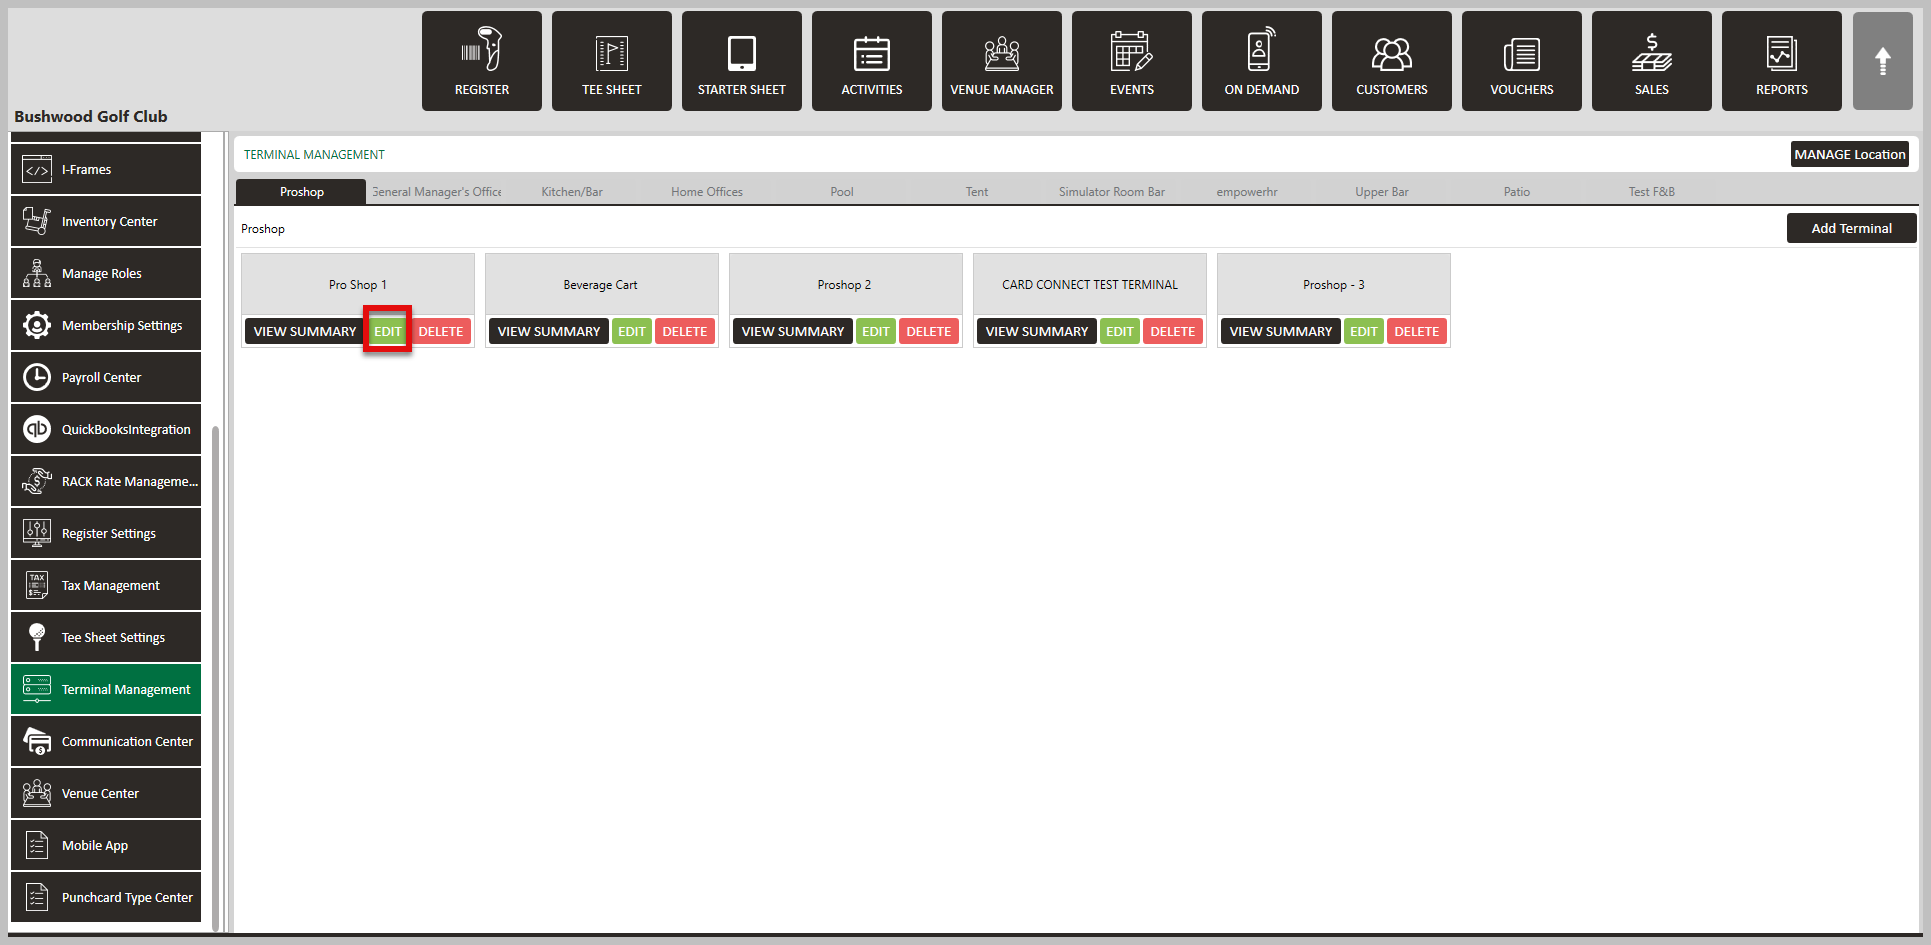
Step 1: First, click on Settings and click on Terminal Management from the left-hand-side menu.
Step 2: Then, click on Edit on the terminal that you want this feature enabled.
Step 3:
Toggle on Requires Pin on Quick Tab, then click Save.
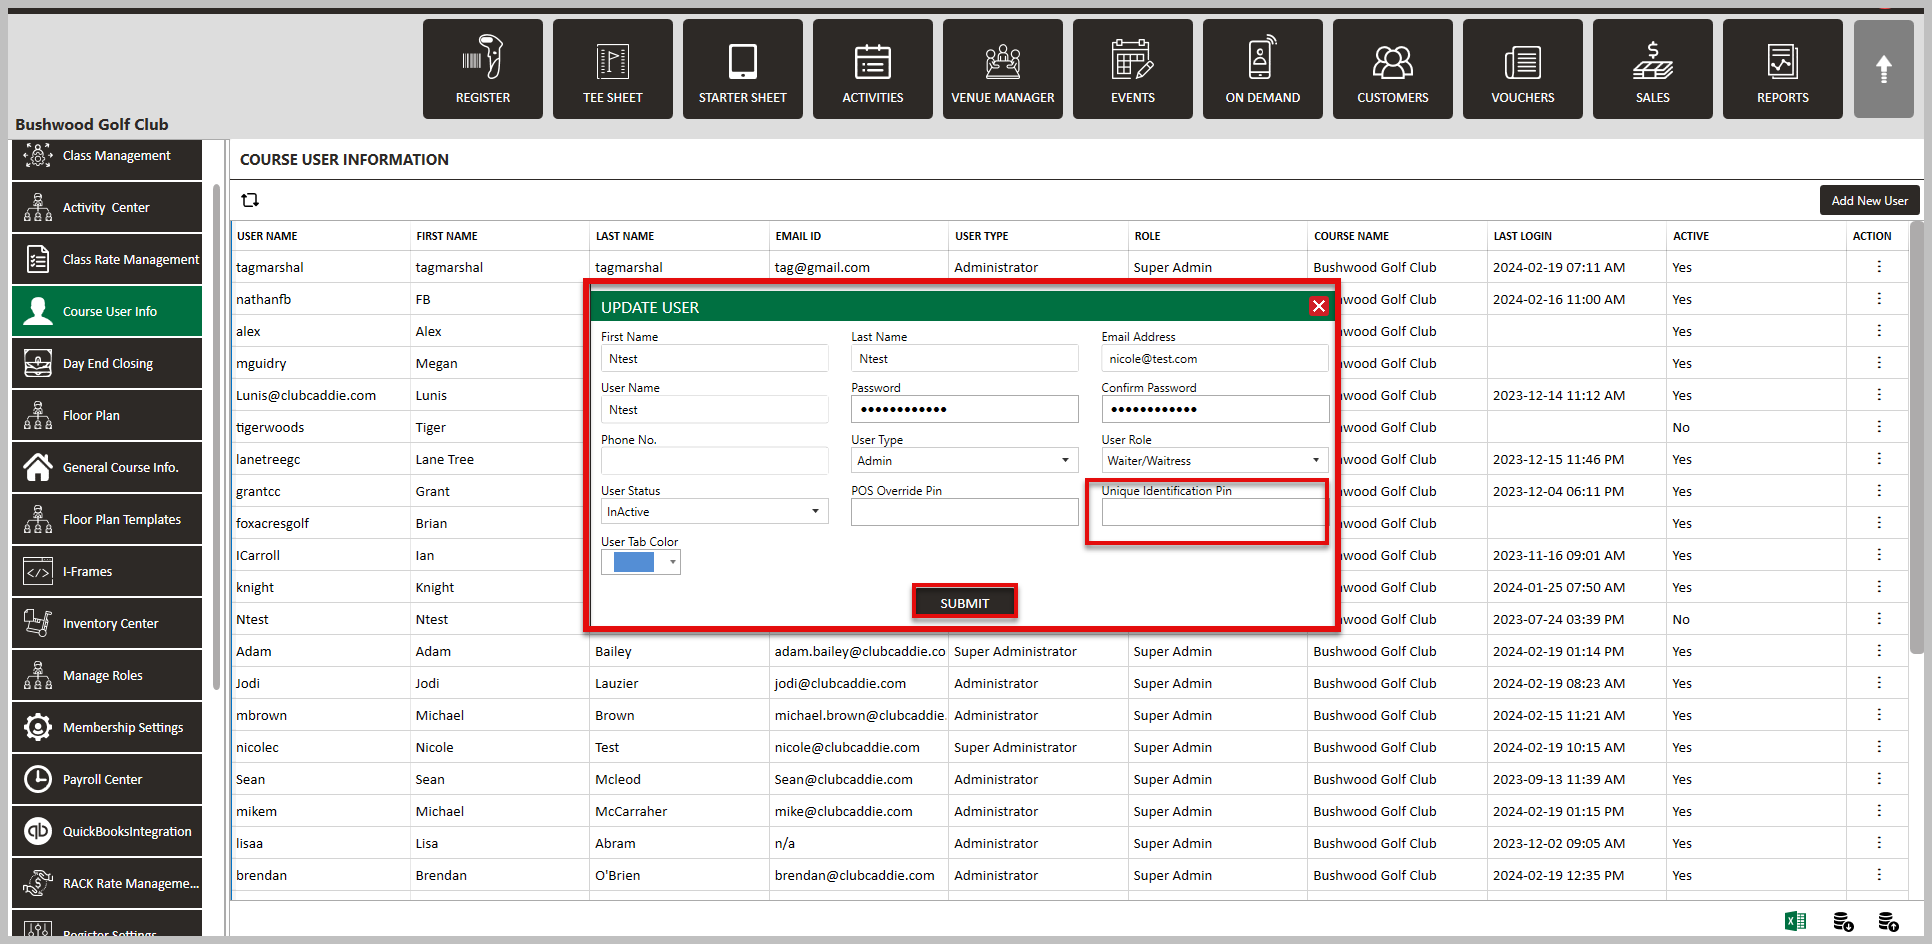
Step 4: To assign your staff with their pin number, you will need to navigate to Settings and click on Course User Info.
Step 5: Then, select the user that you want to set a unique identification pin and click on Edit under Action on the right-hand side. The system will then generate a Update User pop-up window.
Step 6: Enter a four digit code in the section Unique Identification Pin. Finally, click Submit.
Related Articles
Employee Pin Lock
Article Content: This is a guide with instructions on setting up Pin Lock for employees, creating a 4-digit code for each employee, as well as tips to making sure your transition to employee pin lock runs smoothly. Step-by-Step Guide: Step 1: Turn on ...Pin-Lock Notes
Article Contents: This article instructs how to add notes to the pin-lock window. The note will display in the Pin Lock pop-up window when creating a new tab in the register. Step-By-Step Guide: Step 1: Navigate to Settings, then select Register ...Register - Assigning colors to the employee to easily identify individual employee tabs.
Article Contents This article will show you how to assign a color to the employee to help identify an employee's tab in the register. Step-by-Step: Step 1: Click on "settings" in the upper right hand corner and then click on "course user info" from ...Register - Adding/Removing Items from Quick Menu
Article Contents: This article contains information about how to Add/Remove items from the QUICK MENU. Step-By-Step: Step 1: Click on the REGISTER (1) module and select a department to modify from the left pane (Ex. FOOD, DRINKS, BANQUET) (2). Step ...Register - Quick Tab Button
Article Contents: This article contains a step-by-step guide on how to use the quick tab button in the register. Step-By-Step: Step 1: You can add a new tab by clicking on the 'Quick Tab Button'. A new tab will be created and titled as a "Quick". ...