Club Caddie - Using the Auto-Updater
Article Contents:
This article contains step-by-step instructions on how to update your Club Caddie golf management system through the built-in updater.
Step-By-Step:
Step 1: The auto-update prompt will appear when the golf management system is first opened. If the application is open, close and re-open it to access the prompt. If the application is closed, open it to initiate the update.
Step 2: When the golf management system is opened, a pop-up will appear showing the current version and indicating if an update is available. Users will have the option to be reminded later, install the update immediately, or skip this version (not recommended).
Step 3: Click on the 'Install Update' button to begin the update's download.
Step 4: Once the download has been completed, click on the 'Install Update' button to initiate the installation.
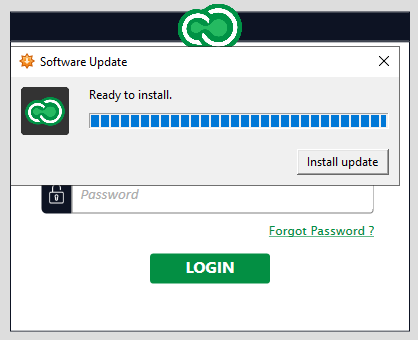
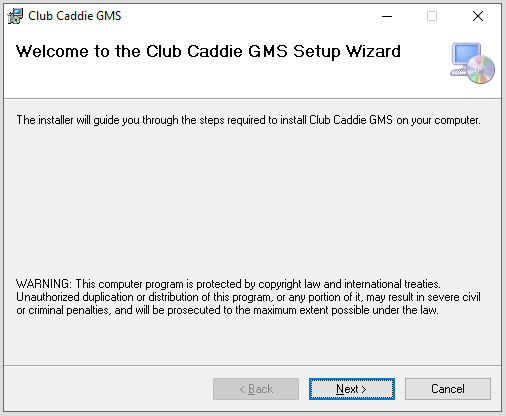
Step 5:
Click on 'Next'.
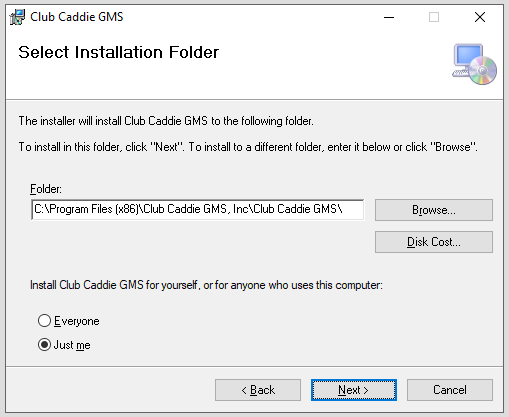
Step 6: Specify the download location. Typically, it is recommended to leave the default location. Click on the 'Next' button.
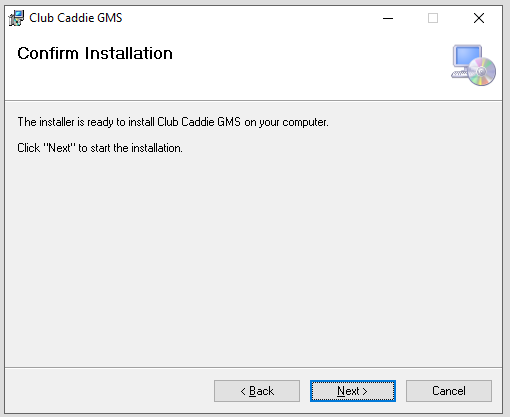
Step 7: At this time, please close the currently open instance of Club Caddie, then click on 'Next'.
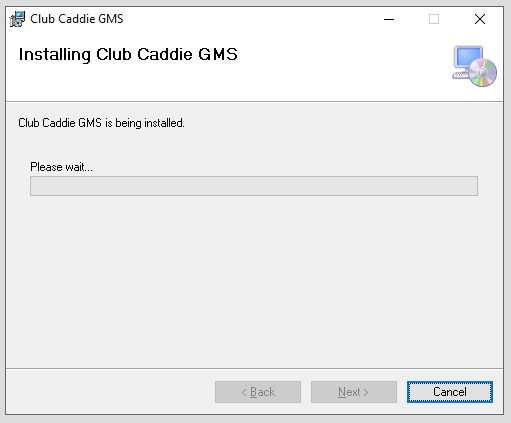
Step 8: Installation will begin, and should be complete in around 30 seconds to 1 minute. During this process, you may be asked to allow the program to make changes to your computer.
Step 6: Specify the download location. Typically, it is recommended to leave the default location. Click on the 'Next' button.
Step 7: At this time, please close the currently open instance of Club Caddie, then click on 'Next'.
Step 8: Installation will begin, and should be complete in around 30 seconds to 1 minute. During this process, you may be asked to allow the program to make changes to your computer.
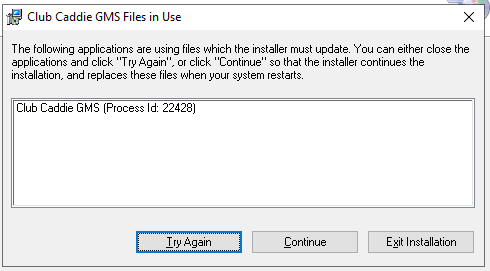
Step 9: If you have not closed Club Caddie during the installation process you will be asked to do so now to continue the installation. Kindly close the Club Caddie golf management system and click on 'Try Again'.
Step 10: Once the installation process is completed you will be given the 'Installation Complete' pop-up. Click 'Close'.
Step 11: You may then search for Club Caddie in the windows search bar or locate the icon on your desktop to open your newly updated golf management system.
Related Articles
Club Caddie - How to Download and Install Latest Version of Club Caddie
Article Contents: This article contains step-by-step instructions on how to update your Club Caddie golf management system. *Before starting Step 1 delete Club Caddie app/software from your computer or station. Windows: Go to your Control Panel in ...How To Login To Club Caddie (Video)
Article Contents: This video tutorial provides a step-by-step guide on logging in and clocking in using the Club Caddy software for food and beverage operations. Step-By-Step: Step 1: Navigating to the Club Caddie login screen and selecting the ...Downloading Club Caddie
Article Contents: We'll walk through step-by-step how to download and log in to your facility's golf management platform. Step-By-Step: Step 1: Depending on your user type you'll want to select the appropriate link from the following: A) If you are ...Installing Club Caddie on Windows 11 Home in S Mode
Article Contents This article covers how to install Club Caddie on a Windows 11 laptop running in S mode, which initially only allows installations from the Microsoft Store. Step-by-Step: Step 1: Determine if your Windows 11 is running in S mode 1. ...Managing Clover Payment Processor Outages with Club Caddie
Article Contents: During a Clover payment processor outage, it's crucial to have alternative solutions to ensure uninterrupted service. This article provides steps for operators using Club Caddie to manage such situations effectively. Step-By-Step: ...