Create Your First Email
Article Contents:
This article contains instructions on how to create and customize emails using the drag and drop email editor in a marketing platform. It covers creating emails from scratch or using templates, editing styles, adding and customizing content like columns, rows, borders, padding, and social media icons. The article also includes information on using custom HTML to create emails and testing emails for broken links and spam indicators.
Create a Drag and Drop Email
- Click the Messages folder
- Click Create New Message
- Click Blank Drag and Drop Email

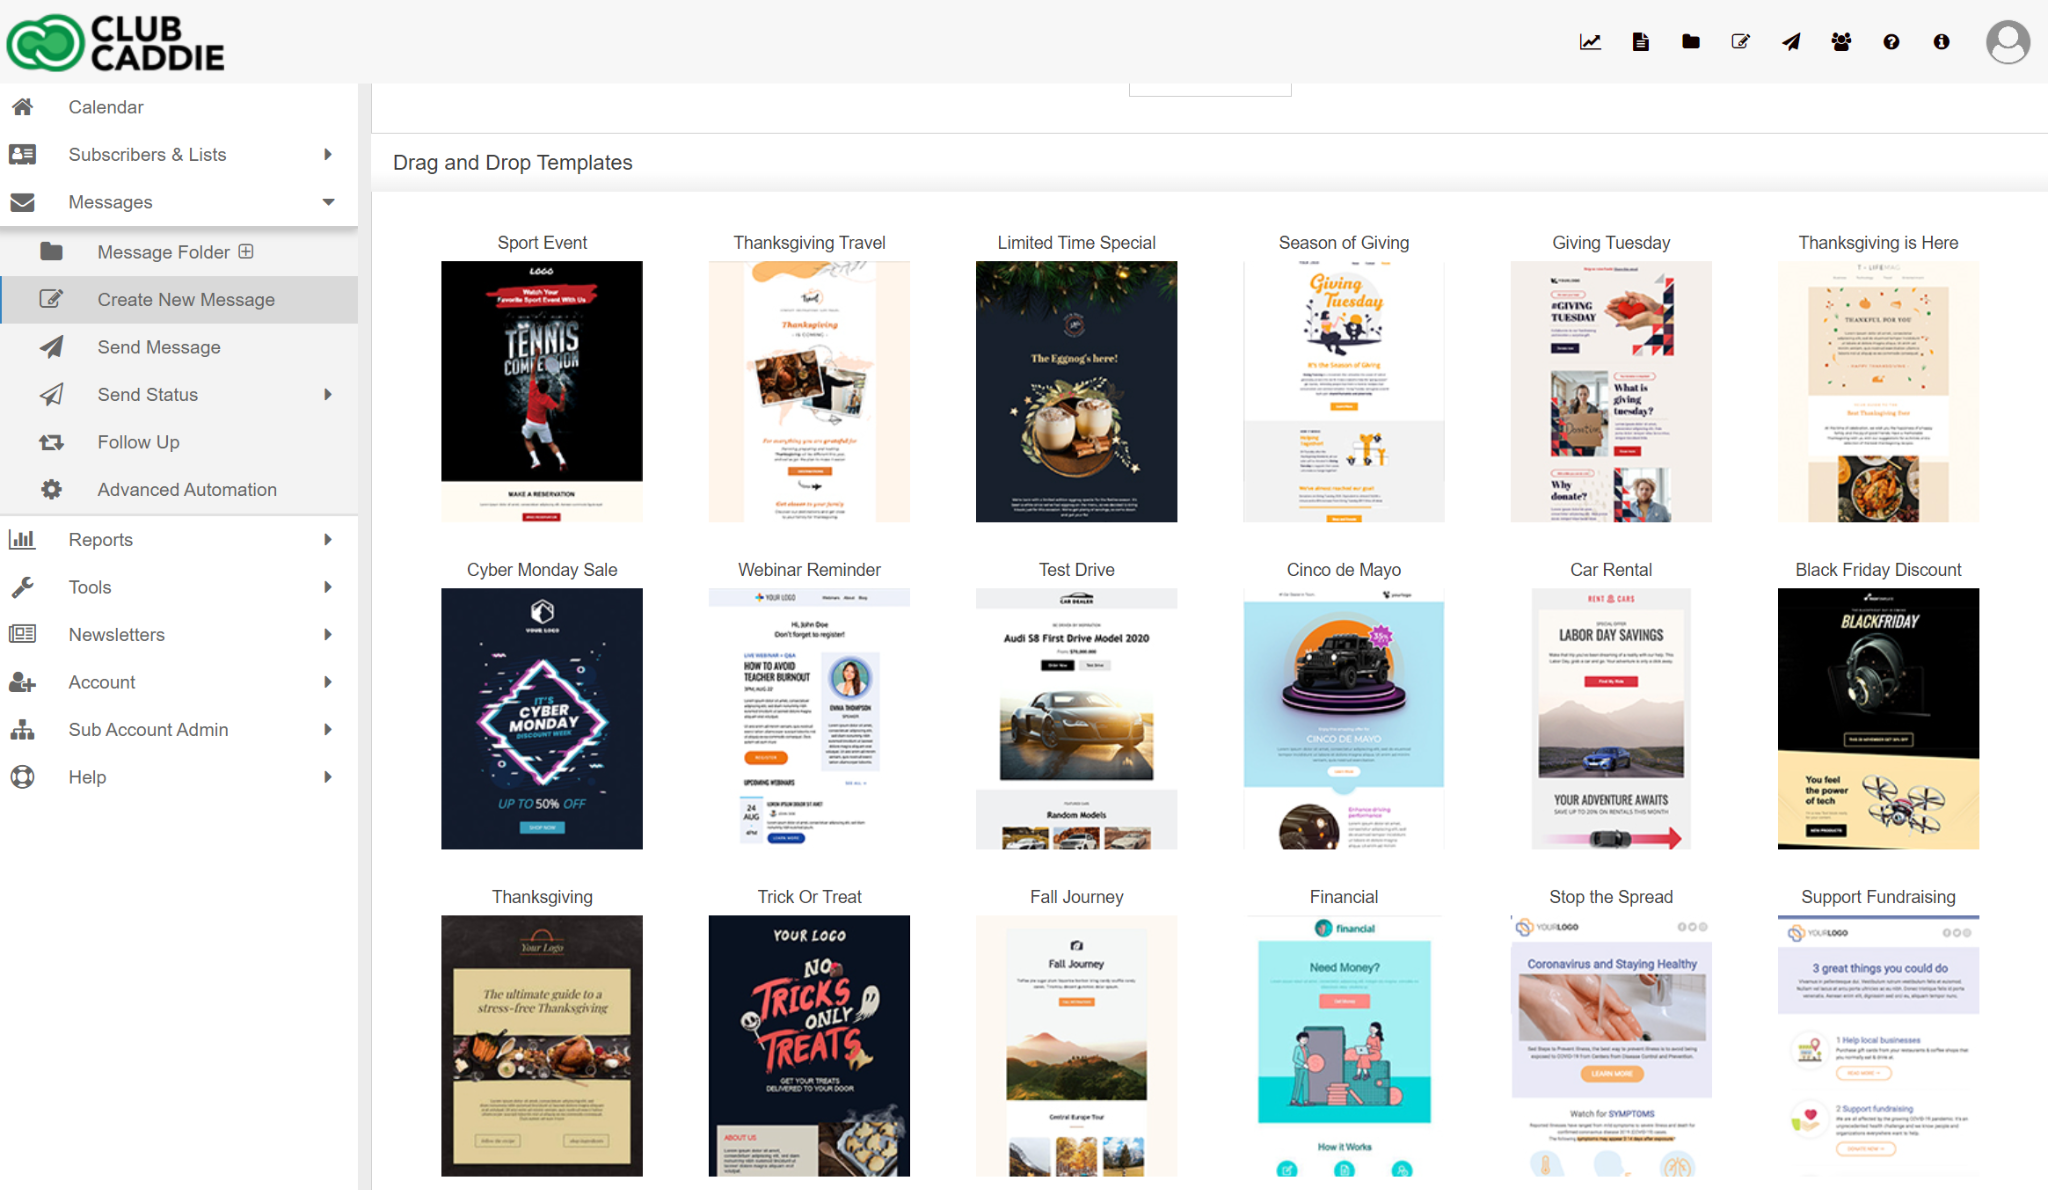
To create a drag and drop message from a template:
Click the Messages folder
Click Create New Message
Scroll down until you see Default Drag and Drop Templates
Click on the thumbnail of the drag and drop template you would like to use
Use the Drag and Drop Editor to Create an Email
Click the Messages folder.
Click Create New Message.
Click Blank Drag and Drop Email to create an email from scratch.
Type in the Subject and Email Name for your email, and save your change
Drag + Drop Editor - Edit the Styles of the Message
There are three main tabs on the right side of the drag and drop editor: Content, Rows, and Settings. The Settings tab allows you to edit the overall style for the message.
Click the Settings tab.
Adjust the overall width of the template by clicking on the plus or minus icons next to content area width. By default this starts at 500px, so you may want to increase this up to 600px.
Change the background color and/or content area background colors.
You can also customize the default font used, and default link color.


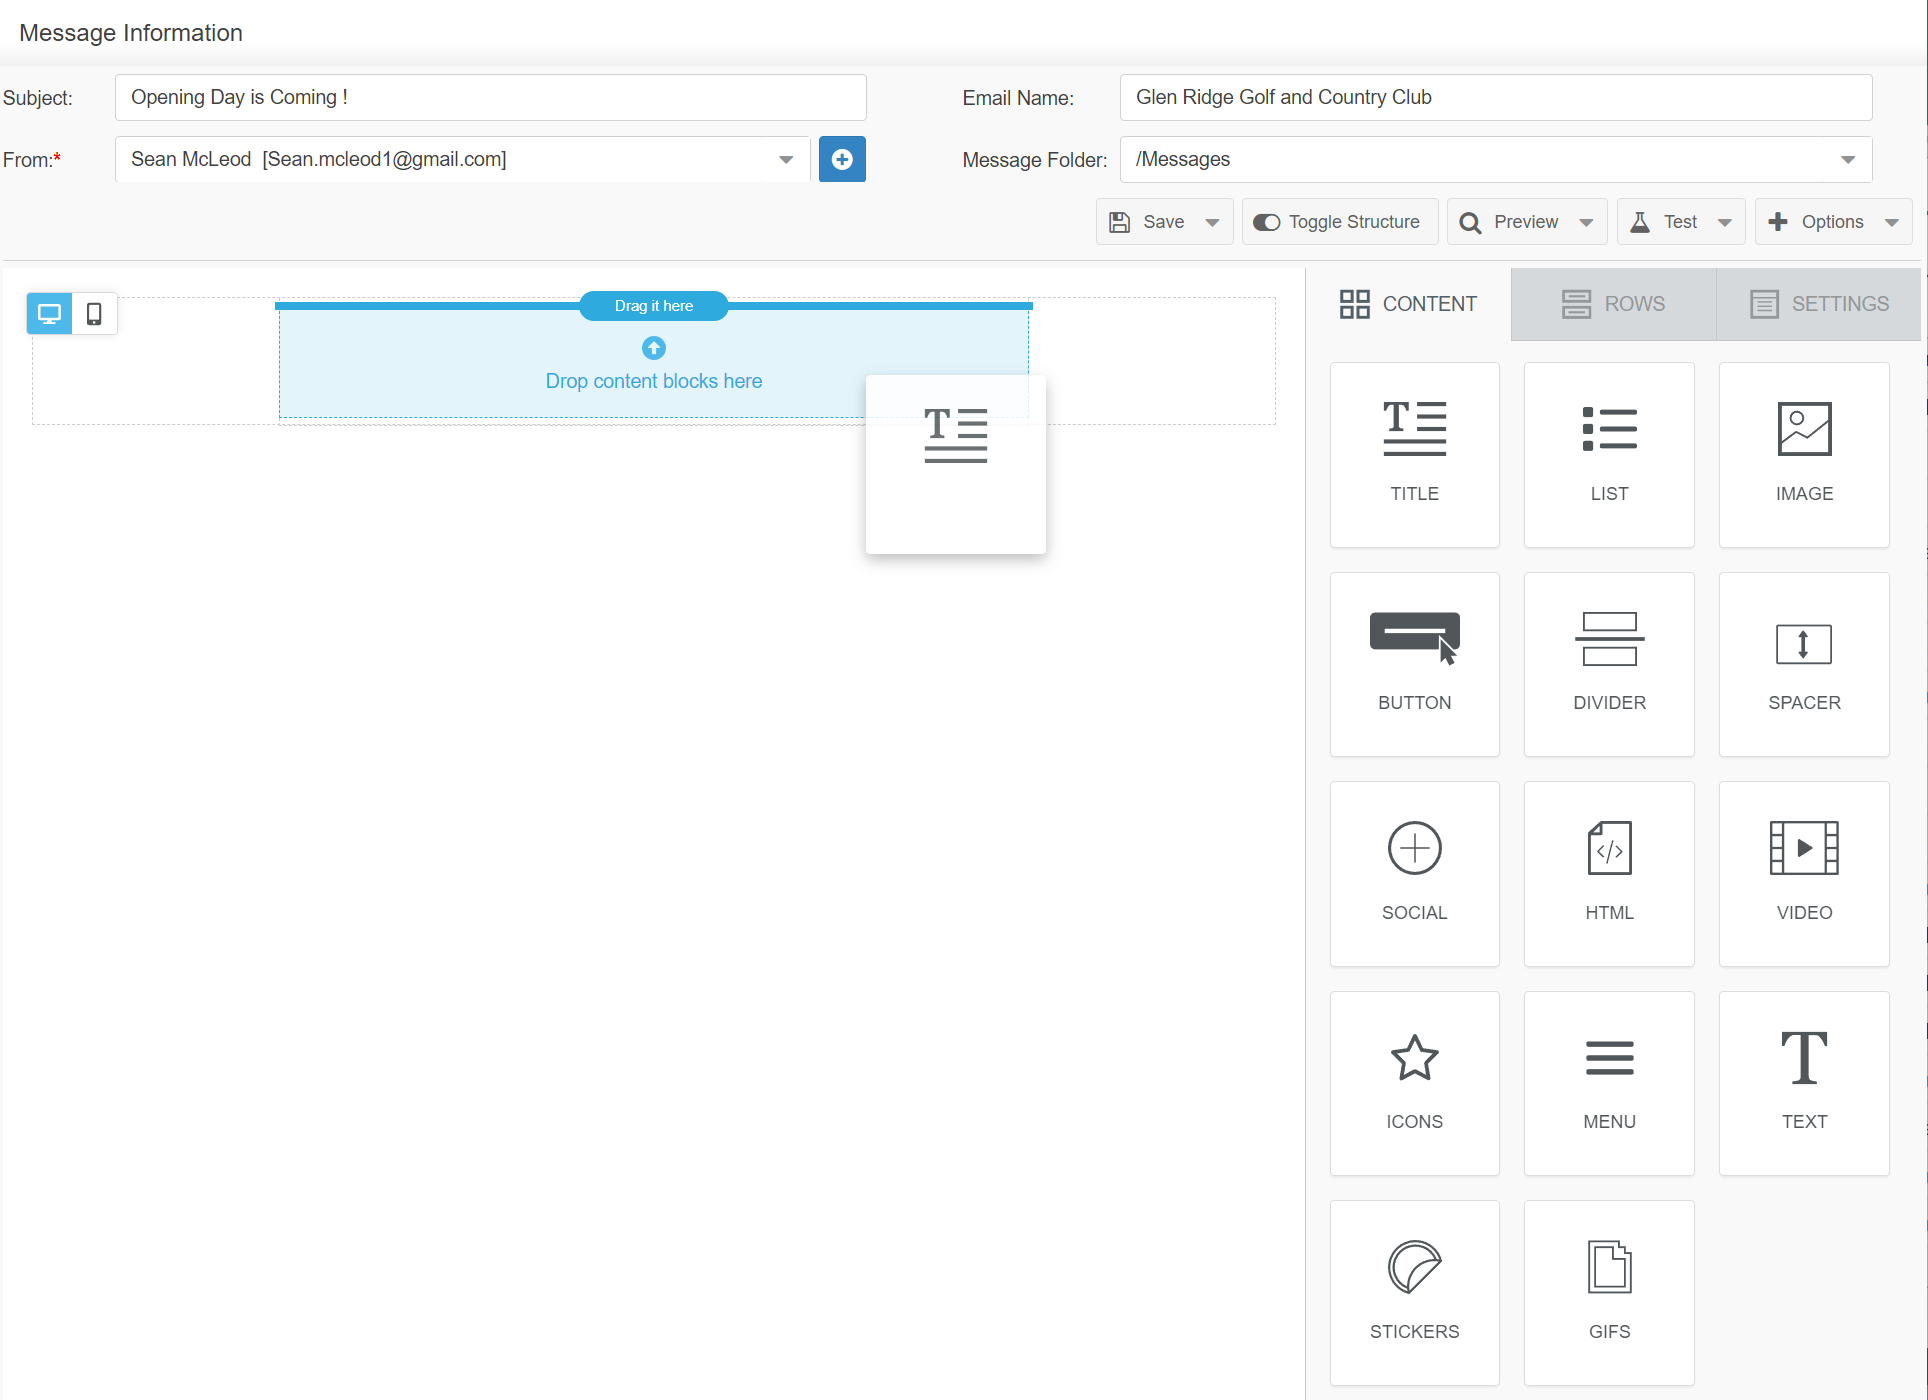
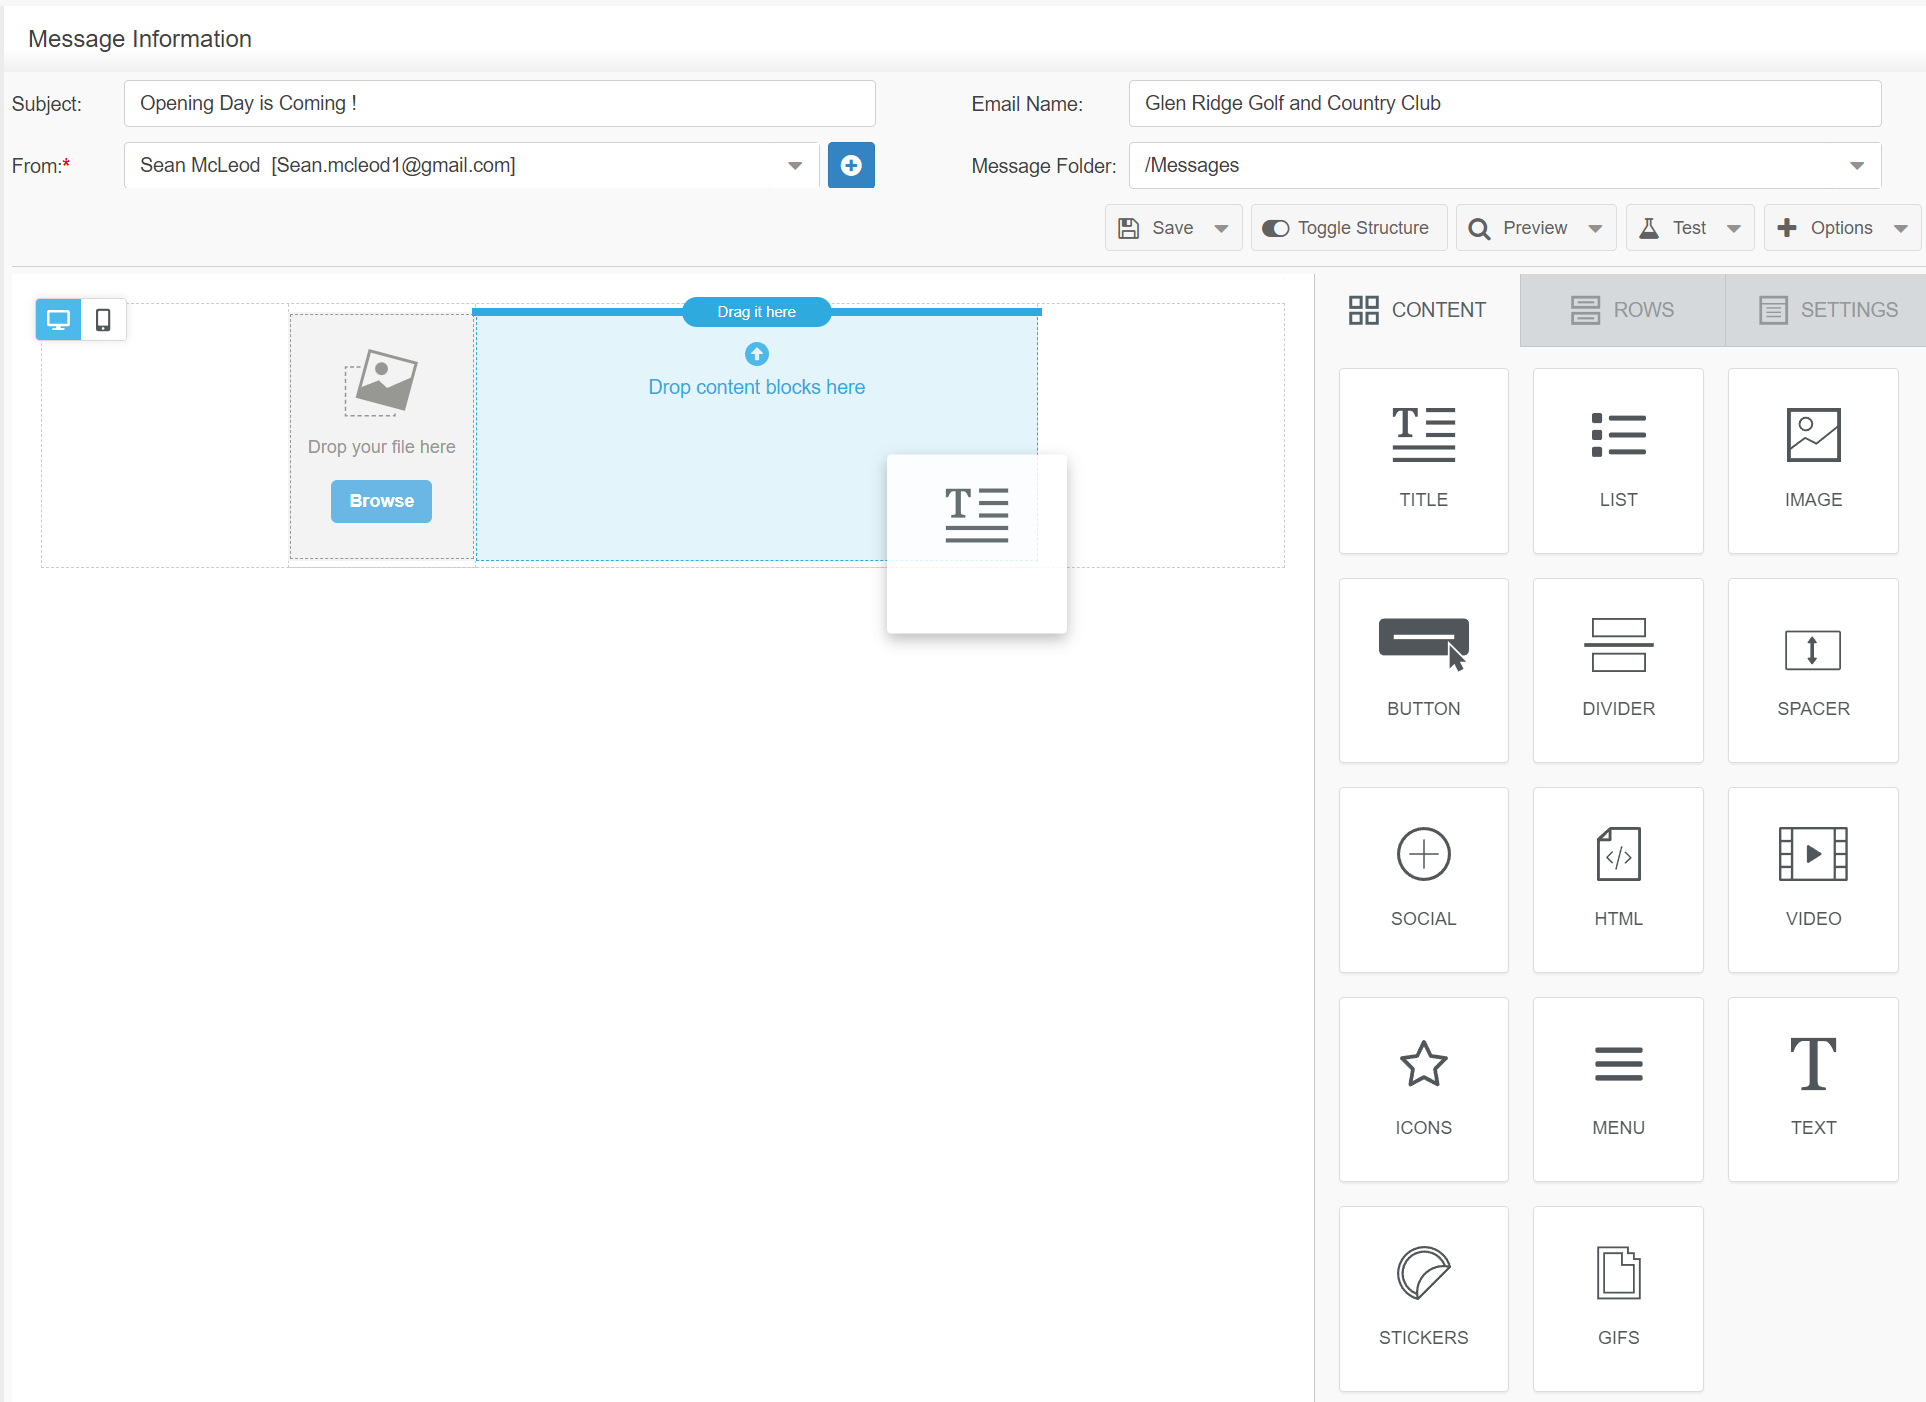
Click the Content tab
Drag in the type of content you'd like to add
Text
Images
Button
Divider
Social
Dynamic Content
Custom HTML code
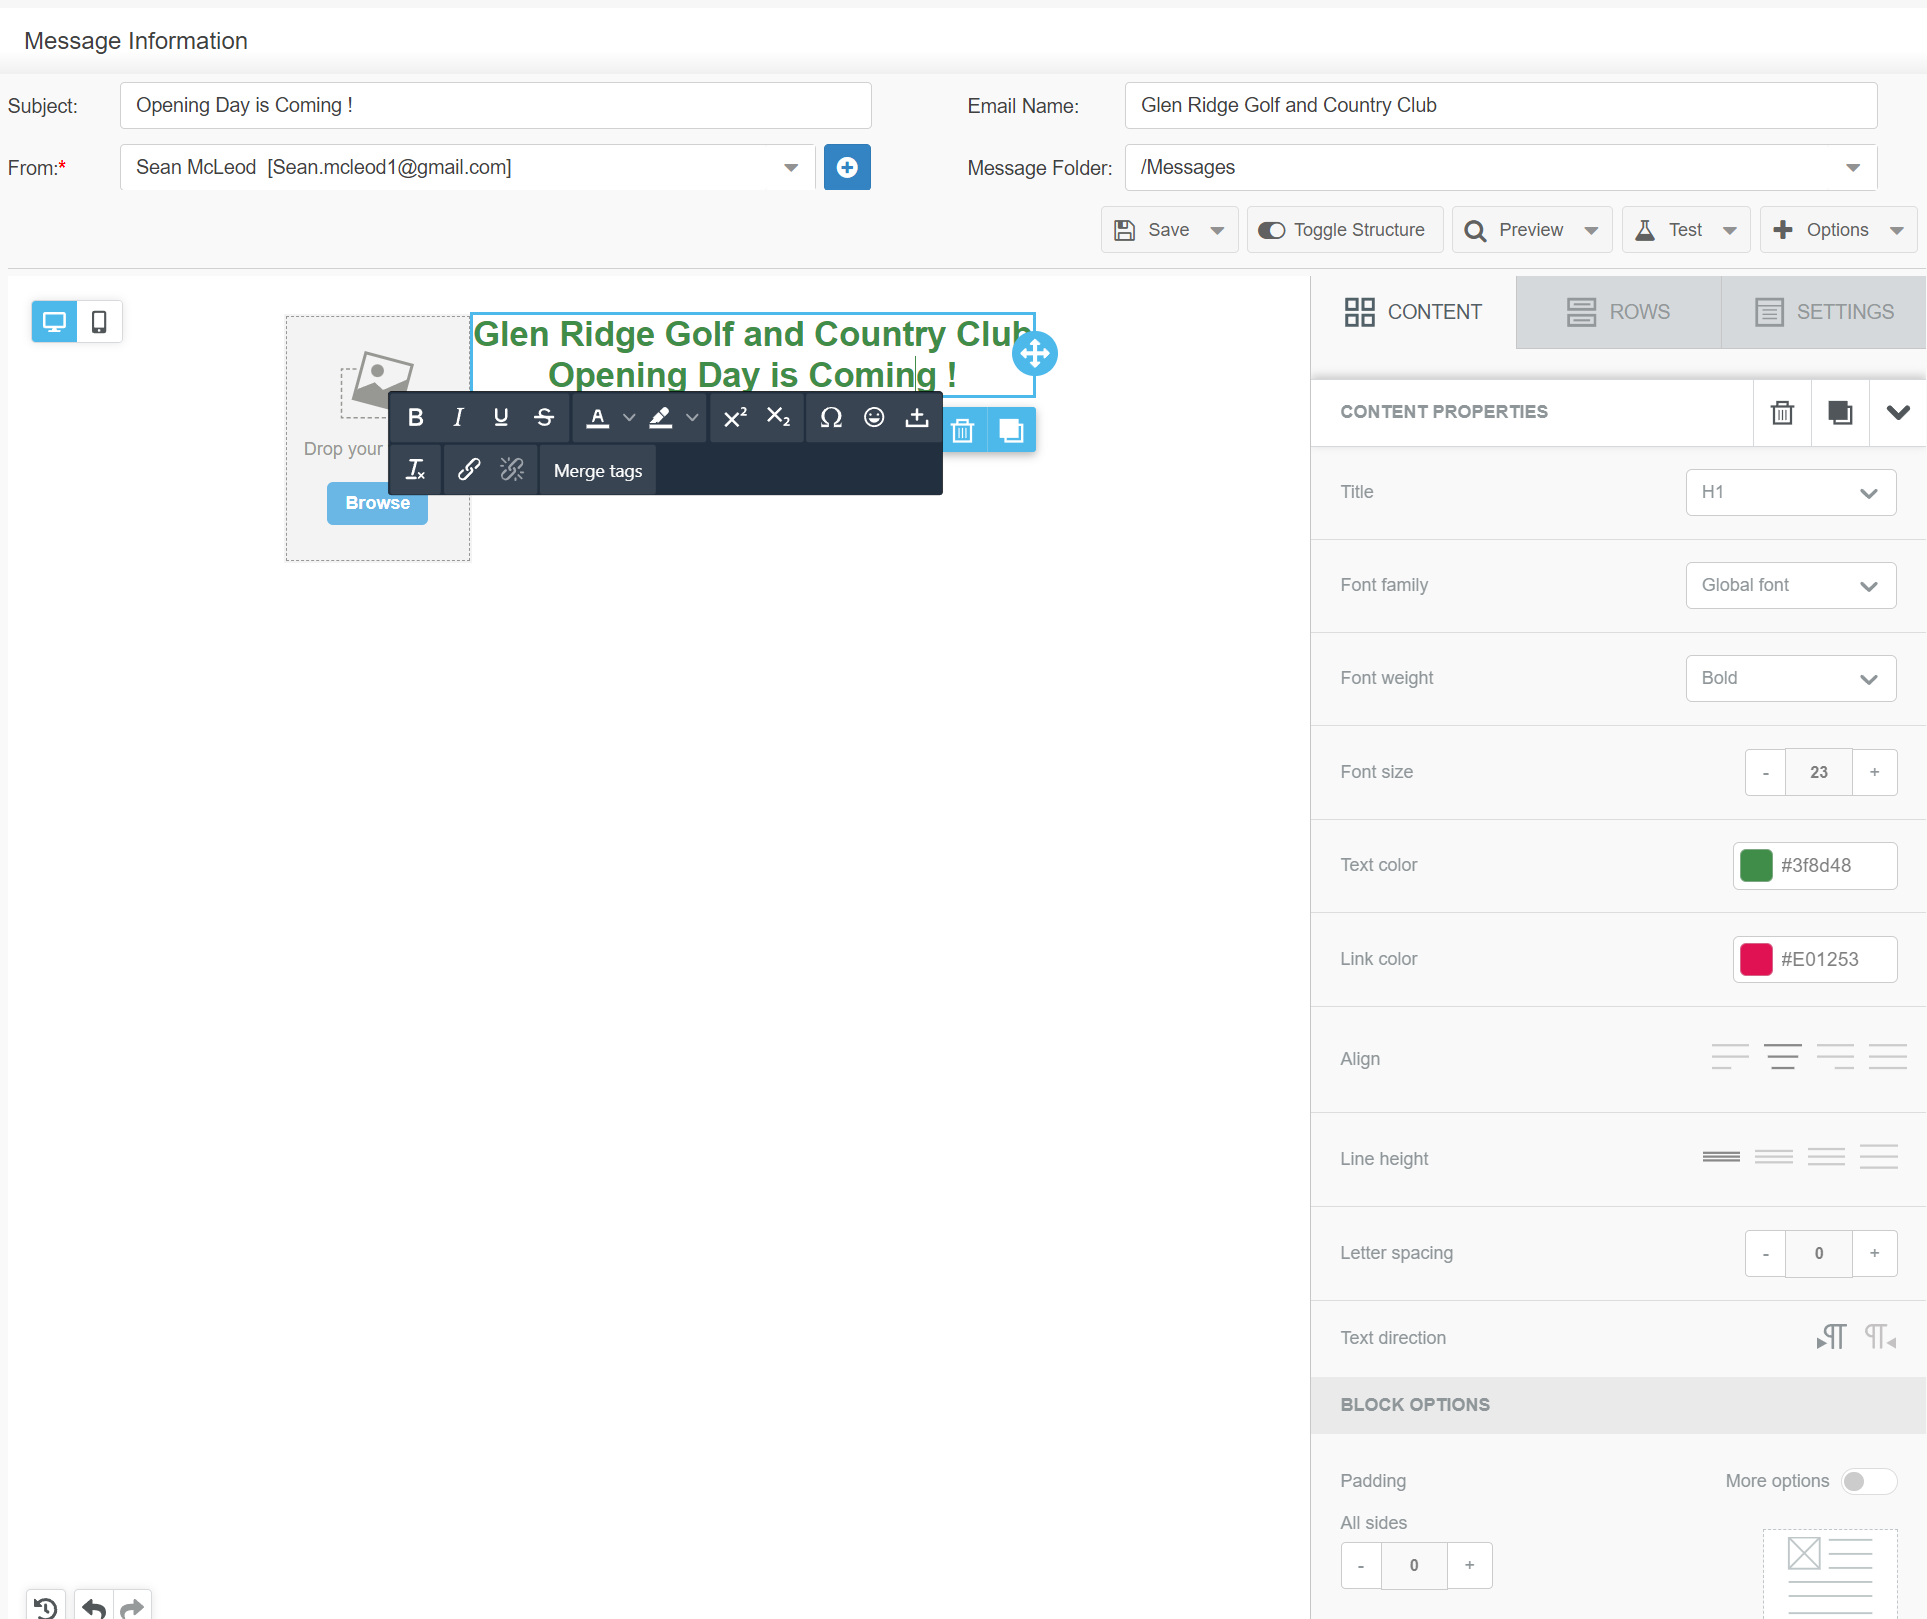
Drag + Drop Editor - Customize content
Click to highlight the content you'd like to edit. For example, if you highlight a piece of text content, you can click to highlight the text. Then the right column will show the properties of the text section, so you can edit the padding, font family, etc. for that section. If you click the text again, you can edit the text, change the font styles, and add links to the text.
Drag + Drop Editor - Delete or Copy Content
When you click to highlight a piece of content or a row, you'll see two icons appear. The trashcan allows you to delete that piece of content, and the other icon lets you duplicate that section.

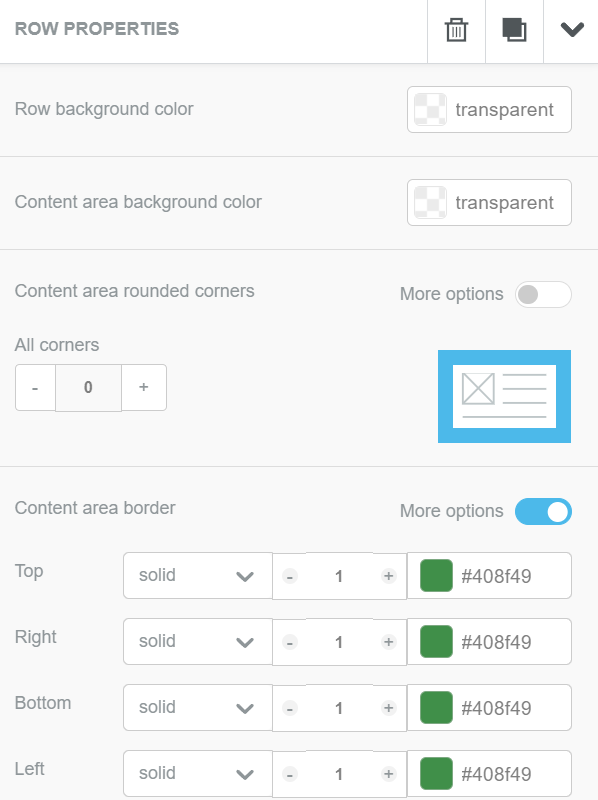
Drag + Drop Editor - How to Customize Borders
1. Add and adjust a border around any email row.
With the drag and drop editor, borders can be added to any email row. That means any structure in the row menu can have a border added along the top, bottom, right, and/or left sides. (For example, a row would be the one column or two column layout)
To add a border around these rows, simply select it, then make adjustments in the border menu on the right.

Drag + Drop Editor - How to Customize Borders
2. Adjust the width, color, and style of any border
The border menu will allow you to fine-tune the color, width, and style of a border. Select a row in the email, then set the border color and change the width.

Drag + Drop Editor - How to Customize Borders
3. Add a border that goes around an entire email
In the border menu, turn on more options using the slider in the upper right corner. Now, instead of adding a border just around an entire row, we can select which sides will be bordered: either the top, bottom, right, and/or left sides.
To remove the divider between the first (header) row and the second (body) row, adjust the top and bottom borders of each one. For example, you could select the header row and, in the border menu, decrease the bottom border to 0px. Second, select the body row and decrease the top border to 0px. With the horizontal borders between each row removed, the email should have a border around just the outside.
4. Add a border (or divider) between rows
Instead of a border around the outside of the email, what if we simply want a horizontal line between the header row and the main content? We can achieve this look in one of two ways. First, we can do the inverse of what we just did. We remove the top, right, and left borders from the first row, but we keep the bottom border only.
A second way of achieving this look is to remove all borders and simply drag in a divider from the content menu.
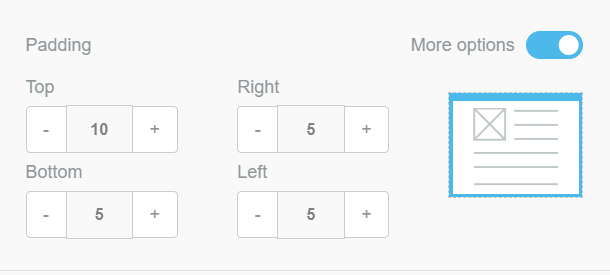
Drag + Drop Editor - How to Customize Padding
Padding can be adjusted around any email row or content element. This means you can increase or decrease the padding along the top, bottom, right, and/or left sides of any text block, image, or button, or even an entire row or column.
1. Adjust the padding around a structure such as a row or column of content
If you see content in the main body of the email crowd against the right and left borders without any space between them, simply select it, then make adjustments in the padding menu on the right.

Drag + Drop Editor - How to Customize Padding
2. Adjust the padding around a specific piece of content (like a button, image, or text block)
Padding can be adjusted at the content level, too. This means we can select almost anything in the email—like a logo, navigation text, header text, images, or button—and increase or decrease the padding around any of its sides.
Simply select the item you want to adjust. Once it’s highlighted, the same padding menu appears at the right. Turning on more options will allow you to add more padding to specific sides.
Drag + Drop Editor - How to Customize Social Icons
1. Position your social media icons
Most brands place social media icons at the header or footer of an email where readers instinctively look for standard info found in menus, like contacts and social media links. Design-wise, and from a message-comprehension point of view, it makes sense to place social media buttons at the opening or close of your email where they aren’t interrupting the flow of your central message.
To add social media buttons to any email, simply go to the Content menu and drag and drop the Social content block into your email’s row.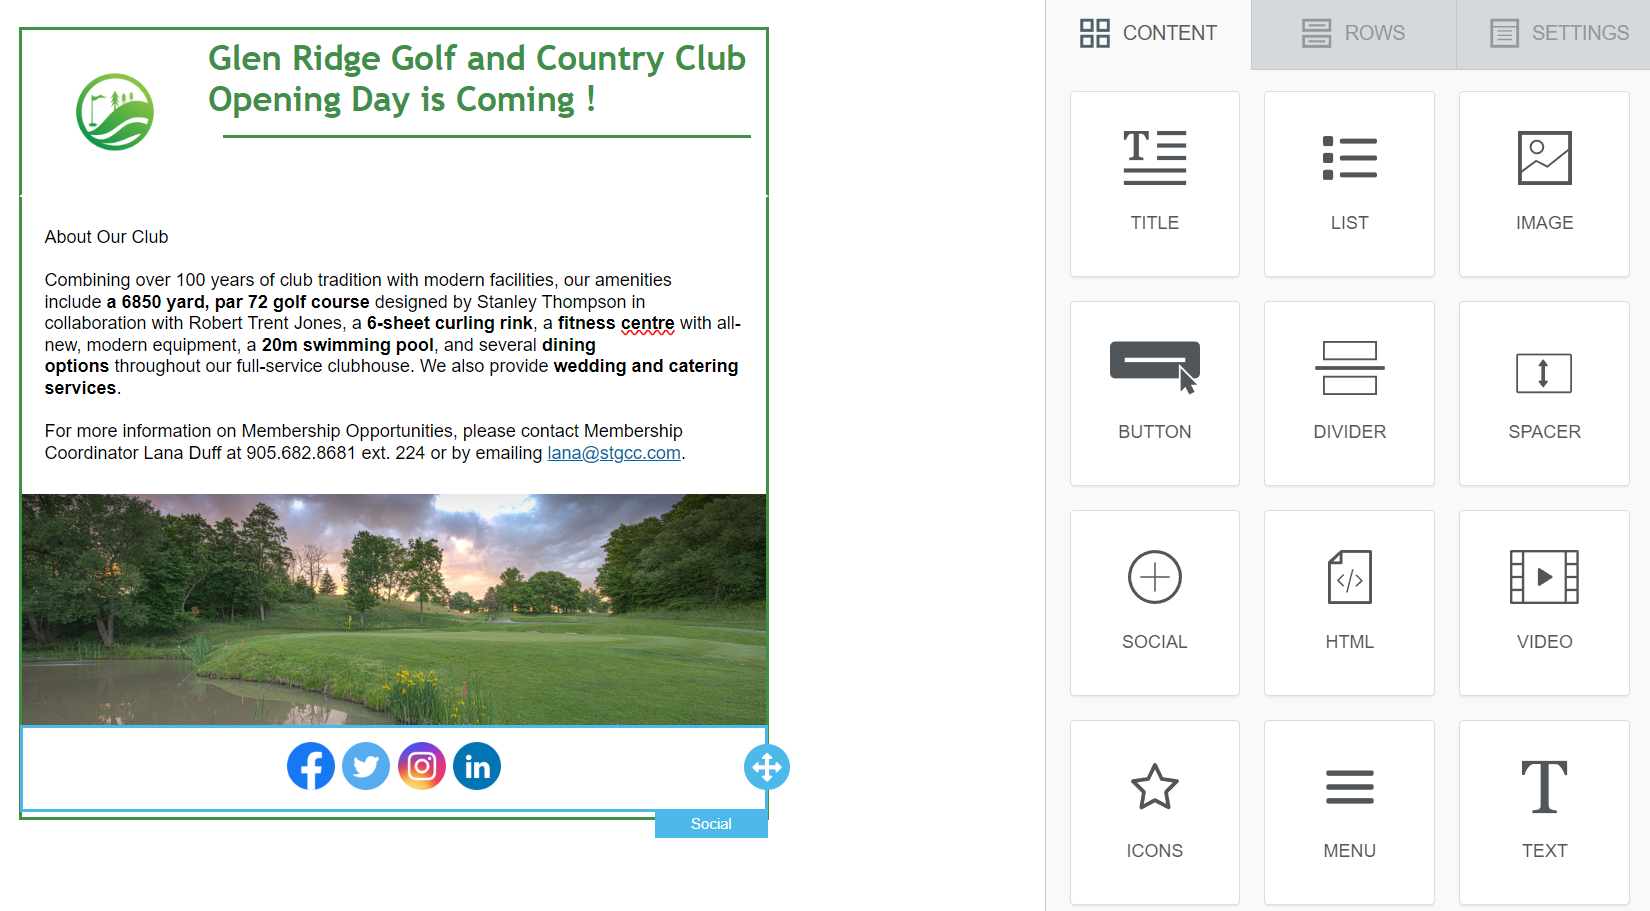
Drag + Drop Editor - How to Customize Social Icons
2. Add and remove social media icons
Now that the social media buttons are positioned in the email, click on them to activate the Content Properties menu to make changes. Click the trashcan icon on an icon to delete it. Then, select “Add new icon” and browse for the ones you'd like to add.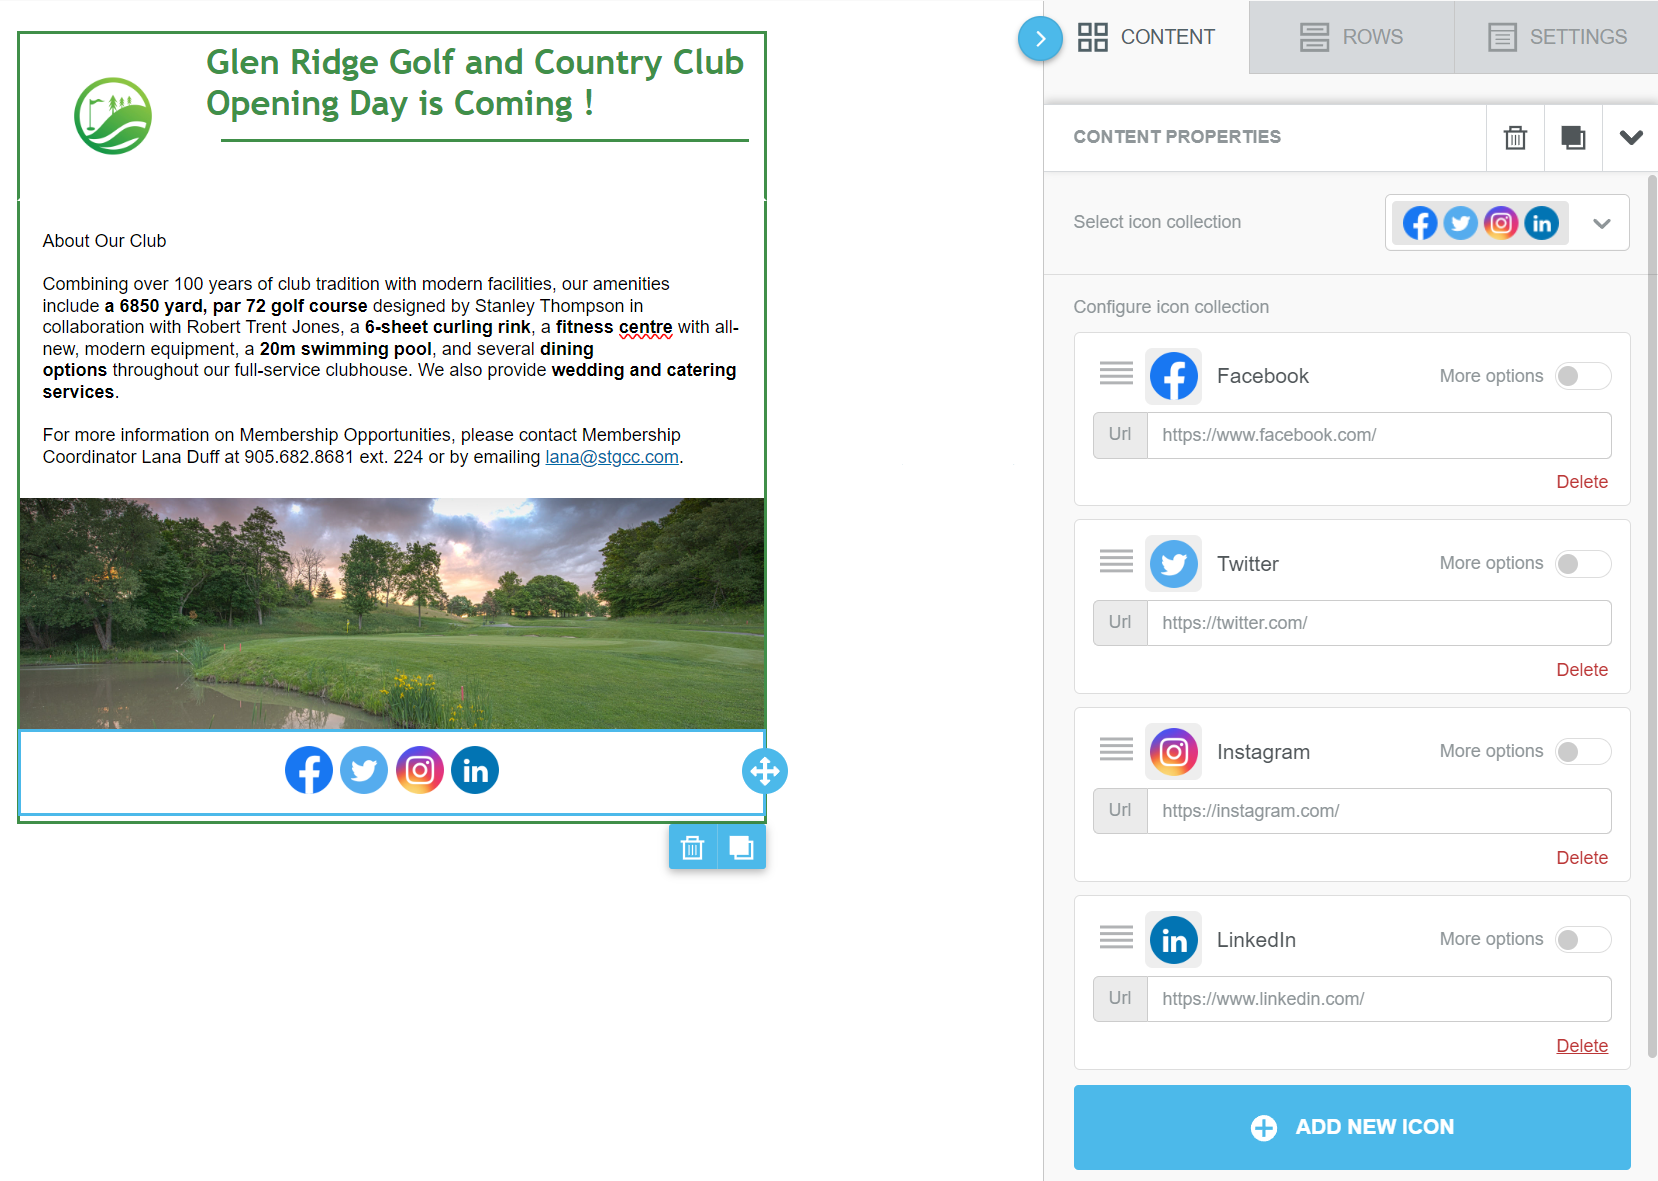
3. Customize the social media icons
Remember to link each social media icon to the appropriate account. Simply click “Edit” for each icon and add the appropriate URL.
Now that we have the buttons we need, we can format them in one easy step. The Select icon collection option is the first formatting choice in the Content Properties menu. From this menu, you can select the style of social media icons to use.
4. How to apply alignment, spacing, and padding
Back in the Content Properties menu, beneath the collection customization options, you have three more properties to configure: Align, Icon spacing, and Padding.
Use Custom HTML to Create an Email
To create a blank email:
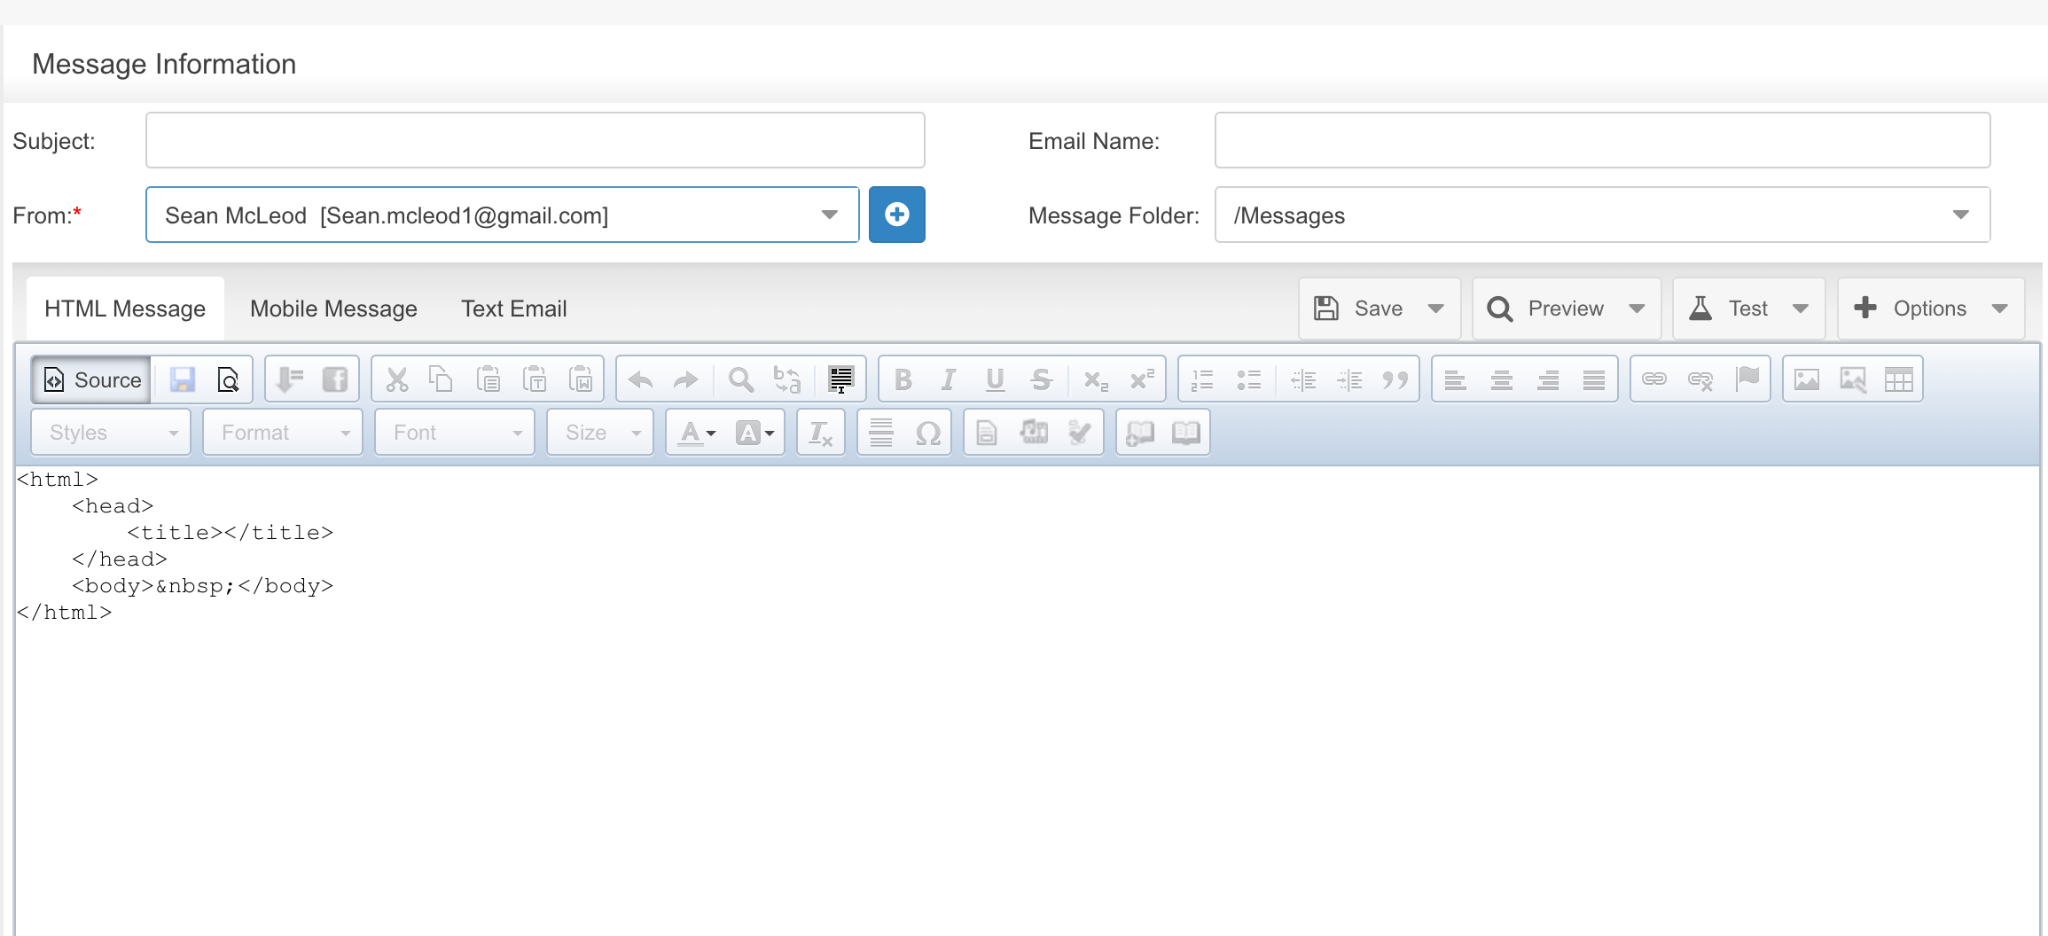
Type in the Subject and Name of your email
Enter the body of your email in the large box. You can format it using the tools below.
To save your progress, click Save. Or, when complete, click Save and Close.
To send a test email, click the Send Test Email button.

Spam Report / Link Verification Tool
You can also check the quality of your email to find broken links and check for spam indicators. To do this:
Click Test, then Spam / Link Check. The dialogue box appears letting you know the results of the test. You will receive a spam score based on a scale of 100.

Related Articles
Managing Contacts and Lists in the Email Marketing Tool
Article contents: This article contains information on managing contacts and lists in the Club Caddie Email Marketing tool, including syncing customer data, lists, and custom fields from Club Caddie, creating and managing lists and subscribers within ...Send Your First Email
Article Contents: This article provides a step-by-step guide on how to send your first email campaign, including instructions for sending test emails, using the Inbox Preview tool, and sending the actual email to your subscribers. Test Send Please ...Getting Started Guide
Welcome to the Getting Started Guide! Step 1: This Quick Start Guide will walk you through the 4 basic steps to get started as a new user for Club Caddie's built-in email marketing tools. Step 2: If you have elected to add email marketing to your ...View Tracking Reports for Your First Email
Article Contents: This article explains how to view and interpret email tracking reports for an email campaign. Email Tracking The Email Tracking report displays a summary report for all of the messages that are sent. This report shows an overview of ...Automated Messages
Article Contents: This article contains information about automated messages in an email marketing system. It covers what automated messages are, how to set them up based on subscriber dates or dynamic lists, how to configure the sending frequency ...