Managing Contacts and Lists in the Email Marketing Tool
Article contents:
Syncing Data from Club Caddie
The first and most important step in the set-up process, is the syncing of your customer data from the Club Caddie platform to the Club Caddie Email Marketing tool. By setting up this sync, whenever a new customer is added in Club Caddie, it will then sync into the Club Caddie Email Marketing tool, at which point you can begin to connect with that particular customer.
Don’t worry either, you’ll not be responsible for setting up this sync. Someone on the Club Caddie Onboarding team will ensure that the sync is set-up correctly and that the data is flowing from one to the other.

Sync Customers
The most important part of the sync is the transferring of all of the customers and their associated information fields that you require to email them. The first and last name, as well as email, is the obvious information that’s needed. You can also pull over various other fields from Club Caddie into the email marketing, to better filter the fields, helping in the process of creating specific lists.
The great thing is, once you have done the sync for the first time, any new customer that is created in Club Caddie will sync into the email marketing tool, eliminating the need for manual exporting and importing of customer information.

Sync Lists
When sending emails from a email marketing tool, you’re not going to send the same email to everyone on your mailing list. More often than not, you’ll be sending emails to a specific group of people, or a list of people. These lists can be based on a membership type, a birthday, a group, or league that play every week, etc. These lists are meant to allow you to focus your correspondence on one specific group.
Within Club Caddie, you’re able to create lists that can sync to the email marketing tool, eliminating the need create the list once in the emailing platform and saving time.

Sync Custom Fields
Custom Fields are identifiers that allow you to differentiate one customer from another. It’s also a great way to segment people into specific categories, making it easier for a golf course marketer to target a particular audience in their email marketing.
These custom fields are built in Club Caddie and can be synced to the Email Marketing tool. These fields can include anything specific to the player including, name , last visit, Zip Code, State, Gender, Date of Birth, etc.

When sending emails to your subscribers, in most cases you’ll have a target audience in mind that you’re wanting to target with the email. By using lists within Club Caddie Marketing, you’ll be able to have pre-built mailing lists for many purposes, that will allow you to send a specific email to a specific audience.
Great examples of lists often seen at golf courses, could include, but not limited to: Monthly Birthday Lists, League Player Lists, Membership Types Lists, Social Outing Lists, Activities User Lists, etc.

Add a List
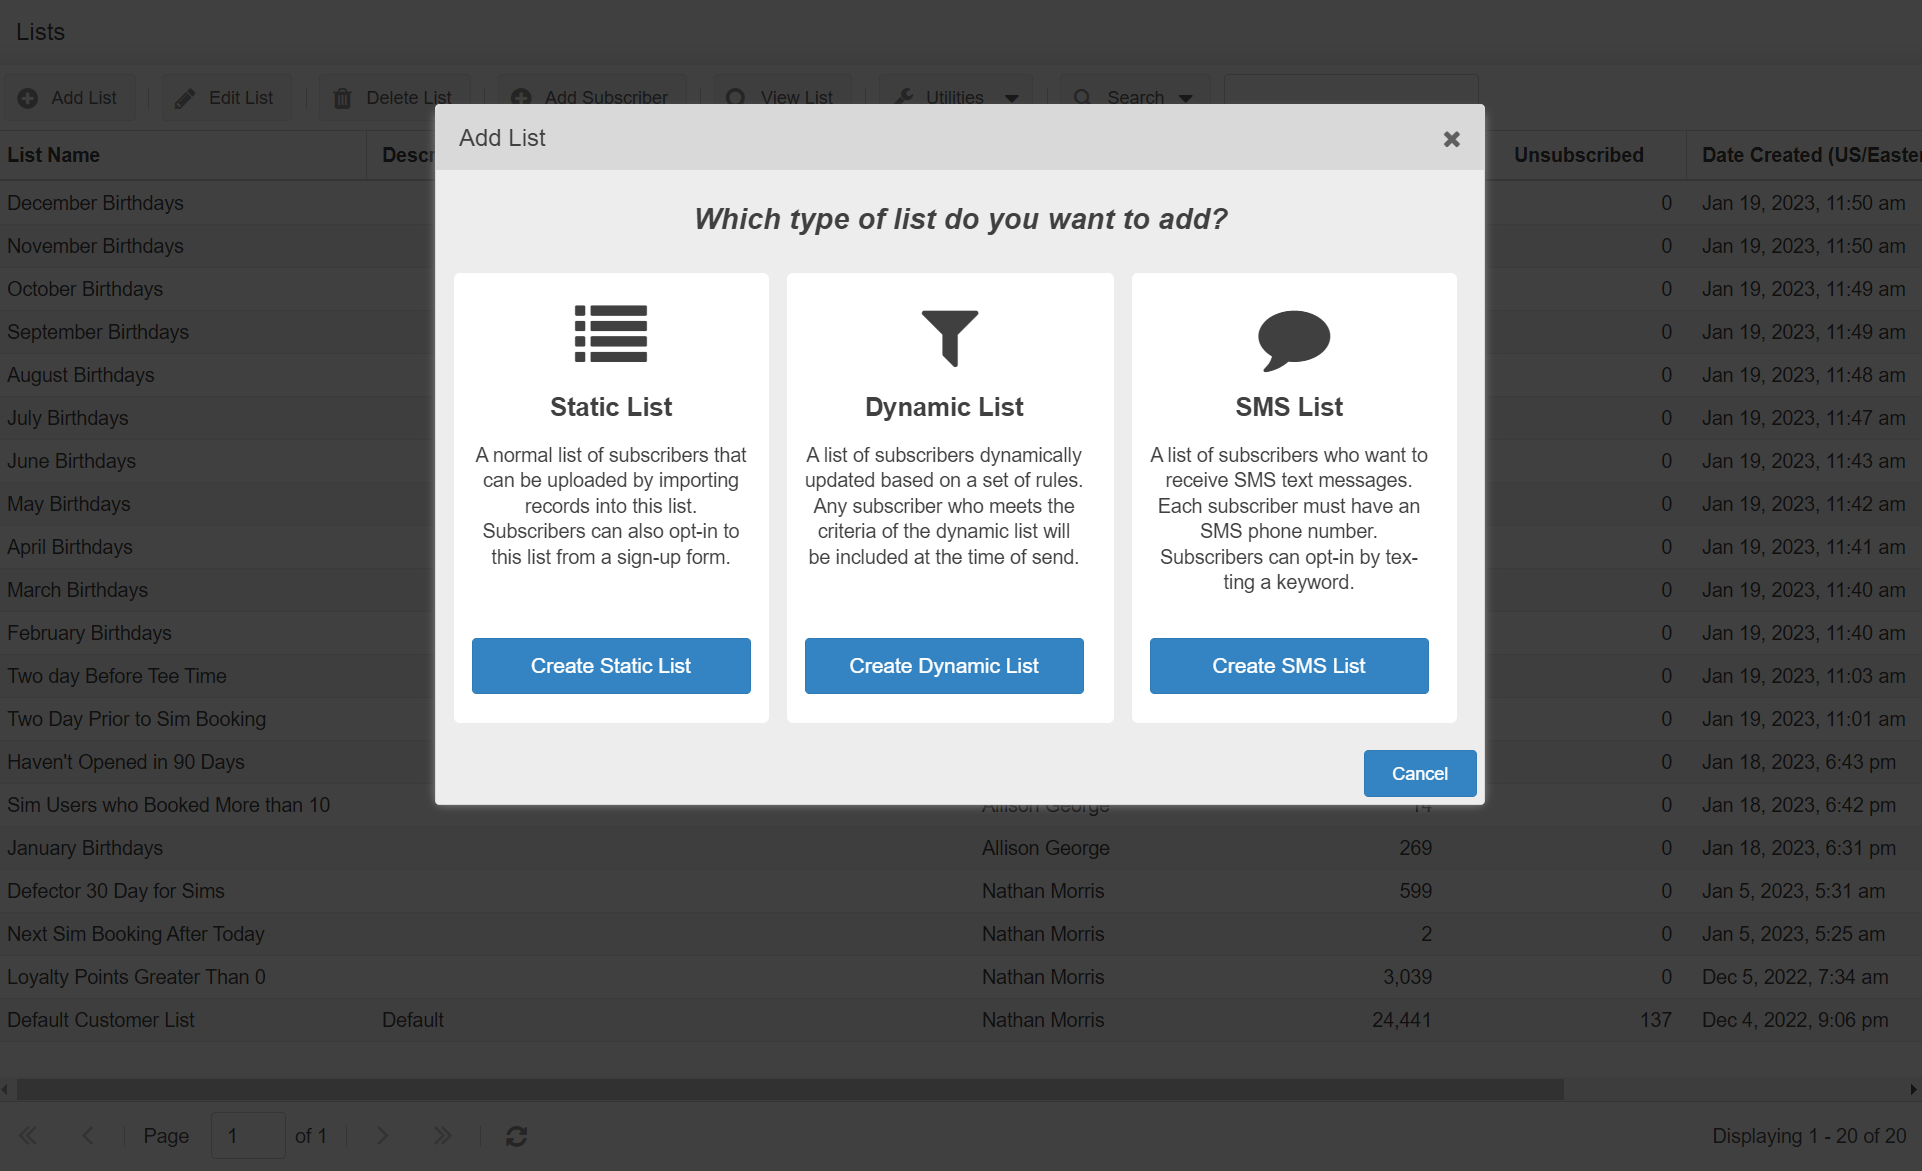
Open the Subscribers & Lists folder and click Lists
Click the Add List button at the top of the grid and select the type Static (select SMS if you are creating a new SMS list or Dynamic to create a Dynamic List)
Enter a List Name
Add an optional description for internal reference
Save the list in a specific folder (defaults to the main Lists folder)
Check Show on subscription center if you would like subscribers to be able to change preferences for this list on the profile center page
Open the Subscribers & Lists folder and click Lists
Click the Edit List button at the top of the grid and select the type Static (select Dynamic to create a Dynamic List)
Go to the dropdown list and make any adjustments in the fields section, or values section
You can also add another Rule Group to add an additional qualifier for this list
Click Save and Close

Delete List
Open the Subscribers & Lists folder and click Lists
Click the Delete List button at the top of the grid
You’ll be asked if you’re sure that you want to Delete this list
Click Yes

Sometimes you need to add one or two subscribers to a list and don't want to have to run an import. (If you want to add a list of subscribers to an existing list, please read the wiki article Importing Your List and select the list you would like to import into.) To add a single subscriber to a specific list, please follow the steps below:
Open Subscribers & Lists in the left menu
Click Lists
Select the list you would like to add the subscriber to by clicking the list once
Click the button in the top toolbar, Add Subscriber
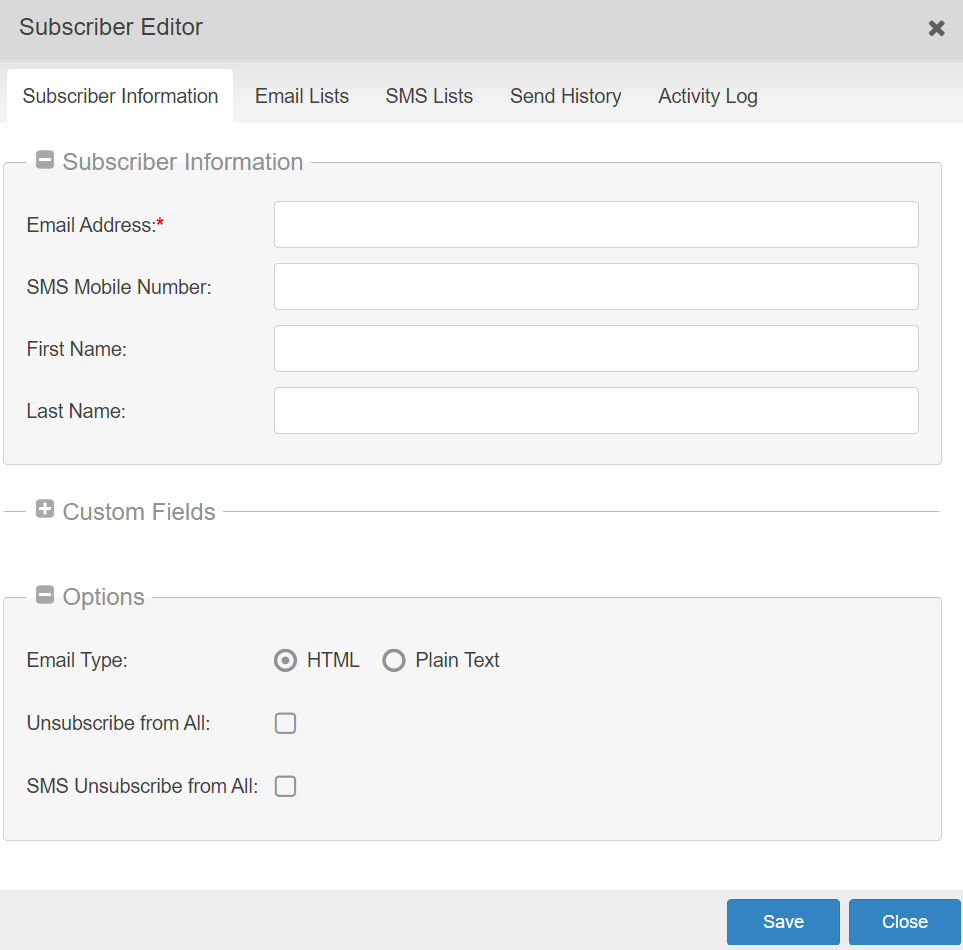
In the Subscriber window, enter the subscriber's information (email address)
Scroll to the bottom and click Add
The subscriber is now subscribed to the list
Please follow these steps to manually edit subscriber subscription preferences:
Open Subscribers & Lists in the left menu
Click All Subscribers
Search for the subscriber's email address in the search bar
Edit the subscriber by clicking the email address twice or by selecting the subscriber and clicking Edit Subscriber
Open the second tab, Available Lists
Find the lists you would like to add the subscriber to and check the check box next to the list

Creating lists will help you organize subscribers for quick and easy email sends. A subscriber list is a group of subscribers that are associated with the list, such as a Current Customer List and a Prospective Customer List. A subscriber can be on one or many lists simultaneously.
To create a list, you can add a normal list, import into a list, or add a dynamic list.

You can create a new list and import into it by opening the Subscribers & Lists folder and clicking Import. Click Import into a New List. Then name it and import into this new list.
For more information, read the Wiki article called Importing a List.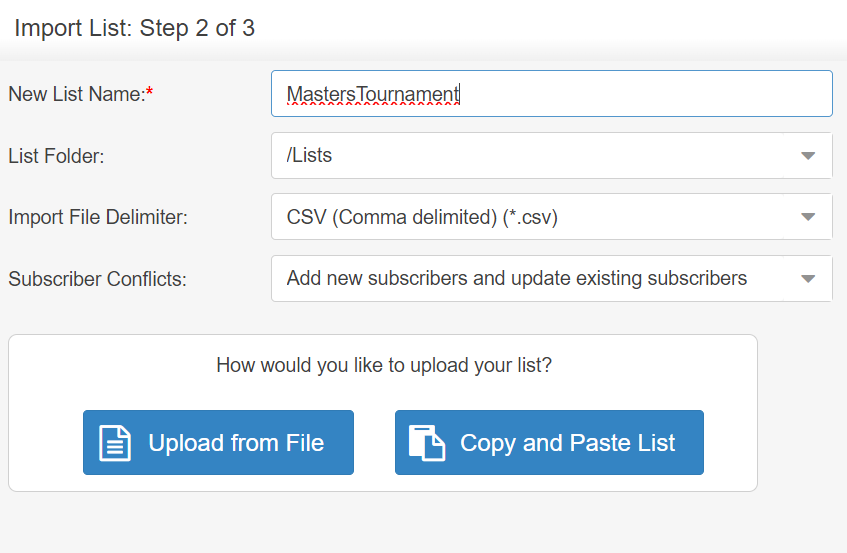
Create Custom Fields
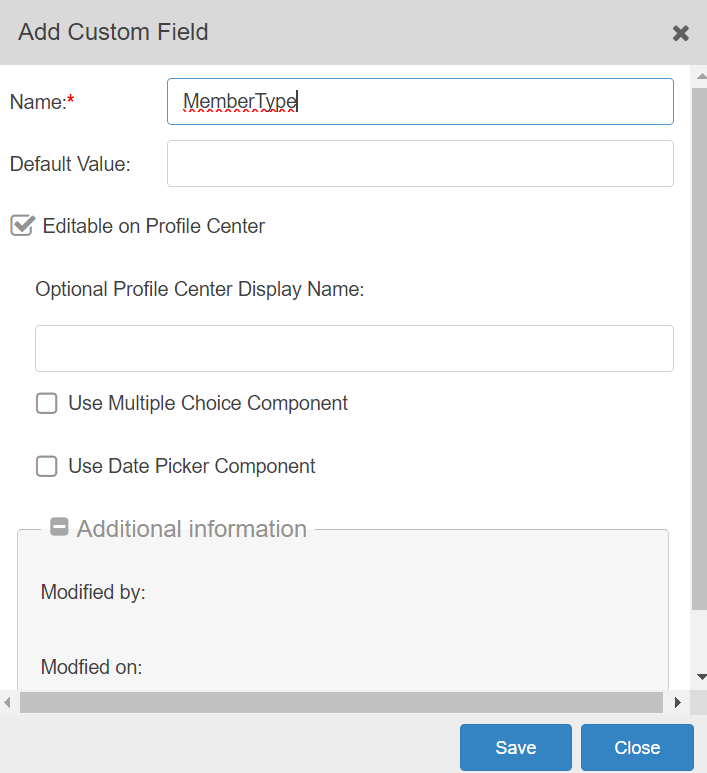
A custom field allows you to collect and/or store information about a subscriber that can later be used to create dynamic lists or to merge information into the body of your email message, or subject line.
To add a custom field:
Open the Subscribers & Lists folder
Click Custom Fields, then click the Add Custom Field button
Type in the name of the field
Optionally, you can add a default value. Example: "Dear Customer". If no default value is needed, just leave this field blank
Open the Subscribers & Lists folder
Click Custom Fields, then click the Edit Custom Field button
Update the custom field information and then click Save

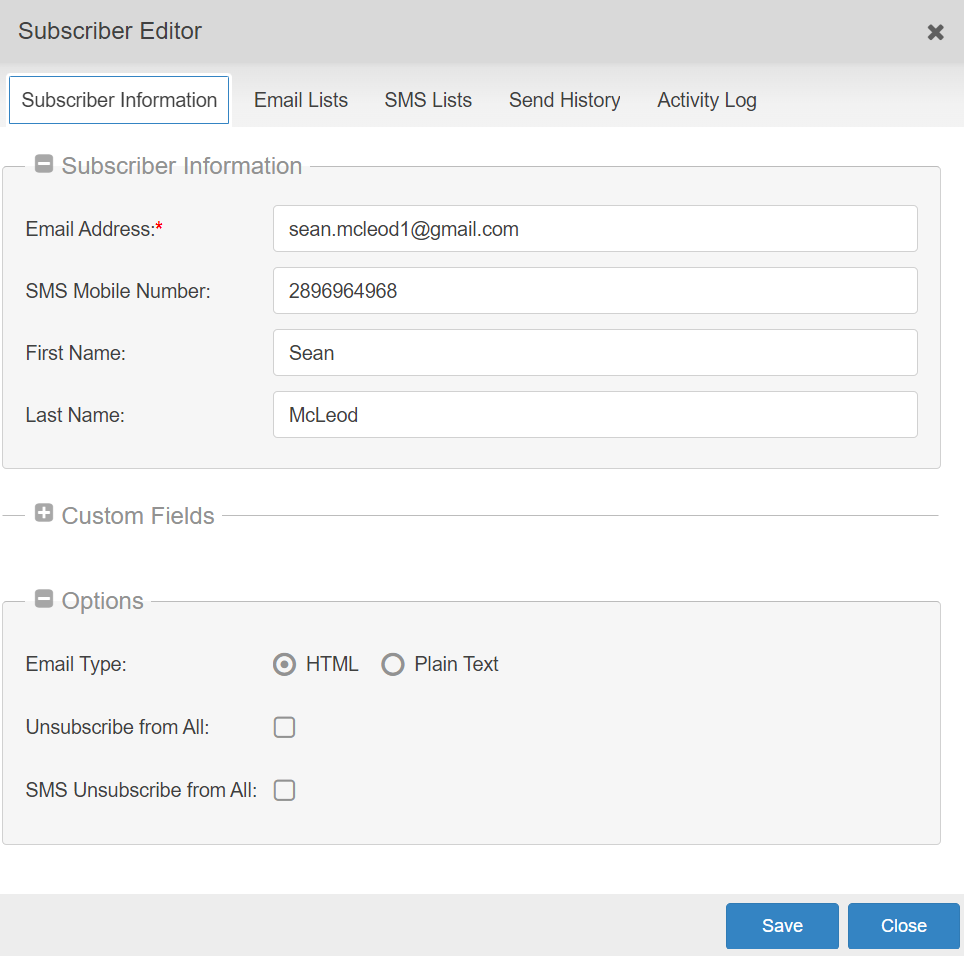
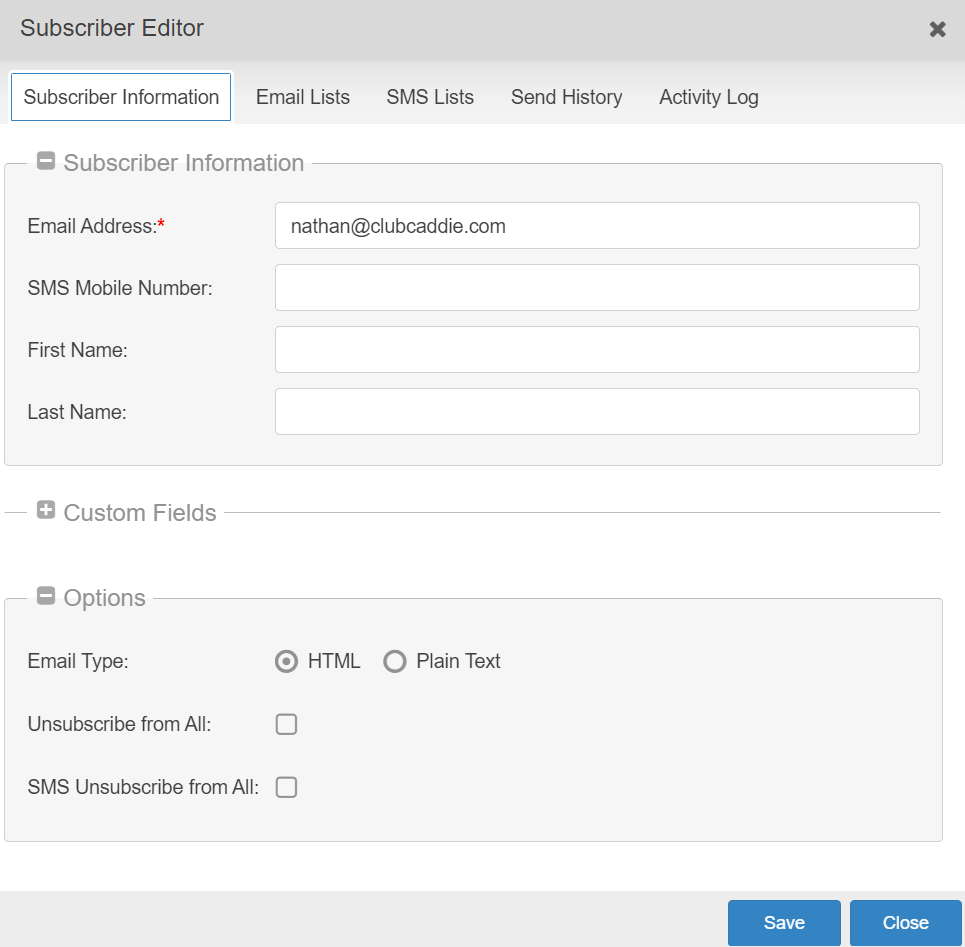
Edit a Subscriber
How Does an an Admin Manually Edit Subscriber Information?
An administrator can manually edit a subscriber's information, including custom fields and subscription preferences.
Open the Subscribers & Lists folder
Click All Subscribers
Search for the subscriber in the Search window by entering any part of their email address, first name, or last name
Once the subscriber has been located, select the record and double-click it to access its detailed subscriber record

Edit a Subscriber
How Does an an Admin Manually Edit Subscriber Information?
Expand the Custom fields section by clicking the arrow and then edit the fields as needed
To manually unsubscribe this subscriber from all future messages, check the box "Unsubscribe from All"
To change what lists the subscriber is on: under the Available Lists tab, check the list(s) to which the subscriber wishes to be re-subscribed
Click Update to save the changes
An administrator can manually add a subscriber back to the list(s) from which the subscriber had unsubscribed.
Open the Subscribers & Lists folder
Click All Subscribers
Search for the subscriber in the Search window by entering any part of their email address, or name
Once the subscriber has been located, select the record and double-click it to access its detailed record
In the first tab, make sure that the option is NOT checked to Unsubscribe from All
Under the Available Lists tab, check the list(s) to which the subscriber wishes to be re-subscribed
Click Update
Related Articles
Create Your First Email
Article Contents: This article contains instructions on how to create and customize emails using the drag and drop email editor in a marketing platform. It covers creating emails from scratch or using templates, editing styles, adding and customizing ...Send Your First Email
Article Contents: This article provides a step-by-step guide on how to send your first email campaign, including instructions for sending test emails, using the Inbox Preview tool, and sending the actual email to your subscribers. Test Send Please ...Getting Started Guide
Welcome to the Getting Started Guide! Step 1: This Quick Start Guide will walk you through the 4 basic steps to get started as a new user for Club Caddie's built-in email marketing tools. Step 2: If you have elected to add email marketing to your ...View Tracking Reports for Your First Email
Article Contents: This article explains how to view and interpret email tracking reports for an email campaign. Email Tracking The Email Tracking report displays a summary report for all of the messages that are sent. This report shows an overview of ...Automated Messages
Article Contents: This article contains information about automated messages in an email marketing system. It covers what automated messages are, how to set them up based on subscriber dates or dynamic lists, how to configure the sending frequency ...