Settings – Course User Info
Article Contents:
This article contains information on users of the courses information, how to add a new user, how to edit a user, and how to change the log of the user.
Step-By-Step:
Step 1: Click on the Gear Wheel Icon on the top right corner of the screen.
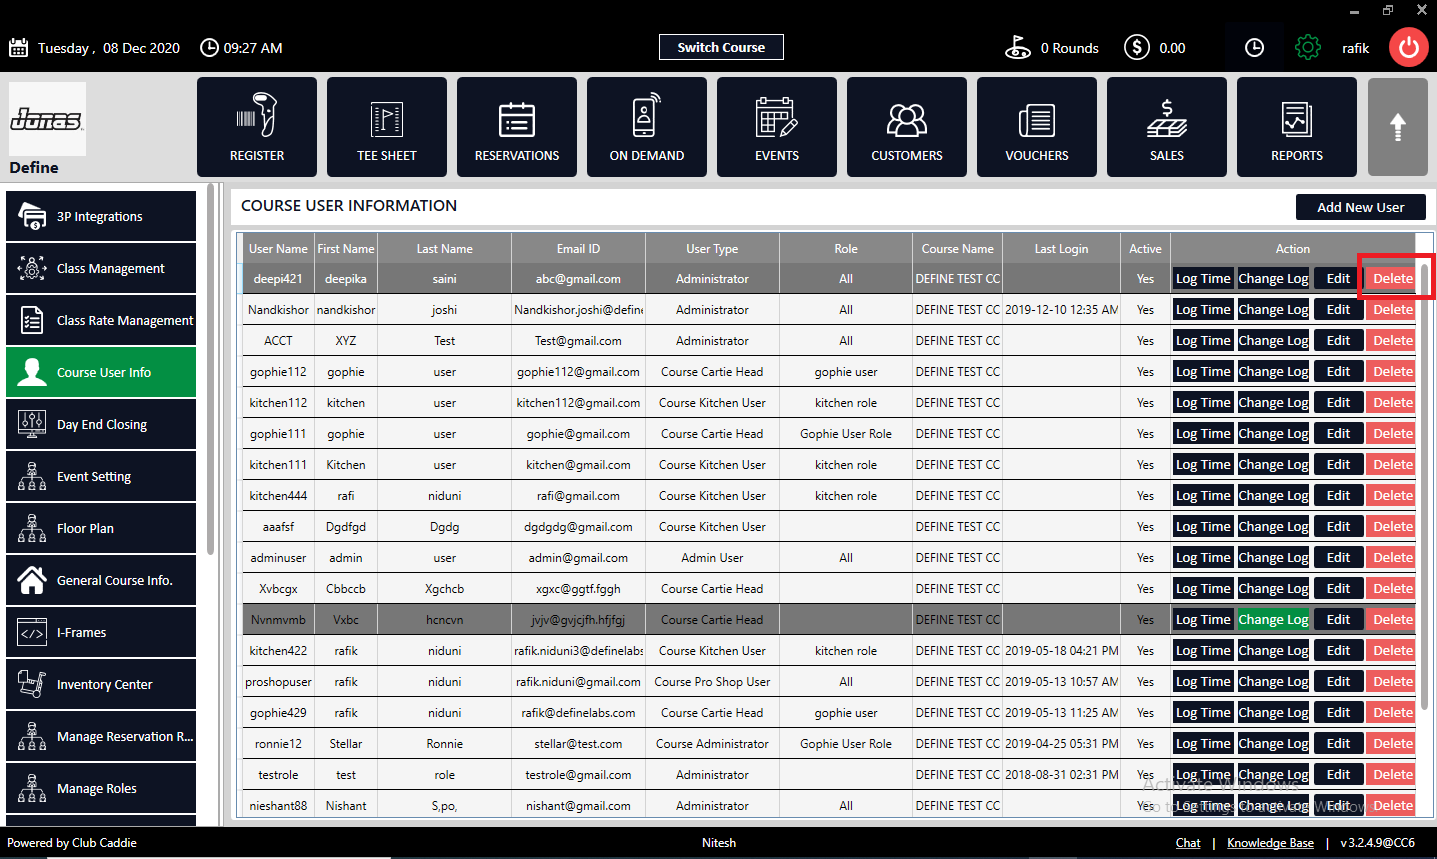
Step 2: Click on the Course User Info button from the left menu.
Step 3:
Adding a New User – Click on the Add New User button on the right side of the screen. The system will open an ADD NEW USER window.
The following fields are to be filled in: First Name, Last Name, Email Address, User Name (Used to log into the Terminal), Password (Used to log into the Terminal), Confirm Password, Phone No., User Type, User Role, User Status, POS Override Pin (Can only be added for user roles who have access to manager override), Unique Identification Pin, User Tab Color (Can set a color-specific color code for each user).
Step 4:
Edit User Info – Click the Edit button in the Action section of the window for an existing User Name. The system will open a pop-up named UPDATE USER where user information can be updated. For example: To change a user's phone number, input the new telephone number and click on the SUBMIT button. Once SUBMIT is clicked, the system will update the user information.
Step 5:
Change Log – Click on the Change Log button. The system will open a Change Log Inventory. The window contains a log of changes made to the User Profile. The categories are Date, Description, Fields Changed, and Changed By.
Delete – To delete a user, select a user and click on the Delete button to remove the User from the COURSE USER INFORMATION. This function is typically used post termination of an employee.
Step 7:
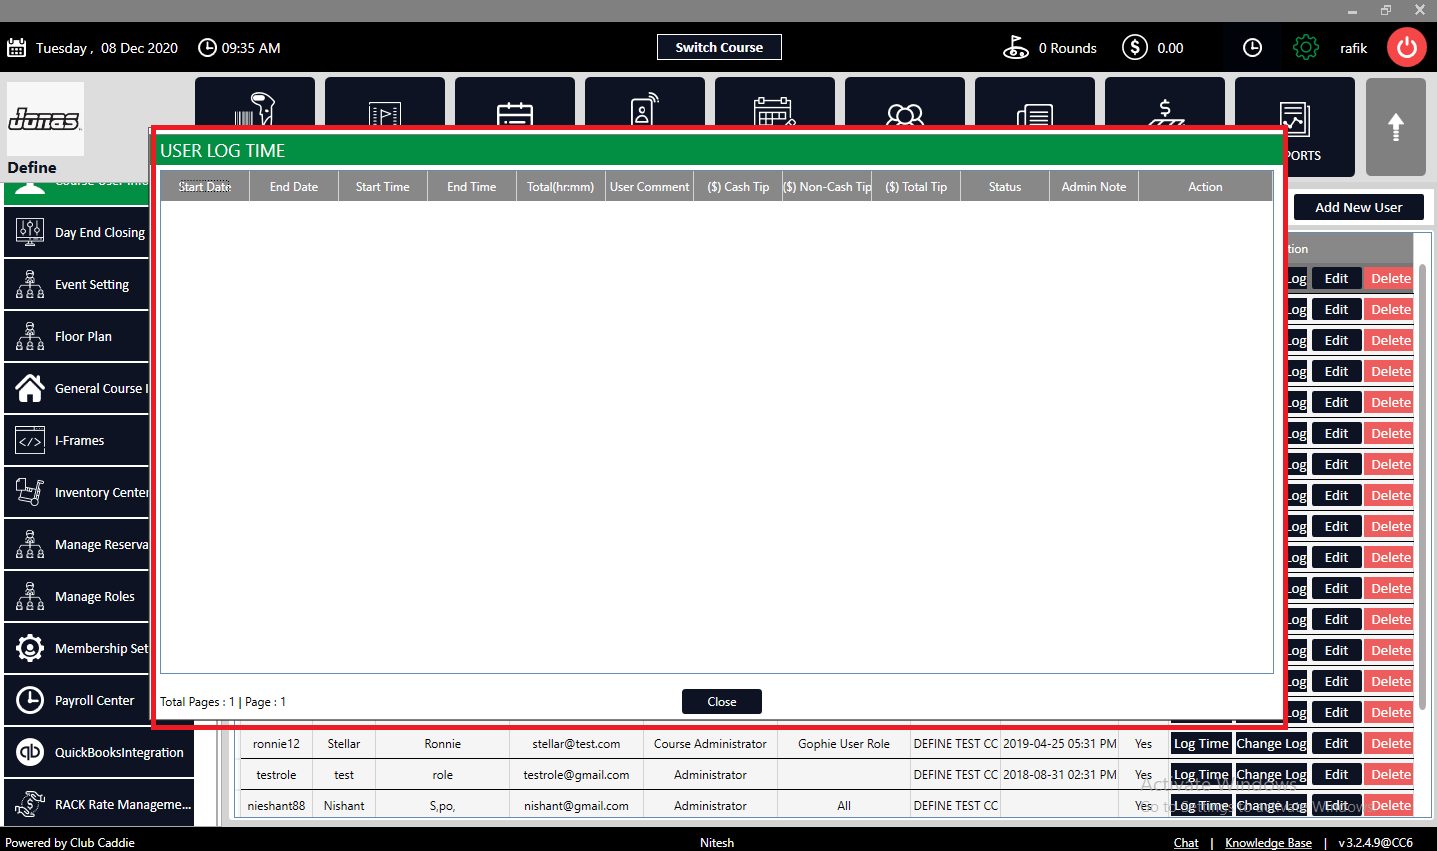
Log Time - Select a user and click the Log Time button. The system will open a USER LOG TIME window where login information regarding that particular user like Start Date, End Date, Start Time, End Time, and Total (hr: mm) can be viewed.
Related Articles
Settings – Course User Info-How to change user password
Article Contents: This article contains step-by-step instructions on how to change a user password. Step-By-Step: Step 1: Click on the Gear Wheel icon on the top right corner of the screen. Step 2: Click on Course User Info in the left-hand menu. ...Settings - Register Settings - Meal Course
Article Contents: This article contains step-by-step instructions on how to edit your display sequence for items in your register. Function: Users can create any number of courses and then assign those courses to individual Items. These courses will ...Settings - Course User Info – How to inactivate a user account
Article Contents: This article contains steps on how to inactivate a specific user account. Step- By- Step:- Step 1: Click on the Gear Wheel (Settings Icon) in the top right corner of Club Caddie. Step 2: Click on “Course User Info” from the left ...Settings - Register Settings - Department - Create new Sub department and Category
Article Contents: This article contains step-by-step instructions on how to create a new sub-department. Step-by-Step: Step 1: Click on the Gear Wheel icon on the top right corner of the screen. Step 2: Click on Register Settings in the left-hand ...Settings - Manage Roles - User Role Permissions
Article Contents: This article contains information on User Role permissions. Settings > Manage Roles > Action > Edit Permissions Step 1: Click on the Gear Wheel icon on the top right corner of the screen. Then, click on the Manage Roles button from ...