Site Visitor Signup Box
Article contents:
Before getting started, you will need to decide the following:
The name of the default list that you want all new subscribers to be added to. Create this list in advance of building your sign up form.
What additional data fields (if any) you’d like to capture in addition to email address? Create any fields you may need in advance of building your sign up form.
Are any of those additional fields required, or will they be optional?
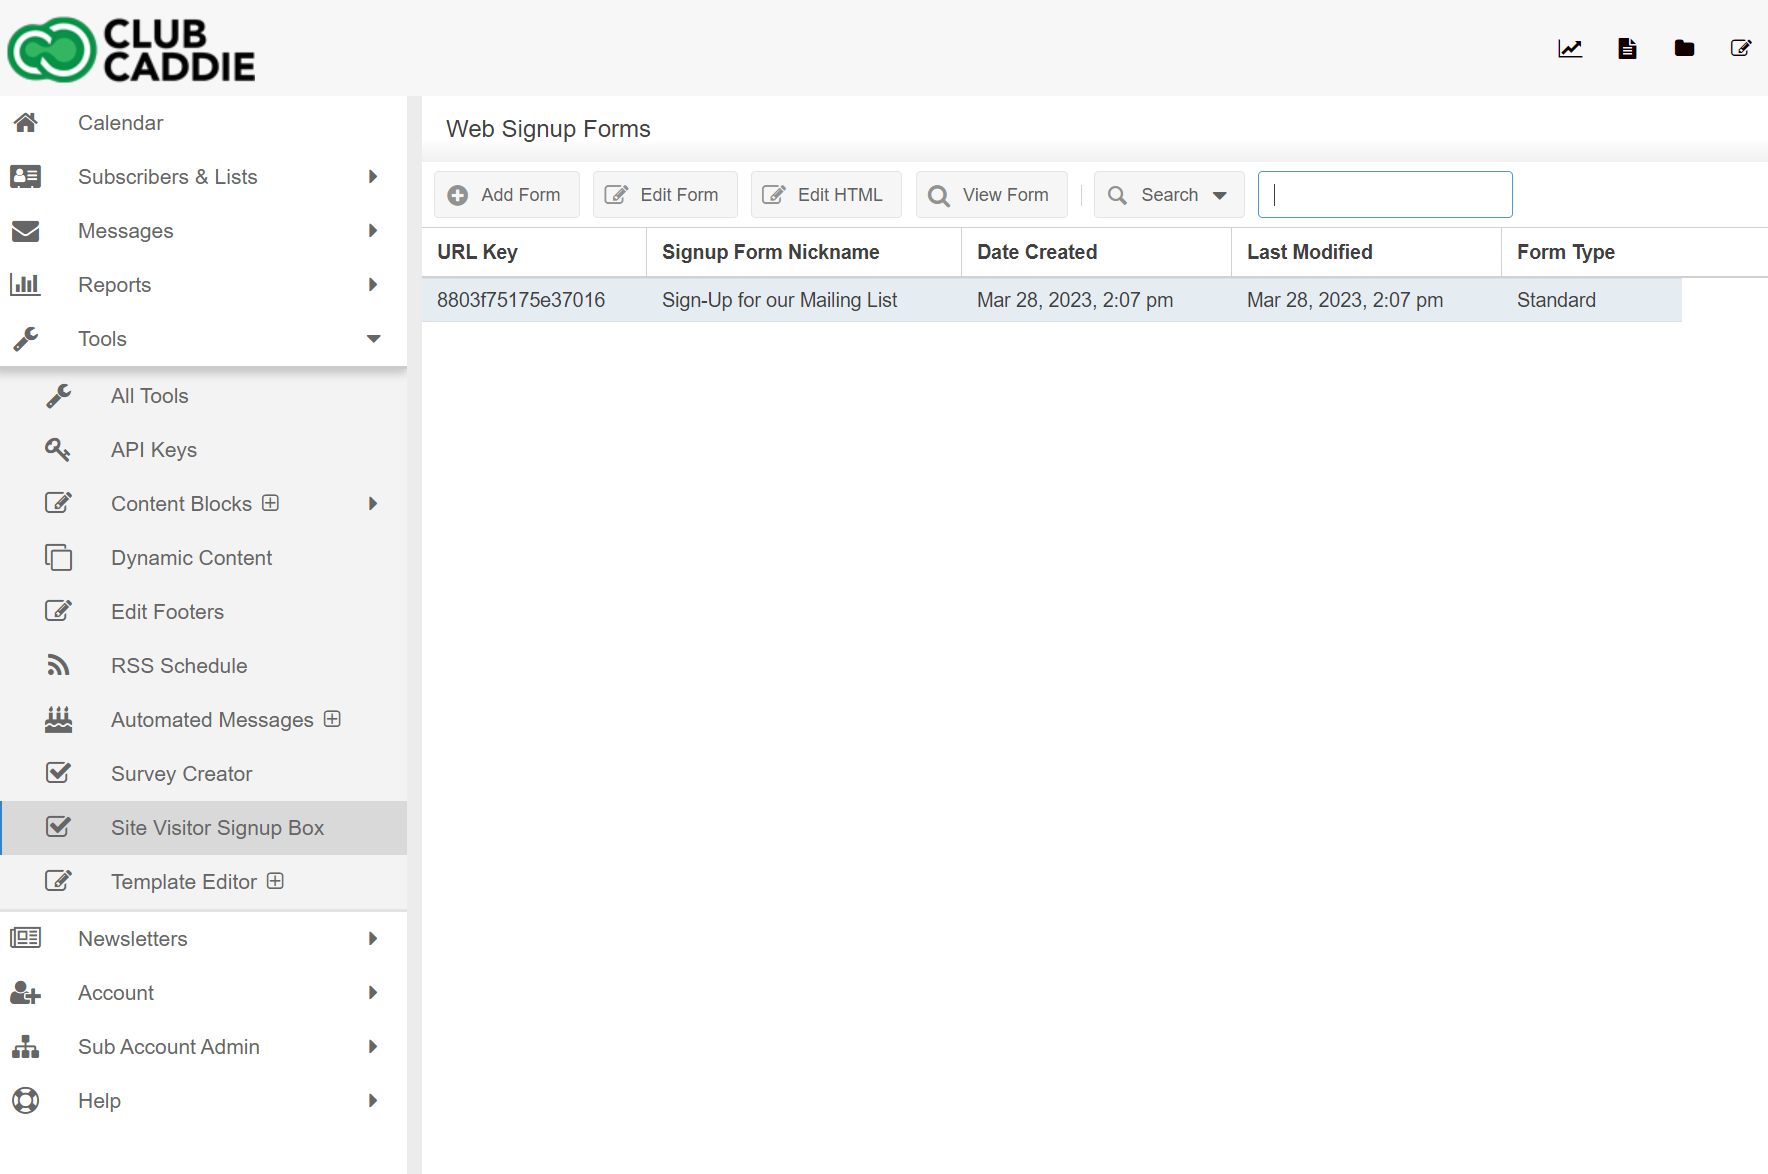
Click Tools
Click Site Visitor Signup Box
Click Add Form to add a new signup form
Enter a Form Name, used for internal reference.
Enter a Thank You Page URL if you would like to specify a the page you want subscribers to be forwarded to once they sign up for the list.
Otherwise, use the generic thank you page provided.
Triggered Message: Select a message to be sent to the subscribers after they sign up for the list.
To create a Triggered Message, follow the steps in the Triggered Emails wiki article.
Add Custom Fields that will be editable fields on the sign up form.
Select a Default List that all subscribers using this form will opt into.
If you want the subscribers to have the option to sign up for more lists, select some additional lists.

Edit the Display Options
Edit the Description Text
Add a List Description
Update the Subscribe Button Text
Change the Form Width
Change the Background Color
Edit the Border Size
Customize the Border Color
If you would like to enable a captcha, to verify a human is submitting the form, you can implement this using our integrated Google reCAPTCHA™, check the reCAPTCHA™ Enabled checkbox and type in the domain(s) where the form will be hosted.
If you plan on using the form on a website inside an iframe, please include both the default domain where the form is hosted as well as your website's domain (e.g. "ci.criticalimpact.com,website.com")
More information on Google reCAPTCHA™ can be found here.

Expand the Submission Notification section and check the Submission Notification Enabled checkbox.
Enter email addresses that receive notification emails in the Recipient Email Addresses text field. Multiple email addresses can be entered by separating by comma (ex: sales@example.com, admin@example.com).
Click the Edit Notification Template button to open the message editor
Edit the subject of the notification email in the Subject text field
Select the From address of the notification email from the From dropdown list
Edit the body message of the notification email in the text area. The %%formvalues%% merge variable will be replaced with submission results in the notification email.

Click Tools
Click Site Visitor Signup Box
Highlight the created form by clicking it once
Click Edit HTML
Customize the HTML and save your changes
You can modify the HTML code as much as you’d like, just be careful not to change the “form” variable names or anything related to the actual form field names or input. This means that you can totally customize the look of the signup form via HTML, but the form and input names must stay the same.

Customize the HTML of a Created Form
A permalink to the signup form that you can use as a link in your email messages.
HTML code to copy and paste onto another web page (note: if you use use this option, it won't be automatically updated when this form is updated with this tool.
iFrame code to copy and paste onto another web page (note: this option will automatically update the form on your website when the form is updated with this tool).
Use this option with Wordpress pages.
You'll probably want to change the height property in the iFrame code to make it appear as expected on your website.
Related Articles
Managing Contacts and Lists in the Email Marketing Tool
Article contents: This article contains information on managing contacts and lists in the Club Caddie Email Marketing tool, including syncing customer data, lists, and custom fields from Club Caddie, creating and managing lists and subscribers within ...Create Your First Email
Article Contents: This article contains instructions on how to create and customize emails using the drag and drop email editor in a marketing platform. It covers creating emails from scratch or using templates, editing styles, adding and customizing ...Send Your First Email
Article Contents: This article provides a step-by-step guide on how to send your first email campaign, including instructions for sending test emails, using the Inbox Preview tool, and sending the actual email to your subscribers. Test Send Please ...Getting Started Guide
Welcome to the Getting Started Guide! Step 1: This Quick Start Guide will walk you through the 4 basic steps to get started as a new user for Club Caddie's built-in email marketing tools. Step 2: If you have elected to add email marketing to your ...Domain Authentication: Ensuring Email Deliverability and Security
Article Content: Guide to authenticating your domain to improve email deliverability and security. Learn about DNS setup and how Club Caddie can help. Introduction Are missed emails or spam complaints causing frustration? Domain authentication is the ...