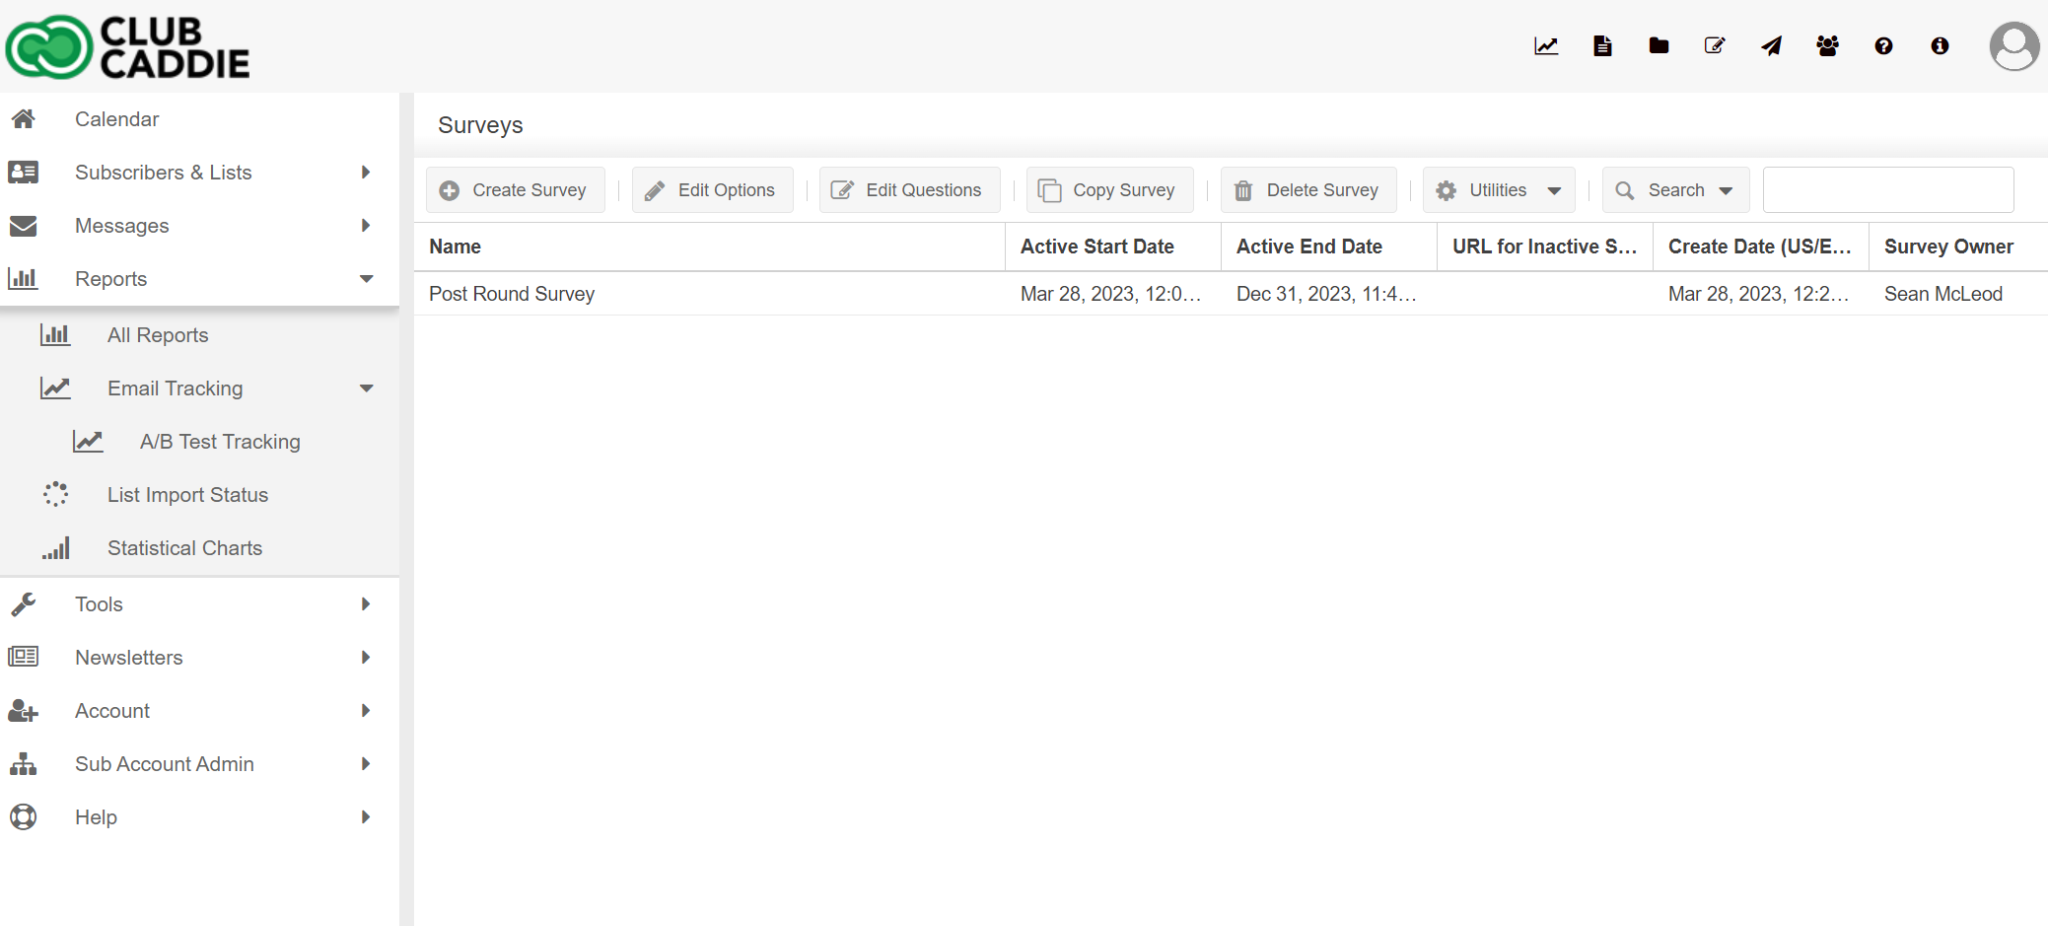
Survey Creator
Article Contents:
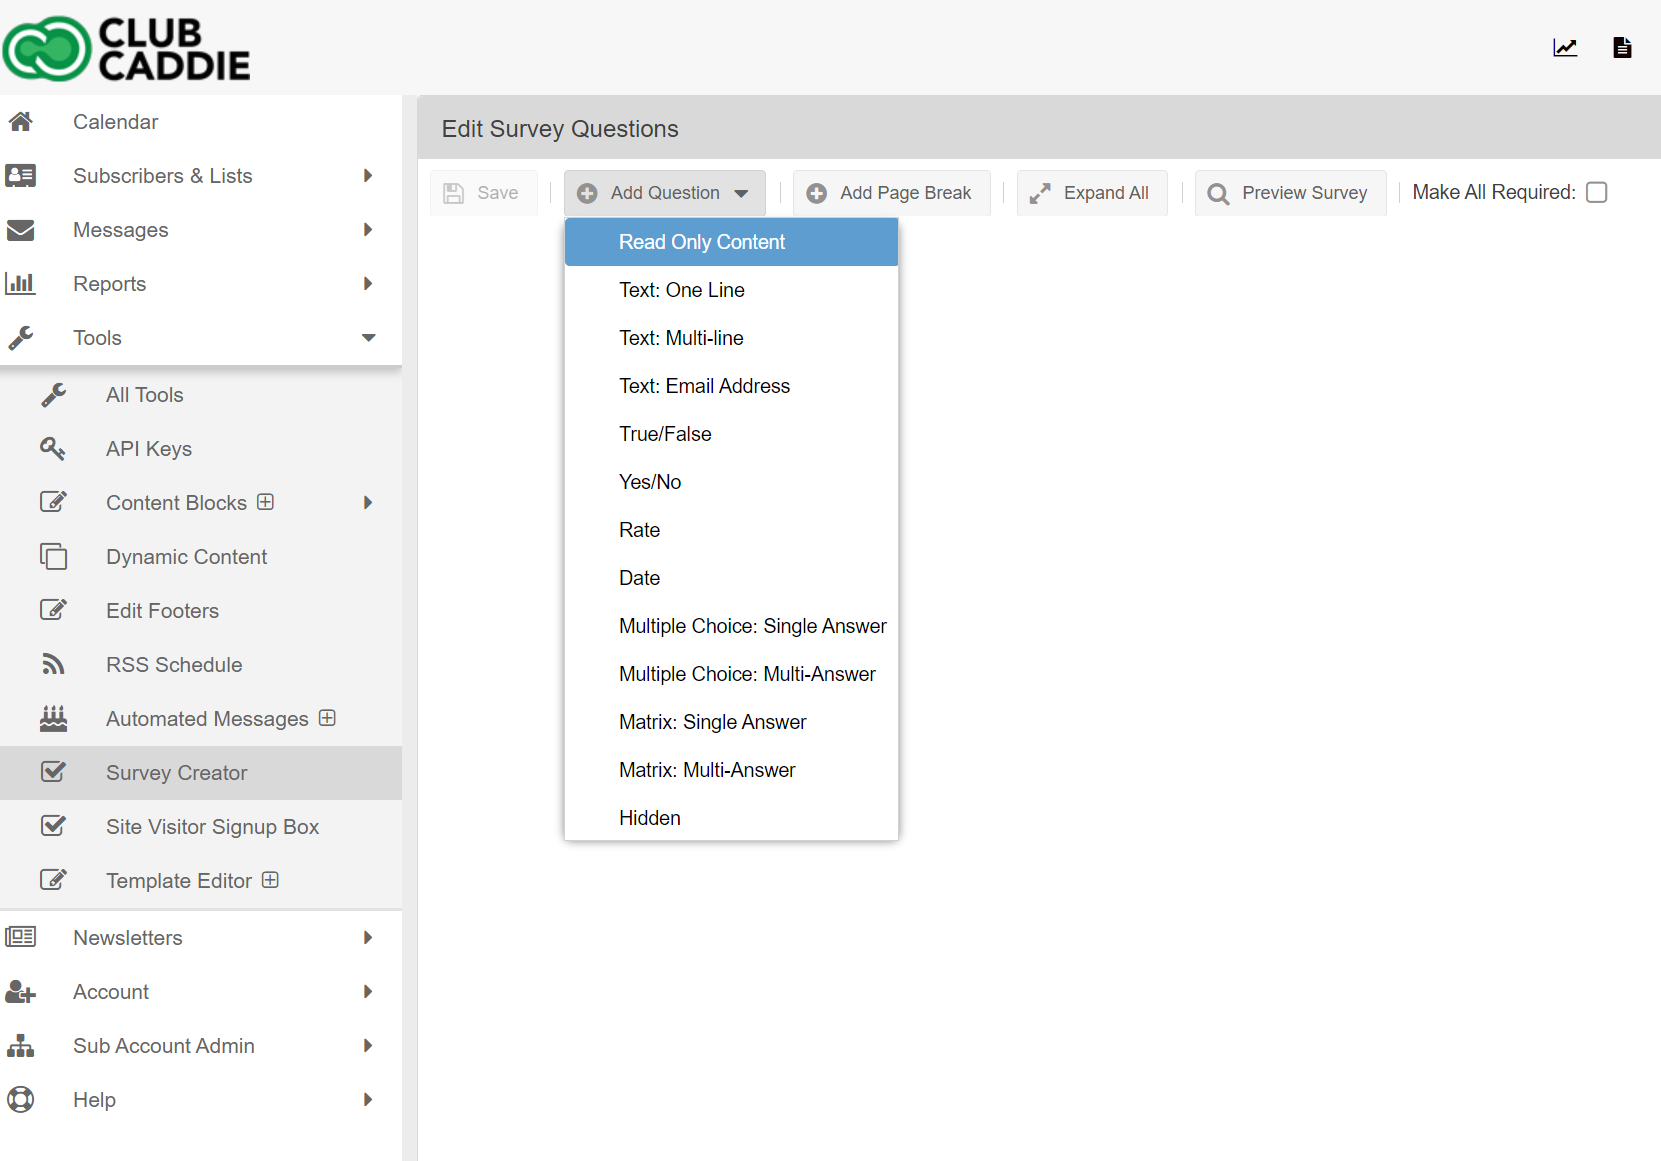
To add a question, click Add Question and select the Question Type that you would like to add.
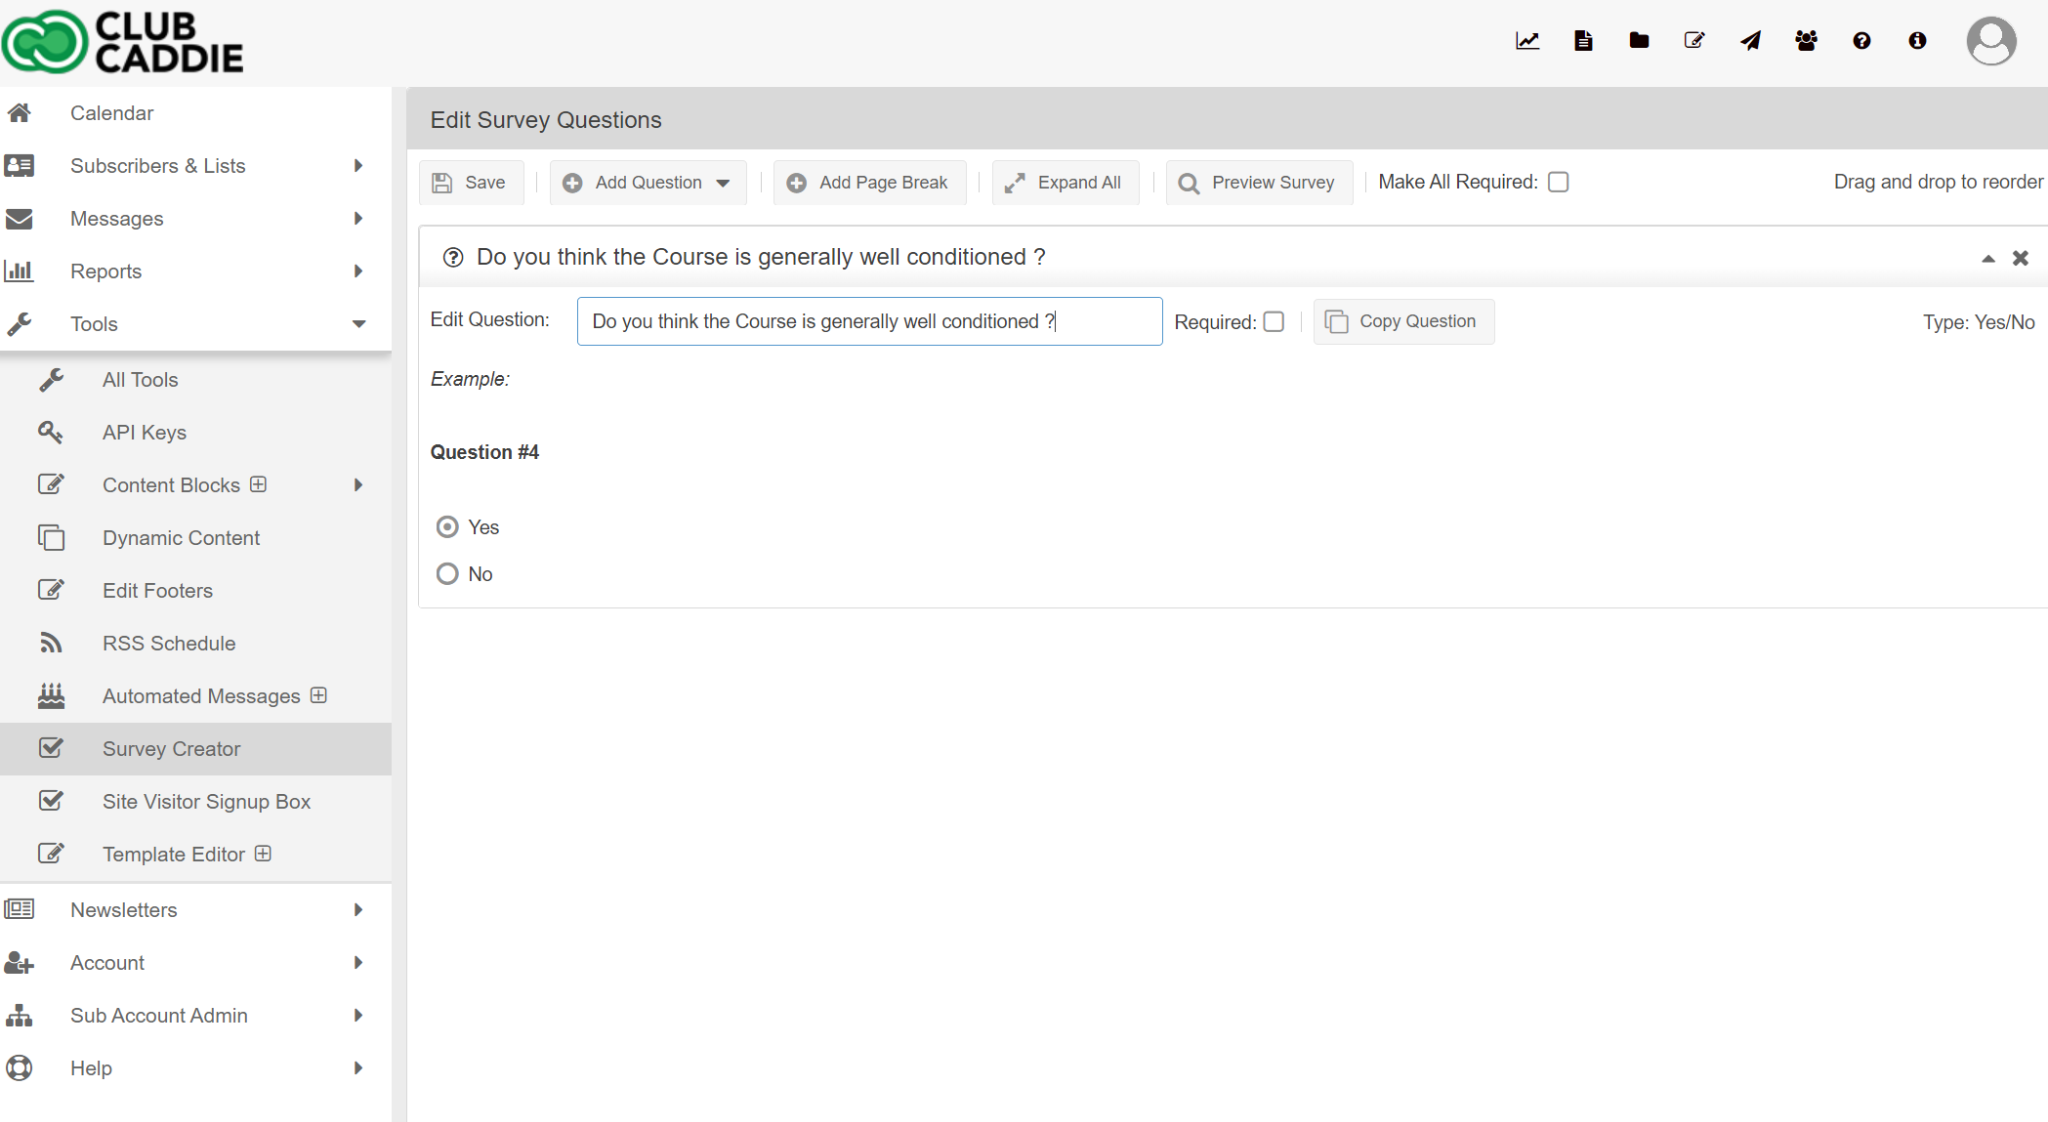
You can customize the question text that will be displayed using the Edit Question text box (visible when the question is expanded).
The arrow and X buttons at the far right of the question area will allow you to expand/collapse or remove a question.
To expand or collapse all questions at once, click the Expand/Collapse All button.
To make a question mandatory, check the box on the individual question that says Required (visible when the question is expanded) When a question is mandatory, respondents won't be able to continue in the survey or submit their responses until they have answered the question.
To make every question in the survey mandatory, check the box that says Make All Required.
To separate your survey into multiple pages, you can add Paging to your survey by clicking Add Page Break.
New questions/page breaks will be added to the bottom of the survey, but you can click and drag the questions to reorder them.
If you want to see how the survey will look to respondents and test out the logic, click the Preview Survey button.

There are 13 different question types available in the survey editor. The following is a break down of these types of questions and suggested uses for them.
Read Only Content
The Read Only Content question type is not for creating questions that will be answerable by your respondents. Whatever content you enter in the Edit Content text box will be displayed in the survey. This is a great way to add some descriptions/background info to your survey. You can fully customize the content that will be displayed with HTML and CSS.
Text: One Line
The Text: One Line question prompts users to answer the question using a single line text box. This is perfect for questions where you are expecting very short (a few words or less), open-ended responses but don't need further input validation like you would need for an email address.
Example questions: First Name, Last Name, Favorite TV Show.

Text: Multi-line
The Text: Multi-line question prompts users to answer the question using a multi-line text box. This question type would be best used for questions that would typically have longer (several sentence), open-ended responses. You can edit the height and width (in pixels) of the text box by clicking the Edit Options button.
Example questions: Enter any further comments here. What was your favorite part of our event? What could we do to improve?
Text: Email Address
The Text: Email Address question requires users to enter a valid email address in a single-line text box.
Example questions: What is your email address?

True/False and Yes/No
The True/False question will display two radio buttons with True and False labels. The respondent will only be able to select one or the other. The Yes/No question works the exact same way but the display values are Yes and No instead of True and False. This type is ideal for questions needing a simple true or false validation.
Example questions: Are you 18 years of age or older? Do you consent to continue taking this survey?
Rate
The Rate question displays a slider which respondents can use to specify a numeric value. You can customize the number interval, increment value, Start/End Labels, and Width (in pixels) of the slider by clicking the Edit Options button. The start label will be displayed at the left side of the slider and the end label will be displayed at the right side of the slider. This type of question is useful when you want respondents to rate something.
Example Questions: Please rate your experience on a scale of 1 to 10 with 1 being Terrible and 10 being Excellent.
Date
The Date question allows users to select a date using a date selector pop up. The entered value must be a valid date.
Example questions: Please enter your date of birth. When would you like to make a reservation?
Multiple Choice: Single Answer and Multi-Answer
The Multiple Choice question types will display specified answer choices in either radio button (single answer) or text box (multi-answer) format. You can customize the response options by clicking Edit Options. The options window for this question type will display a grid of all the response options you have created.
Adding a New Response Option
Click Add Option.
Editing a Response Option
You can edit the display text and value of each response option.
Click the response option you would like to edit.
Make any desired changes to the text values.
When you are finished editing, click Update to save your changes or click Cancel to discard your changes.

Removing a Row/Column Header
Click on the response option in the grid that you would like to remove.
Click Remove Option.
To clear all response options, click Clear All.
Other Tips
Drag and drop to reorder the rows/columns.
When you are done customizing the question options, click Update Question.
Example questions:
Single Answer: What is your favorite color? Options: Red, Blue, Green, Other (with text box).
Multiple Answer: Which of the following stores have you visited in the past week? Select all that apply. Options: Best Buy, Sears, Target, Walmart, Costco.
Adding a Page Break
In the main survey grid (Tools -> Survey Creator), select a survey and click Edit Questions.
Click Add Page Break.
The new page break will be added at the bottom of the survey, but you can drag and drop to replace it anywhere you'd like.

Expand the page break by clicking the down arrow on the right hand side of the page break, if it is not already expanded.
Enter the text you would like displayed on the Next Button in the Next Button Text text box.
Enter the text you would like displayed on the Back Button in the Back Button Text text box.
If you do not want the back button to display, uncheck the box that says Back Enabled. It is recommended that you disable the back button for the first page break in a survey, as there will be no previous page.
Removing a Page Break
Click the X button on the page break.

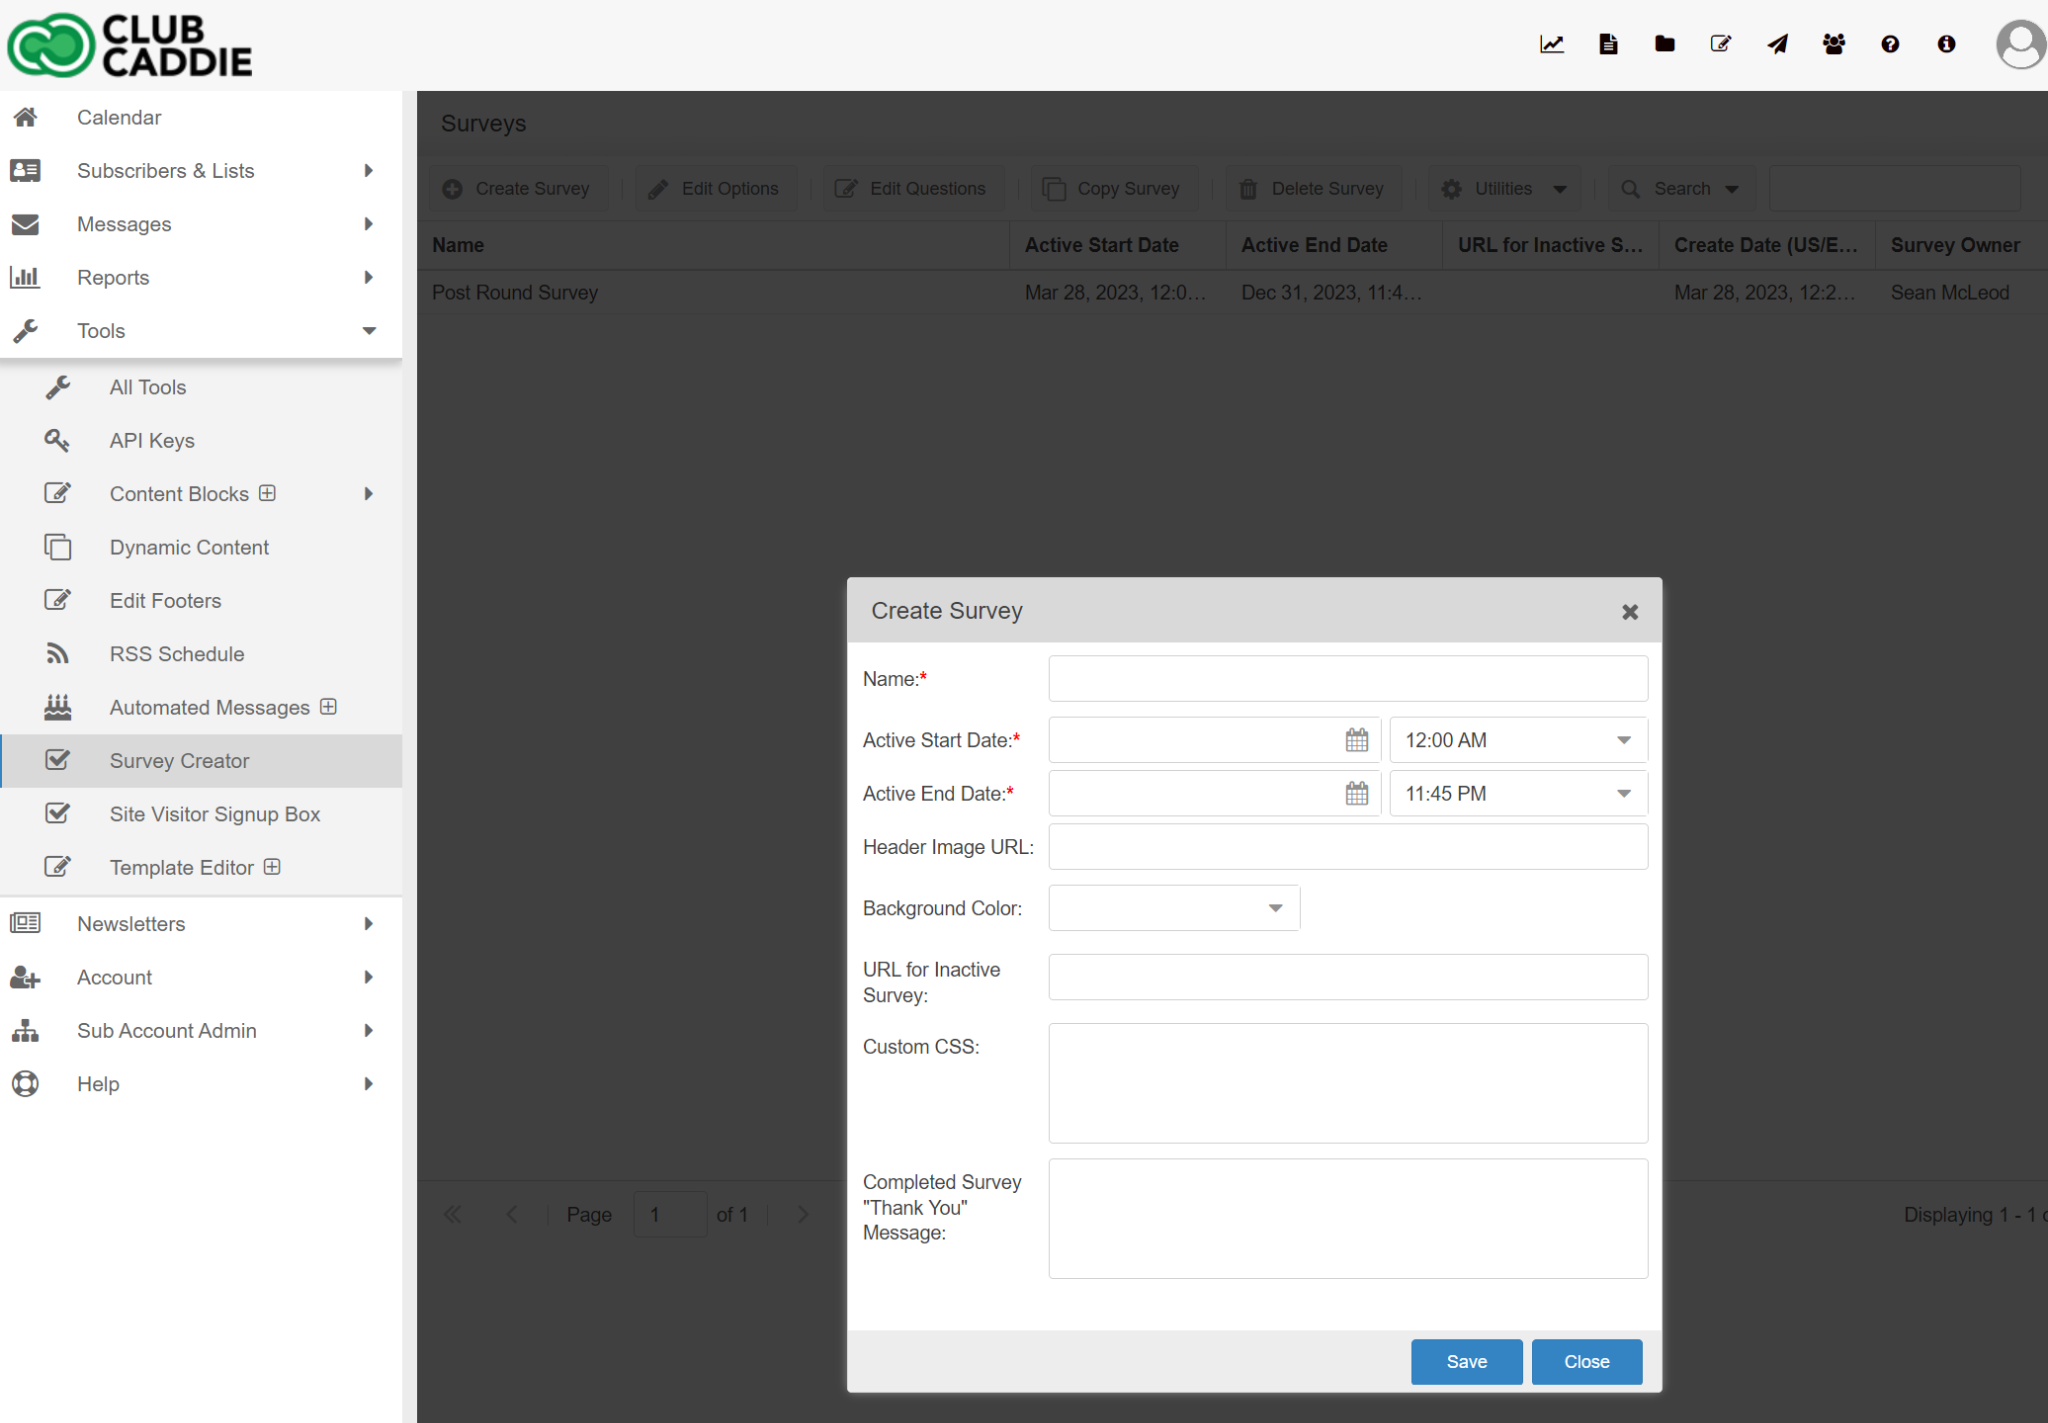
In the main survey grid (Tools -> Survey Creator), select a survey and click Edit Options.
If you would like a specific image to always be displayed at the top of your survey, enter the URL for the image in the Header Image URL text box.
You can select a background color for your survey with the Background Color drop down selector.
When your survey is no longer active, you can specify a URL that you would like users to be redirected to when trying to access the survey by entering it in the URL for Inactive Survey text box.
If you have custom CSS that you would like to apply to your survey, enter it in the Custom CSS text box.


There are two ways you can preview your survey:
From the Main Survey Grid
Click Tools.
Click Survey Creator.
Select a survey.
Click Utilities.
Click Preview Survey.
From the Survey Question Editor
Click Tools.
Click Survey Creator.
Select a survey.
Click Edit Questions.
After you are done editing the questions to your survey, click Save.

Create a new message or edit an existing message.
Click the Insert Survey button in the message editor toolbar.
In the "Link text" field, enter the text you'd like to insert into the message that will be linked to the survey.
Click the survey name to insert.
Save the changes to the message.
Insert Survey Link into Drag & Drop Message
Create a new or edit an existing message with the drag and drop editor.
Click to edit the text and highlight the word(s) where you want to insert the survey link.
Click Special Links -> Survey Link -> Click on a survey name to insert the link.
Save the changes to the message.

Go to Tools -> Survey Creator
Select the survey you would like to see the results for.
Click Utilities
Click View Survey Results
If you'd like to export all the survey results into an Excel file, click the Export button
The default view will show each subscriber who responded, when they finished the survey, and what their responses were.
Click View Results by Question if you'd like to see all the responses grouped by question.
Click Export to download the results into Excel.
You can also see which surveys were included in a send by following these steps:
Click Reports
Click Email Tracking
Select a send
Click View Tracking Report
In the report screen, click the tab that says Survey Results
You will see a list of the surveys that were linked to in the send. Select a survey and click View Survey Results to see the responses to the survey.

Related Articles
Managing Contacts and Lists in the Email Marketing Tool
Article contents: This article contains information on managing contacts and lists in the Club Caddie Email Marketing tool, including syncing customer data, lists, and custom fields from Club Caddie, creating and managing lists and subscribers within ...Create Your First Email
Article Contents: This article contains instructions on how to create and customize emails using the drag and drop email editor in a marketing platform. It covers creating emails from scratch or using templates, editing styles, adding and customizing ...Getting Started Guide
Welcome to the Getting Started Guide! Step 1: This Quick Start Guide will walk you through the 4 basic steps to get started as a new user for Club Caddie's built-in email marketing tools. Step 2: If you have elected to add email marketing to your ...Send Your First Email
Article Contents: This article provides a step-by-step guide on how to send your first email campaign, including instructions for sending test emails, using the Inbox Preview tool, and sending the actual email to your subscribers. Test Send Please ...Domain Authentication: Ensuring Email Deliverability and Security
Article Content: Guide to authenticating your domain to improve email deliverability and security. Learn about DNS setup and how Club Caddie can help. Introduction Are missed emails or spam complaints causing frustration? Domain authentication is the ...