Template Editor
Article Contents:
Open the Tools folder
Click Template Editor
Click the Create New Template button
Enter a Subject (used as the template name)
Start creating the template or copy and paste your HTML code into the Source view
Create editable content areas, as explained below in the Template Help Instructions below
Save the Template

Click Source to view the source code of the template
Find the area you would like to make an editable region
Surround the content with <cicontent1> </cicontent1> tags
Table cells <td>, Span tags <span>, and sections <div> all support the <cicontent1> tags
Each table cell, span tag, and section can hold only one content region
Cicontent tags are uniquely numbered, so after <cicontent1></cicontent1> you'll insert a <cicontent2></cicontent2>
There can be up to 100 <cicontent1></cicontent1> areas
Once a template is created, it will show under "Templates" when a user creates a new message.

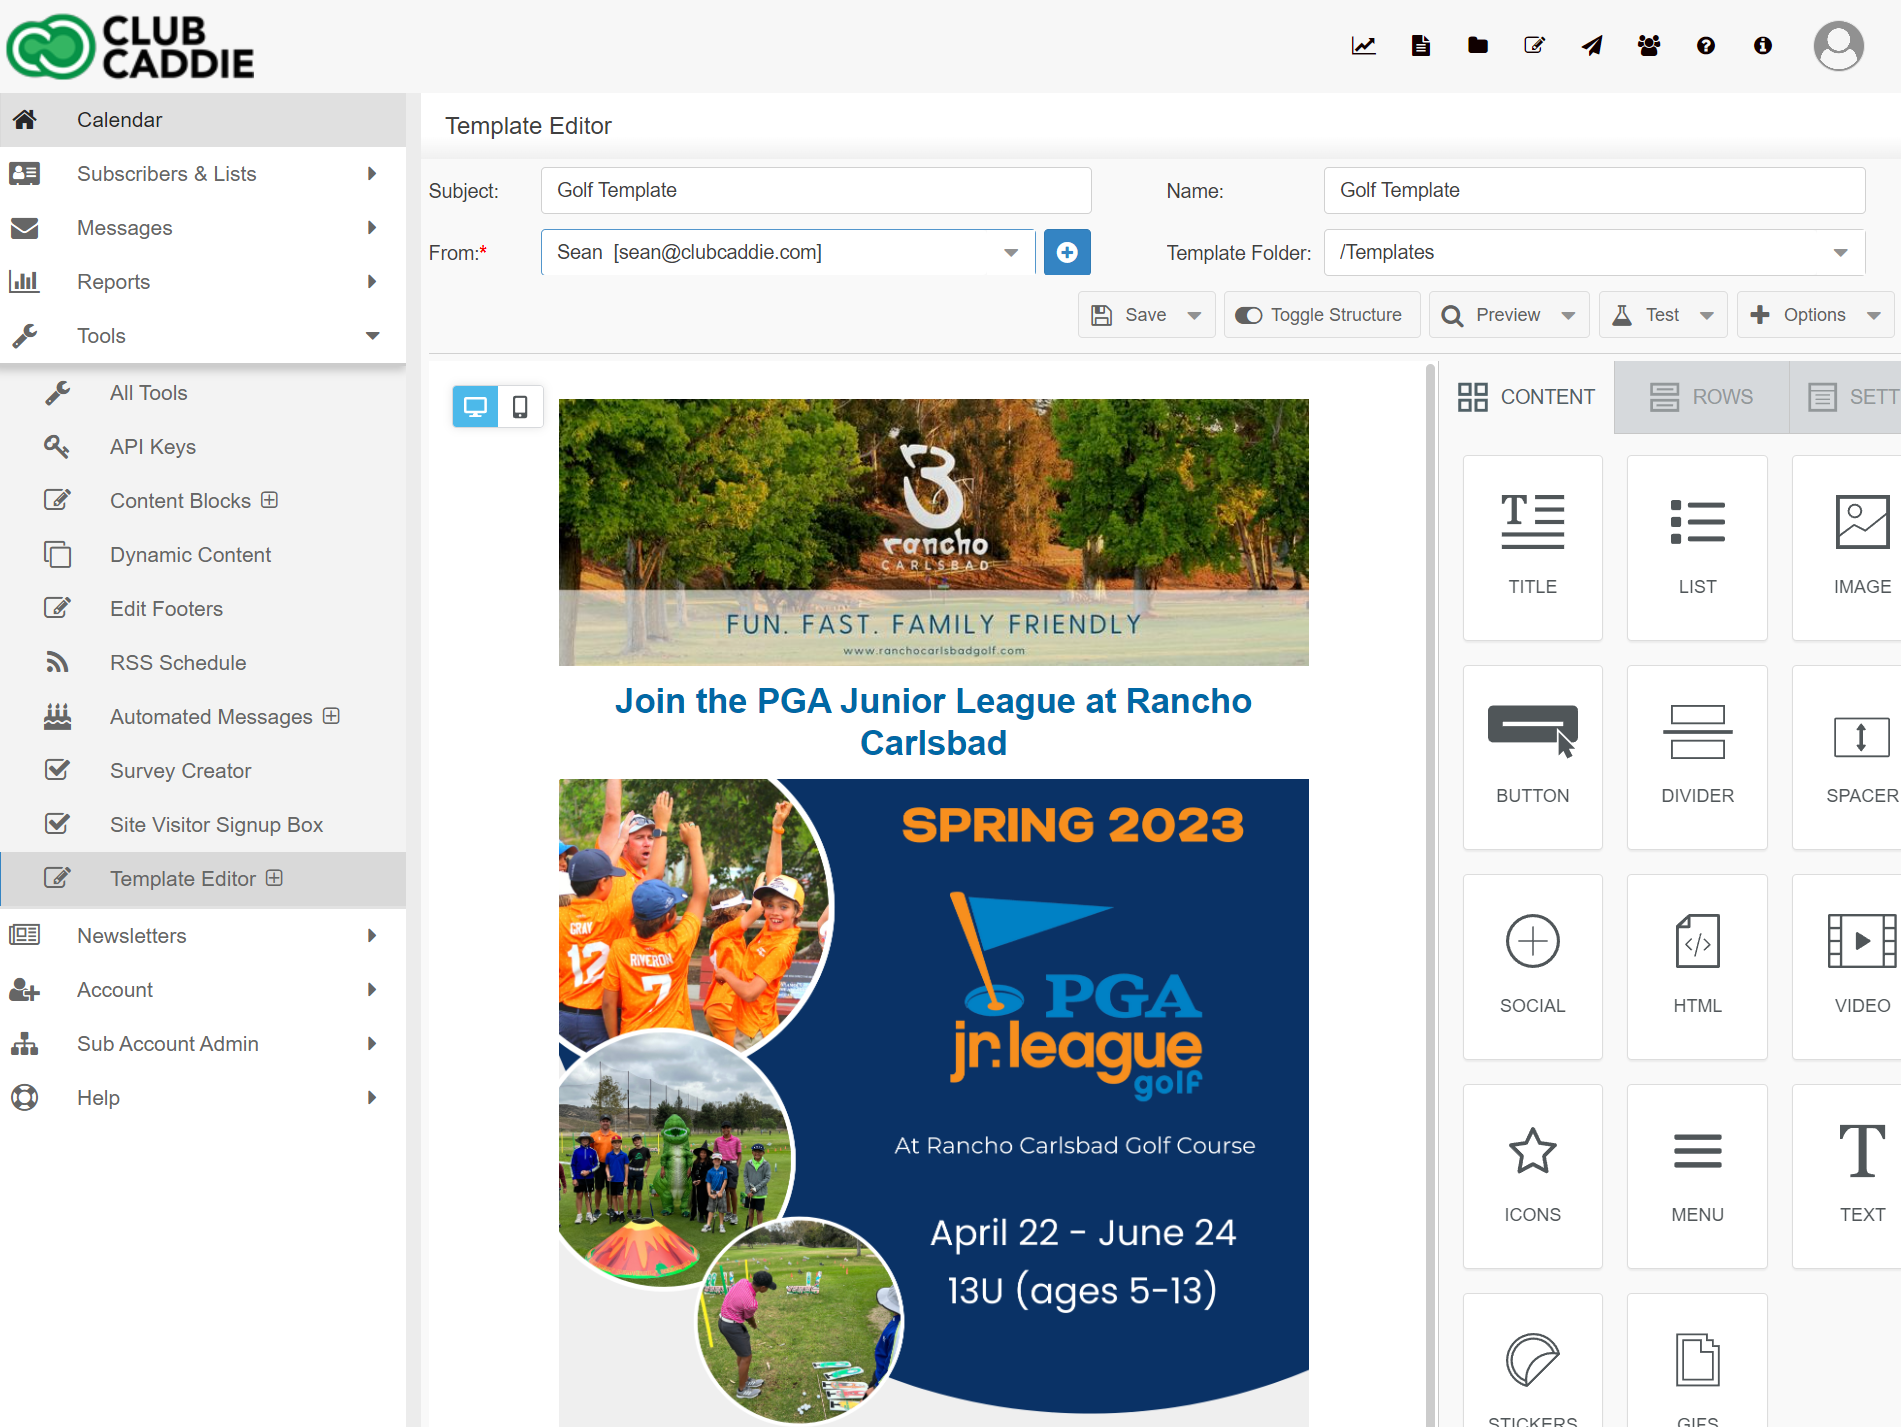
Open the Tools folder
Click Template Editor
Click the arrow on the side of the Create New Template button, and select Create New Templates (Drag and Drop)
Enter a Subject (this will be used as the template name)
Start creating the template by dragging in content and row layouts
Save the Template
To create a message from a custom template:
Click on the Messages folder
Click Create New Message
Select a custom template or one of the pre-built templates in the system
Edit the content regions by clicking once and selecting edit content
Customize a pre-built template using the tools at the top of the screen:
Edit Template Formatting (customize borders, background colors)
Clear Template Formatting
The Undo and Redo buttons go back and forth between edits to the template formatting only

Related Articles
Managing Contacts and Lists in the Email Marketing Tool
Article contents: This article contains information on managing contacts and lists in the Club Caddie Email Marketing tool, including syncing customer data, lists, and custom fields from Club Caddie, creating and managing lists and subscribers within ...Create Your First Email
Article Contents: This article contains instructions on how to create and customize emails using the drag and drop email editor in a marketing platform. It covers creating emails from scratch or using templates, editing styles, adding and customizing ...Send Your First Email
Article Contents: This article provides a step-by-step guide on how to send your first email campaign, including instructions for sending test emails, using the Inbox Preview tool, and sending the actual email to your subscribers. Test Send Please ...Getting Started Guide
Welcome to the Getting Started Guide! Step 1: This Quick Start Guide will walk you through the 4 basic steps to get started as a new user for Club Caddie's built-in email marketing tools. Step 2: If you have elected to add email marketing to your ...Domain Authentication: Ensuring Email Deliverability and Security
Article Content: Guide to authenticating your domain to improve email deliverability and security. Learn about DNS setup and how Club Caddie can help. Introduction Are missed emails or spam complaints causing frustration? Domain authentication is the ...