Skip to content
English
  • There are no suggestions because the search field is empty.

Quickbooks : Importing Chart of Accounts from Quickbooks Desktop

Article Contents: This article summarizes how to import your chart of accounts from Quickbooks Desktop

Step by Step

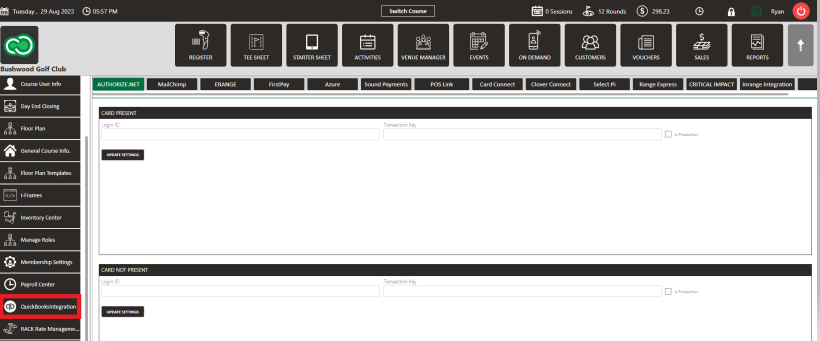
Step 1: Click on the gear wheel icon (settings icon) in the top right corner of Club Caddie.
 
https://desk.zoho.com/galleryDocuments/edbsn9a3d9e2f706a8fa1b2d2e6c764b4d6a353340f4a8e37f191f89ba5974c09e6a1a32893cba7ce0a08bf53eeec4197ecee?inline=true
 
Step 2:  From the left hand menu, select Quickbooks Integration
 
https://desk.zoho.com/galleryDocuments/edbsn7f397037d61ab31088afe657d1ce0d48dd464976eb9d4125daa0fc83cc685c7da05bfd985117c77e5245c5c402c28883?inline=true
 
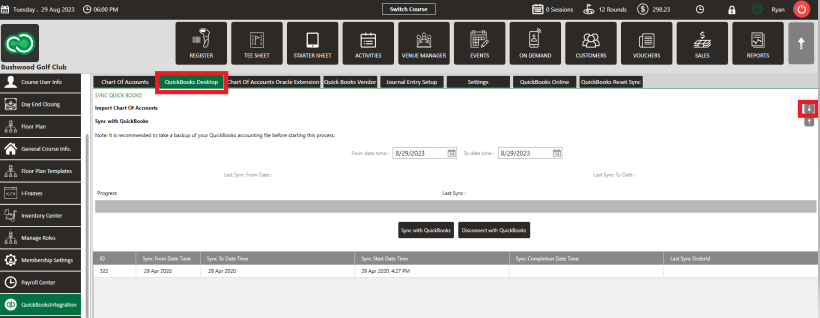
Step 3:  Click on the Quickbooks Desktop tab and select the down arrow expand the option to select "Import Data"
 
https://desk.zoho.com/galleryDocuments/edbsn46cd0e0975905a121983c4f36f743ee063c31dcc50efbc5e2f003e1377d28fa950afdb36b3a83f32646f2de053e180a5?inline=true
 
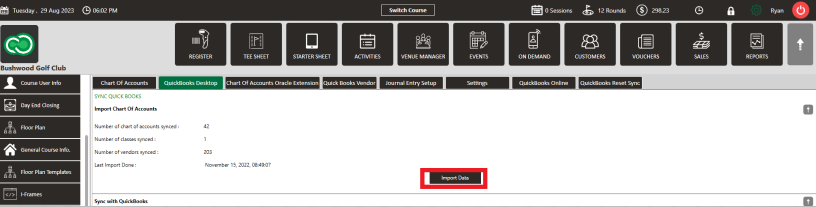
Step 4:  Click on "Import Data"
 
https://desk.zoho.com/galleryDocuments/edbsnf5fe25890e244b351c0ac023fec8aafef979459315006314b5ad153fcf822dad41e2b9cdf1464b61fdde41d536dbb8f2?inline=true
 
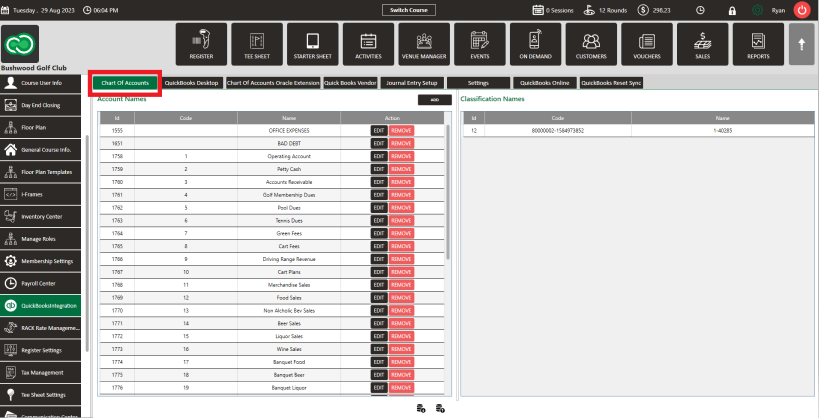
Step 5:  To view the imported chart of accounts, click on the "Chart of Accounts" tab
 
https://desk.zoho.com/galleryDocuments/edbsnf30c142fd4f08eaf82ef808a38bc0992f19987c86623c9a0ccddbbf11e21ce647b18a177ed3cef8e224ee0684cba7e94?inline=true