.png?width=200&height=89&name=CC%20%20fiserv.%20(3).png)
The Payment Types Builder lets you control which payment options appear in the register — and where. You can configure payment types at the course level, by location, or down to a specific terminal, depending on how your facility is set up.
This applies to both built-in payment methods (like cash and card) and any custom payment methods you’ve created.
If you haven’t created a custom payment method yet, do that first before following the steps. Settings : How to Create a Custom Payment Method for instructions.
Step 2: Select Payment Types Builder.
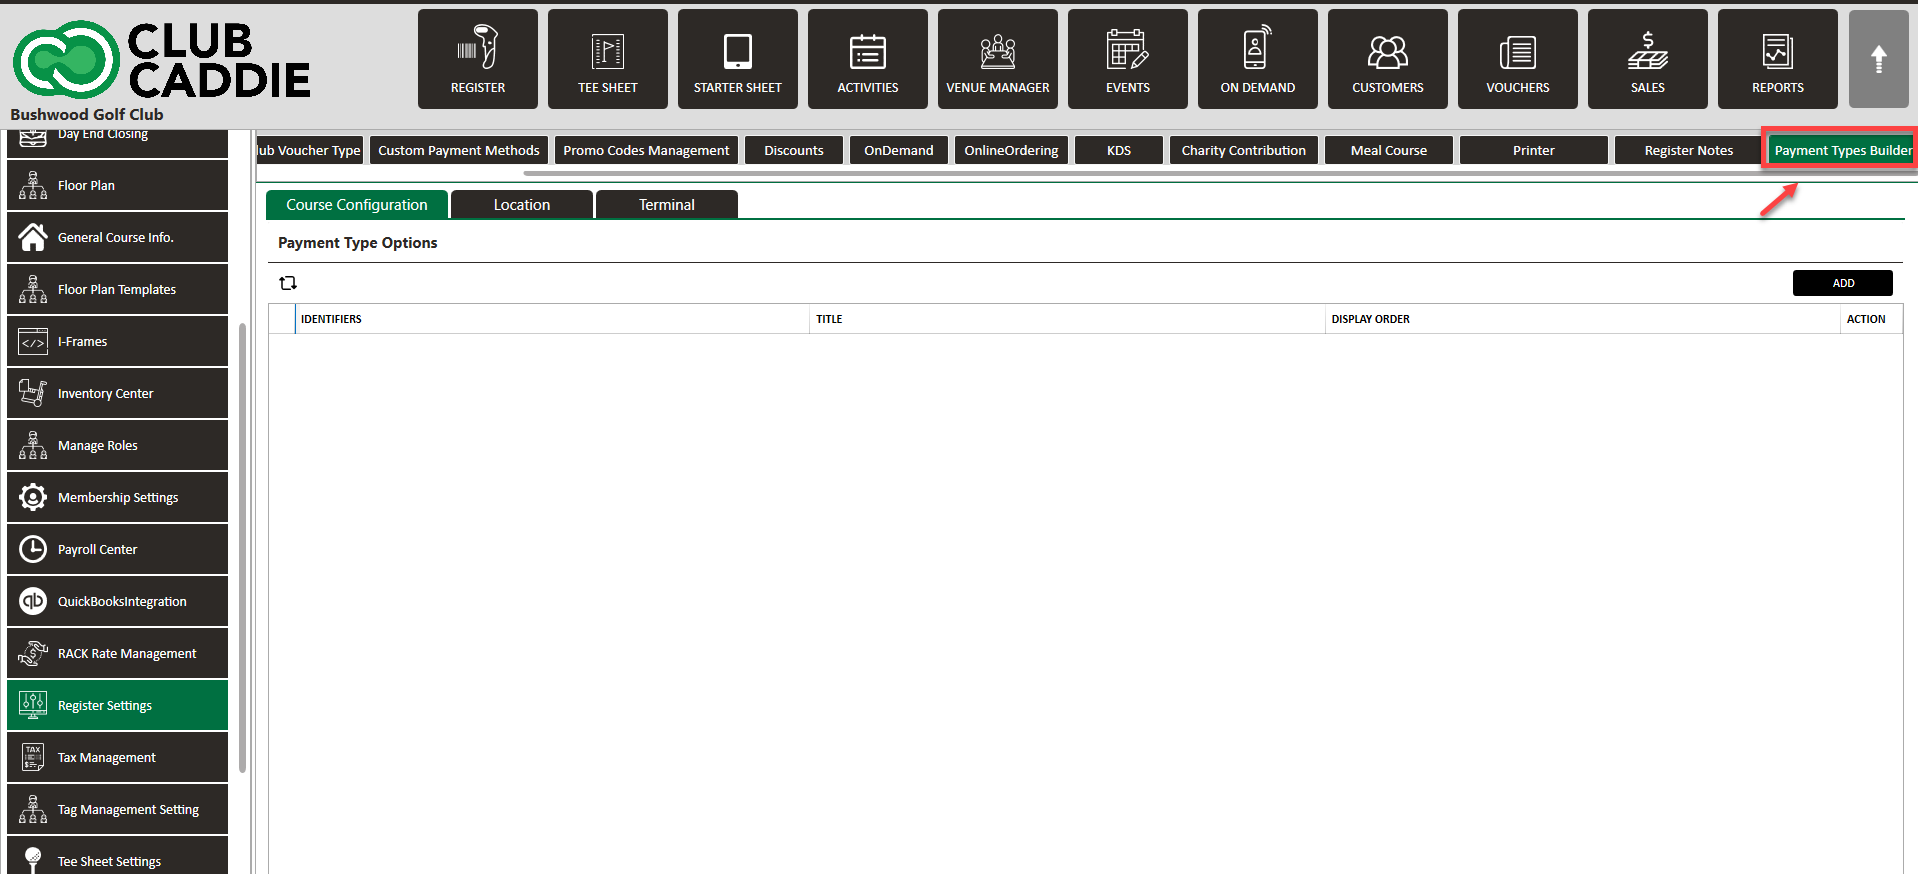
Step 3: Choose your configuration level: Course Configuration, Location, or Terminal. Then click Add.
|
Configuration |
What It Does |
Good To Know |
|
Course Configuration |
Applies the payment type to all terminals and locations across your facility. |
The broadest setting. Good starting point if all locations use the same payment options. |
|
Location |
Applies payment types to all terminals assigned to a specific location. Overrides Course Configuration. |
You’ll need to set up payment options on this tab for each location. Use Switch Course to update each location. |
|
Terminal |
Configures payment options for one specific terminal. Overrides both Course Configuration and Location. |
Most granular option. Use Switch Course to configure each terminal individually. |
TIP: Location and Terminal configurations override Course Configuration. If you’ve set up payment types at the course level but need different options at a specific location or register, use those settings to override.
Once saved, the payment type will appear as an option in the register for the configuration level you selected.