.png?width=200&height=89&name=CC%20%20fiserv.%20(3).png)
Step-by-Step:
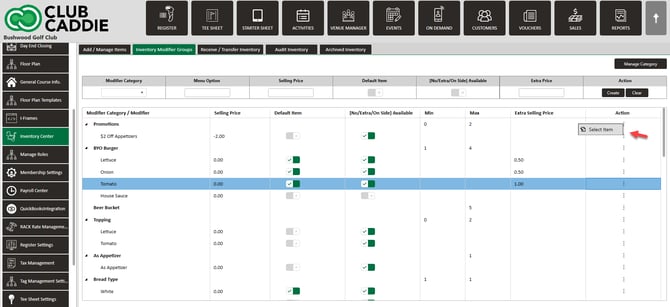
Step 1: Click on Settings (gear wheel) followed by Inventory Center from the left hand menu.

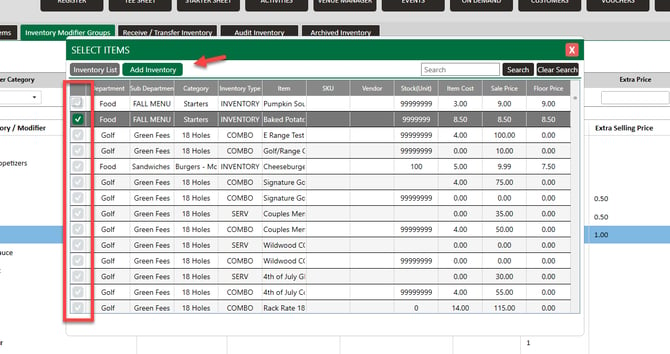
Step 2: Click on the Inventory Modifier Groups tab followed by Action (three small dots). Then, click Select Item.
Step 3: The Inventory List will show all inventory items this group is applied to. To add a new inventory item, click Add Inventory and check the box next to the relevant groups to add (you can use the search function to narrow down).
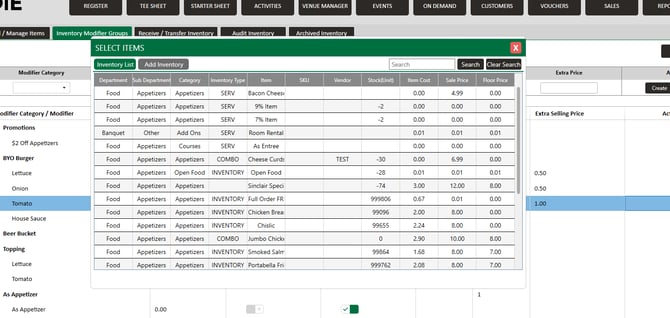
Step 4: Check any inventory items you would like this modifier group applied.
You can now enable or disable specific modifiers as needed for this item by ensuring the check-box on the far left hand side is green.
- Uncheck any options that don't apply.
- Exit the window when you are done with your selections.
The Inventory Center Modifiers sort alphabetically by default unless the there is a display order applied. Display order superseeds Alpha order.